We’ve been on an orchid hunt
This week: Another plant; Last step in the process; Putting the tools away; A little bit of damp; I do enjoy a challenge; We’ve been on an orchid hunt;
Dear Sir,
Today I heard the Cuckoo…… So begins a famous eccentric letter to the Editor of The Times about the first bird of Spring to be heard in the UK.

Well I have had my “Cuckoo” moment this week.
The weather has been decidedly mixed this week, with warm spring sunshine and full days of low cloud and rain. Monday and Tuesday were especially damp, but mild too.
I was outside under my patio on Tuesday when I heard some unusual birdsong.
I recognised it but at the same time it was way too early and out of context.
At coffee time on Wednesday, I was outside again and this time the bird was closer, although still invisible to me. However the melodious song was clearer. There was no mistake this time, it was the unique Nightingale song.
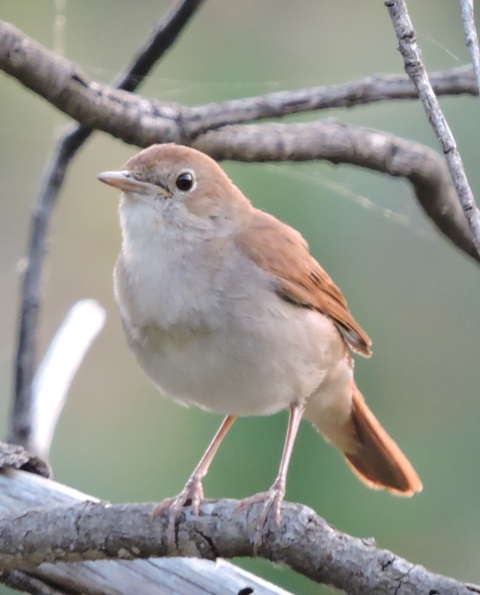
My Springwatch calendar records the arrival of these delightful birds around the last week of March. I usually have two resident pairs around the orchards.
I heard it singing several times during the day. However as the weather cleared, listening at dusk there was just a Blackbird calling.
With warm spring sunshine at the end of the week, I have been outside a lot, but not heard it again. I can only conclude that it is a migrant on its way north who stopped in Dol for a few days because of the bad weather.
I’ll not be writing to the Editor of The Times just yet then…
Another plant
I was in my local supermarket on Monday morning. It was raining, so a good time to do some shopping!
Like supermarkets across the world, they have plants close to the entrance. Not a huge selection, hardly a large selection even, but what I saw was cymbidium orchids.
My eye was drawn to the “sale” labels. It wasn’t surprising that they were “on sale”, because they looked dry and rather sick.
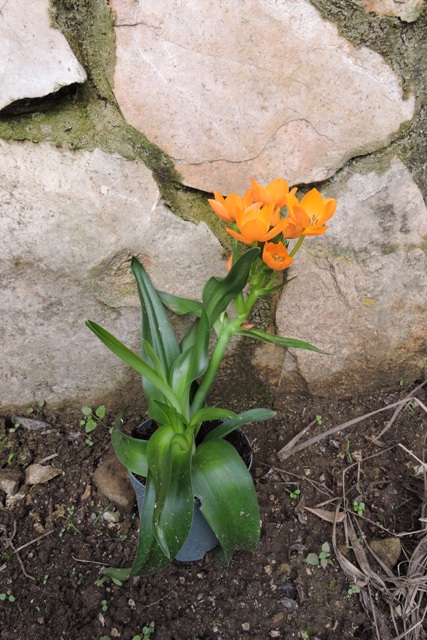
None of the colours really appealed to me, and I was about to walk on when I saw a couple of small orange flowers at the back of the display.
I recognised the packaging first, from African Breeze, a bulb company from the netherlands. I also remembered the vivid orange colour.
There were three Ornithogalum Dubium plants, so one of them came home with me.
I bought a couple of these plants probably five years ago, but they didn’t survive the winter.
They look especially lovely in the spring with their long lasting and brightly coloured flowers, however I wasn’t able to keep mine alive.
When I read up on-line about these plants, I found they originate in the Cape Province of South Africa, so close to but not exactly a Mediterranean climate.
However there is quite a bit of differing advice about growing them, depending upon which web site you look at.
That is I think where I went wrong last time. On one website I looked at, it stated that the Ornithogalum could be grown in USDA zones 7 to 11.
I have written about the USDA and other planting zones before. Basically the USDA zones are just about plant hardiness, how cold temperatures affect plants.
Zone 7 can expect cold down to -17ºC. Zone 11 is a winter temperature of +7ºC.
Dol is in Zone 10A, which is around -1ºC to +2ºC for the coldest expected temperatures.
When I read some more authoritative websites, it seems that the Ornithogalum dubium will not stand being frosted. The Cape Province doesn’t get frost.
That would explain why my previous experiment failed!
Now I have found my new plant a nice home though in a corner of the polytunnel.
Clearly last time, I didn’t read up enough, or the correct web site about the growing conditions needed for the plant.
Last step in the process
Finally, I am on the last step in the process of building the stairs.
It has been another engineering challenge though, because of the log being used as a beam.
All the step treads need to be level, however levelling this last tread means cutting away some of the beam.
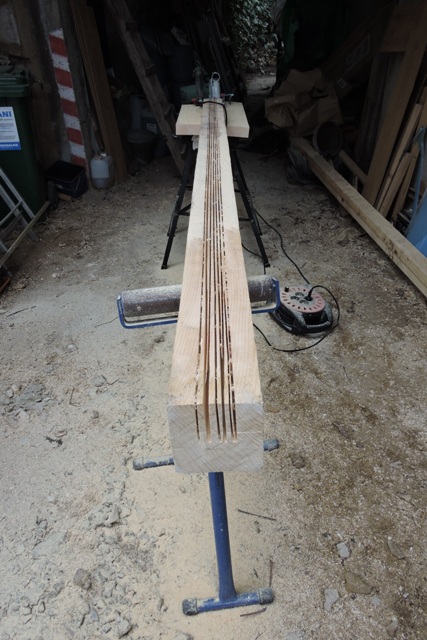
The first task was to get the tread support level and horizontal.
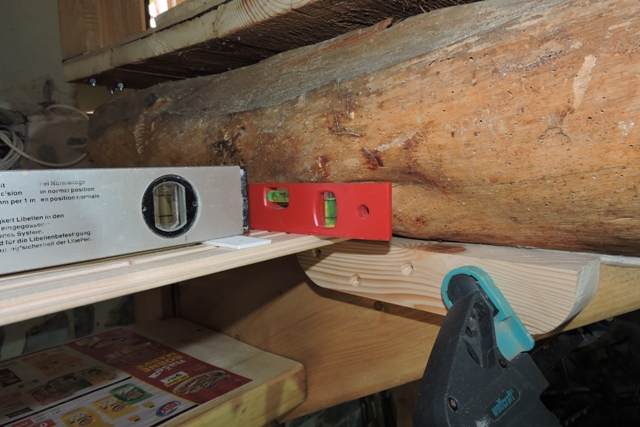
With this done and the tread support held firmly in place with a small clamp, I used the outline of the tread to mark where I needed to cut into the beam. This is the red line in the photograph.
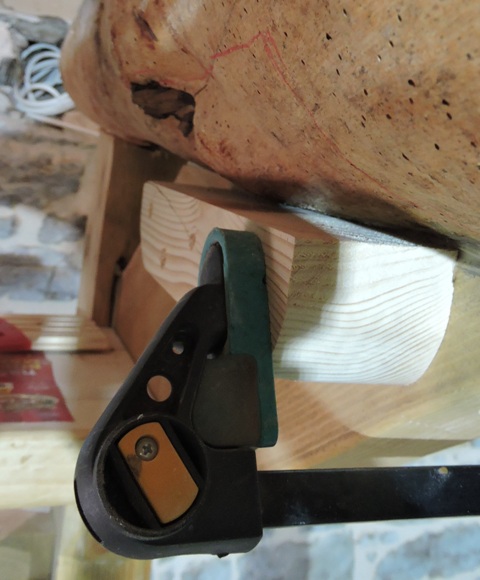
It was then a combination of modern power tools in the shape of an oscillating cutter, together with old fashioned hand chisels to cut the reveal in the beam to take the step tread.
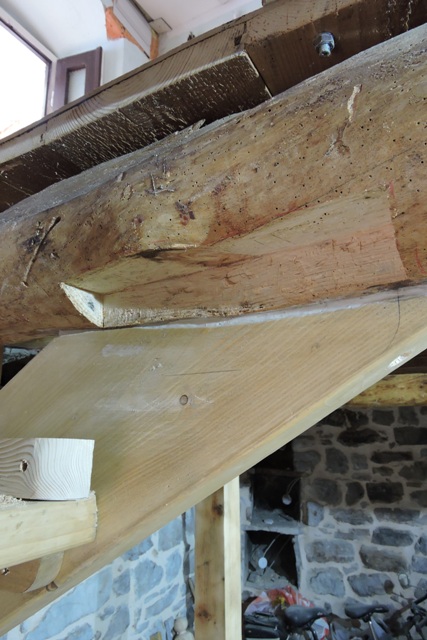
A quick check and the step tread is a tight fit, so no need to cut any more.
I gave all the wood two coats of Sadolin before I glued and screwed the tread into place.
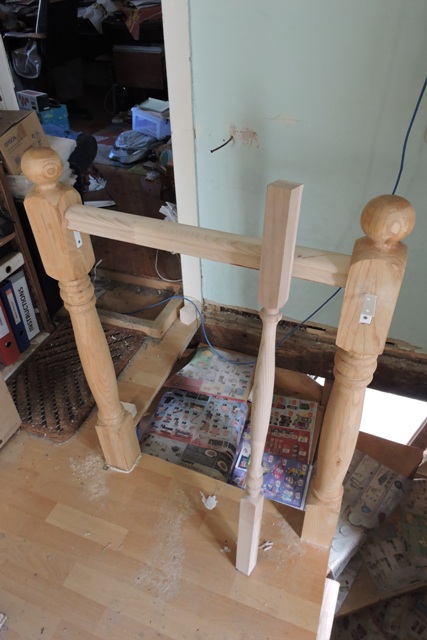
With the steps complete, I then measured, marked and fixed the hardware for the handrail.
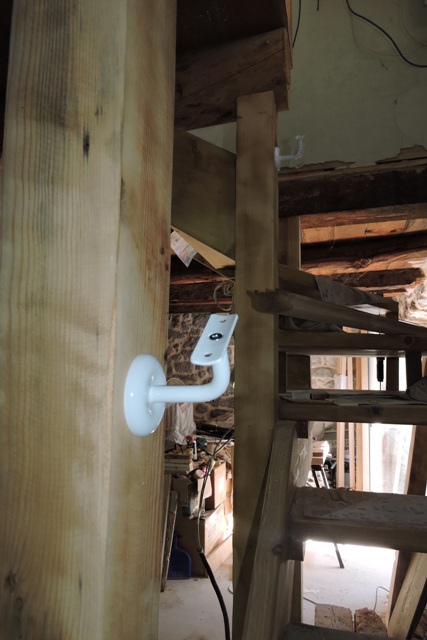
There was lots of rechecking of angles and checking of measurements before I cut the rails and fixed them in place.
Finally the safety handrails were screwed into place.
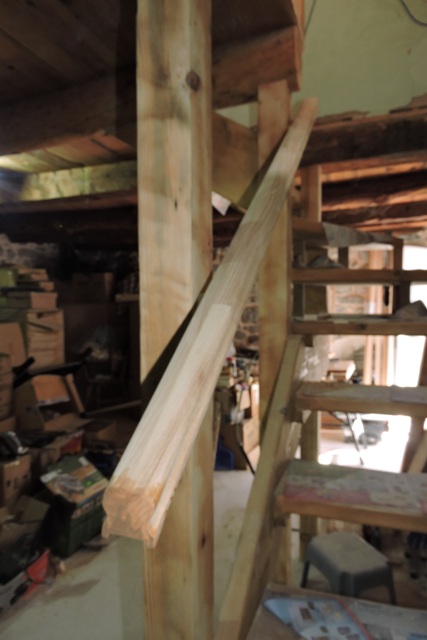
In the hall, I now need to start laying a level floor.
Only once this is done will I be able to install the balustrade spindles. However in the meantime, the hand rail has been fixed in place.
Putting the tools away
On Saturday I started returning all my tools from the Konoba to the workshop.
When the tools begin to return to their home, you know the project, or this part of the project is drawing to a close.
I still have a little sanding to do and some screw holes to fill, but the majority of the stair case project is now finished.
There is still a lot more work to do in the Konoba though.
I have yet to choose and order the tiles for the floor and before that Cvjetko will install plasterboard in between all the beams.
I need to complete the wiring of the niche lights and there is the wiring of the light switches.
When I installed the wiring loom, it was based on the architects plan. The stairs are not in the same place and now the wires are orphaned.
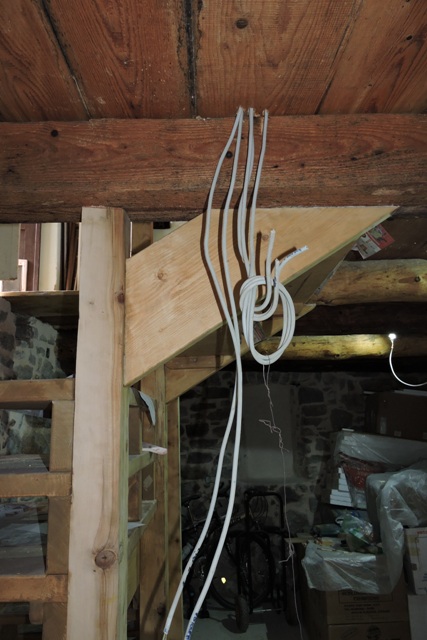
This week I have cut a reveal in another vertical post, where I can run the wires out of sight.
After cutting the reveal, I removed the waste wood by hand again, using a broad carpenters chisel.

I now need to decide on the switches I will buy, before I fix the post in place and hide the wires.
One more project I will need to start very soon is the installation of a new network cabinet.
This mess was lefty by a jobbing builder who promised to return and finish his work. That was seven years ago.
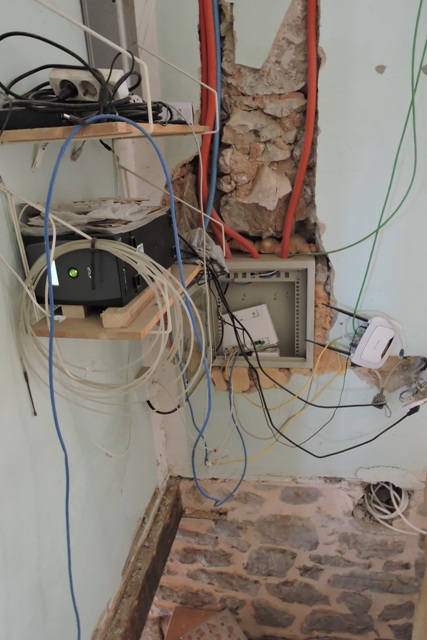
It was OK when the mess was conveniently hidden by furniture, but now it is above the stairs, I need to fix it!
A little bit of damp
I have a problem of damp coming in through my party wall with the tiny cottage next door.
The problem is that there is a flat 1940’s concrete roof next to my gable end wall.
Once again it is the result of the burning of the houses in Dol by Italian Facista during WWII on 3rd January 1943.
Buildings were repaired in 1943 / 44 following the Italian surrender in September 1943 and before the liberation of Yugoslavia in 1944.
So the materials used were not the best, but just needed to get buildings habitable again quickly.
Nothing else was done, in the case of my property, until I bought the property.
I have tried sealing the joint between the buildings, but it hasn’t worked particularly well.
This week my neighbour came up, opened the buildings and we had a look inside. The upstairs is damp and it is clear that the problem is the old concrete flat roof.
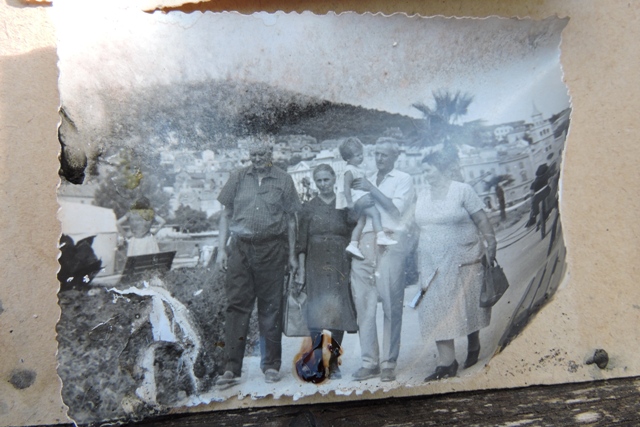
What saddened me was that there was a large frame of photographs on the partition wall, which had visible condensation inside the glass.
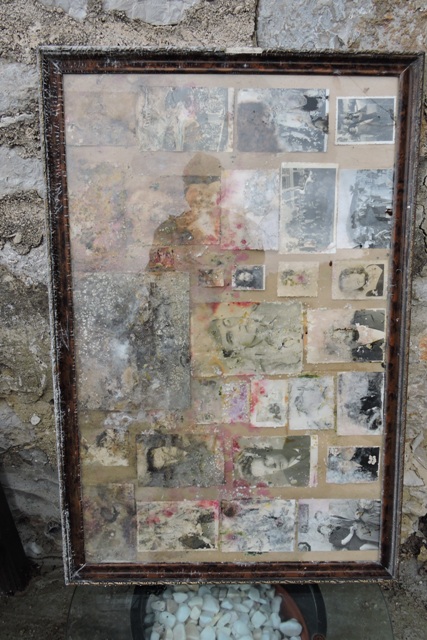
I have searched for photographs of the village and the people, especially the former owners of my home, without success.
Yet unbeknown to me, on the other side of the party wall, there was a frame which over the time I have been here has deteriorated.
There were some other photos and my neighbour was able to point out the original builder of the property, dressed in his Austrian Military Uniform, from 140 years ago, so not everything has been lost.
The frame of photos has come home with me, to see what I can salvage. However I don’t hold out a great deal of hope.
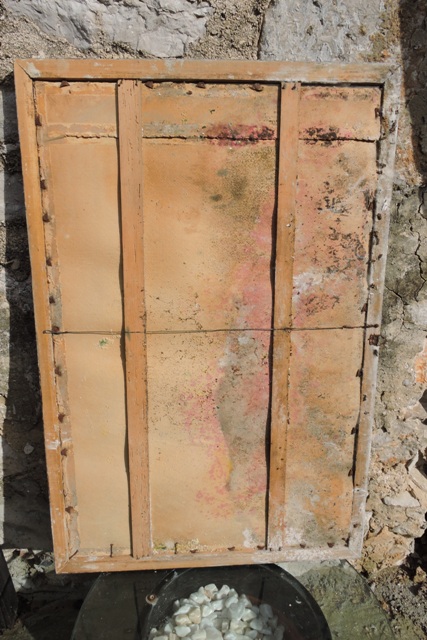
You have only to look at the back of the frame and see the fungus growing on the card backing and frame, to realise this has been very wet, for a very long time!
I do enjoy a challenge
I have some experience of restoring old photographs, albeit few have been as far gone as these are.
However with so little local history in photographs remaining, I want to at least try.
Call me a sadist, but I do enjoy a challenge!
I carefully dismantled the frame and exposed the photos to a natural air flow, to begin the drying process.
Even after a short time in the open air, some of the detail in these old photographs is recoverable.
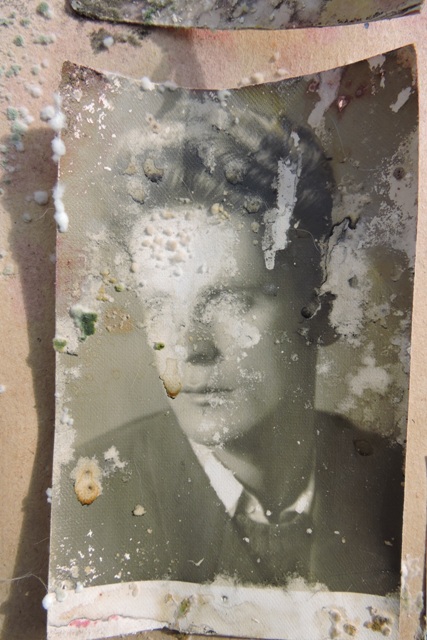
Around half of them will be totally lost, however if I can restore a few for the owner I will be happy.
Once the photographs are completely dry, I will separate them from the backing, scan them at very high resolution and begin the process of restoration.
This is going to be a long project though…
We’ve been on an orchid hunt
I belong to several facebook groups for Mediterranean gardening. This week one of the members posted a photo he had taken of Orchis papilionacea, the butterfly orchid, in Apokoronas on Crete.
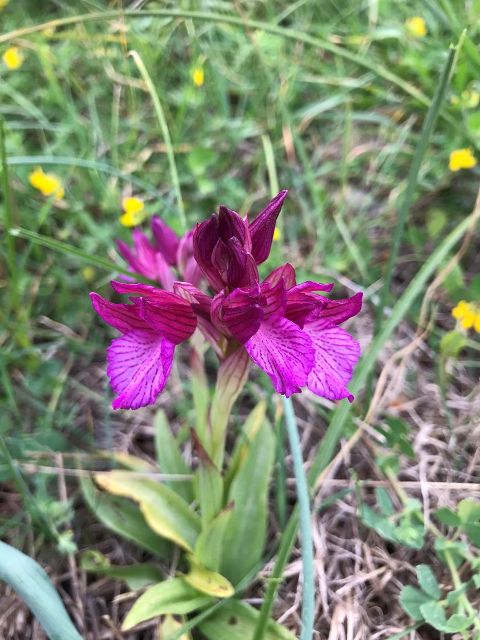
Photo: Andrew Lunt
Dol is 7 degrees of latitude north of Crete, so they are much further ahead of us in the progression of spring.
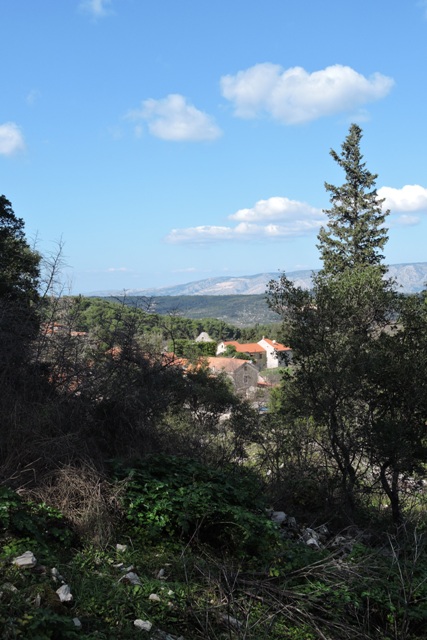
Even so, on a warm, sunny, spring day, it seemed like a good reason to go on an orchid hunt.
We have orchids on the island, and the butterfly orchid thrives in calcareous soils, in dry grasslands, shrublands and open forests.
That perfectly describes the Maquis around my home.
I set off alone, but was soon joined by some of the felines as we explored the donkey tracks through the Maquis.
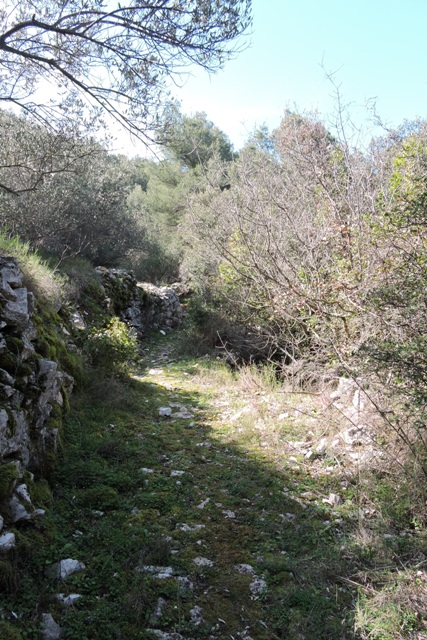
There were just a few more wild flowers than when I was last walking the tracks, only ten days ago. However there were no orchids to be seen.
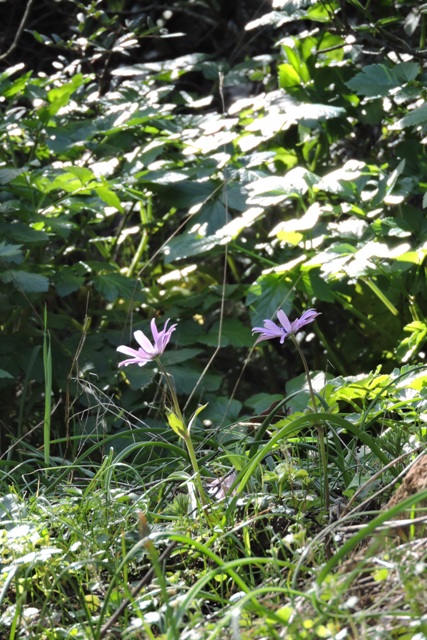
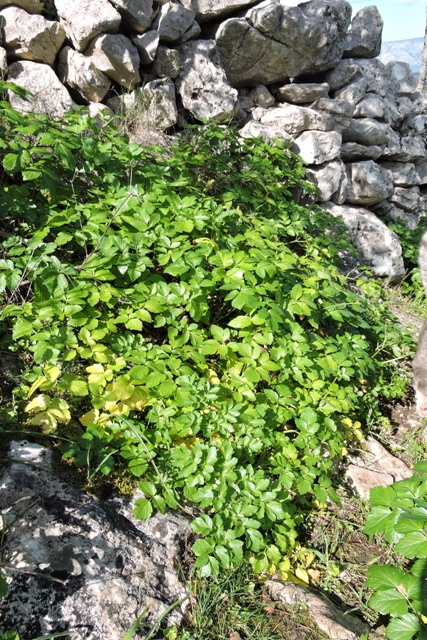
The first Anemone hortensis are in flower, with their nodding pink heads dotting the Maquis floor.
Large verdant clumps of Creeping Buttercup are everywhere, although it is a little early for their flowers. In a few weeks they will be covered in a mass of yellow flowers.
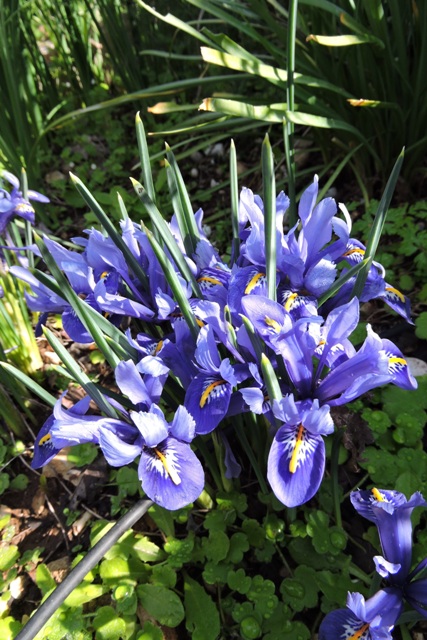
Meanwhile in the garden my Iris Reticulata have burst into flower this week. I have two varieties and the photographs really do not do justice to their colours.

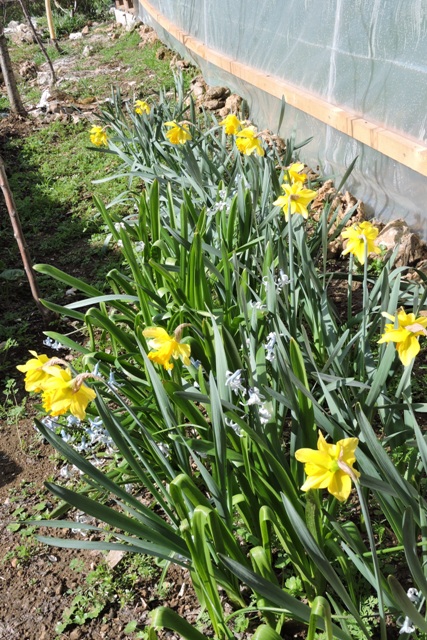
Outside the polytunnel, more daffodil are in flower this week. There are still a lot more leaves than flowers, so next year, after they have established I expect a bank of yellow nodding flower heads.
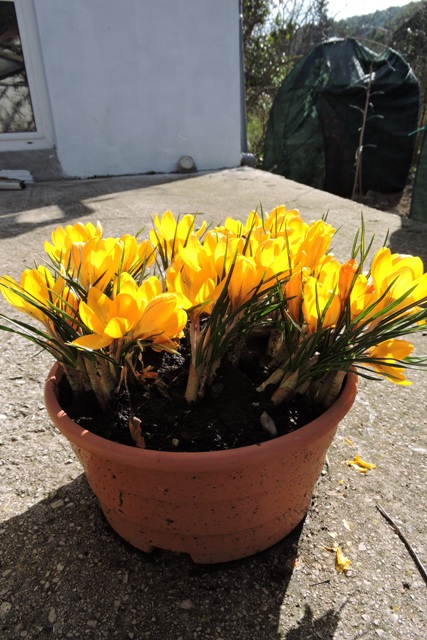
I still have a lot of yellow Crocus in flower too. These bulbs will be naturalised in a flower bed before the end of this year’s spring. NCG