To be or not 2B, that is the question
This week: That bit of land next door; Doesn’t time fly?; To be or not 2B, that is the question; Cutting circles; Some useless statistics;
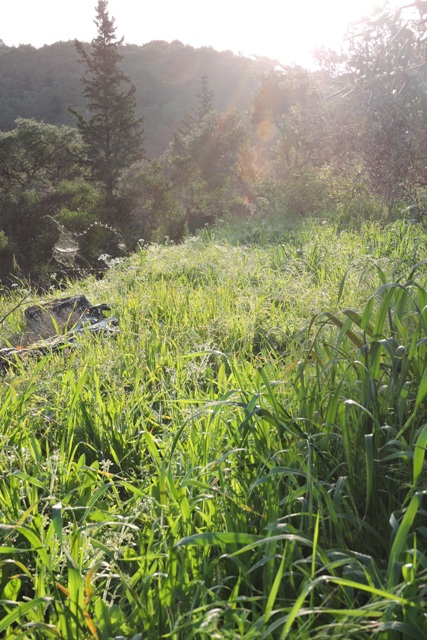
The weather has finally moved from spring to early summer. It has been tee shirt weather this week and has been very nice.
At coffee time on Saturday, I decided I would get the hammock and summer seat cushions out of the store and let them air in the warm sunshine.
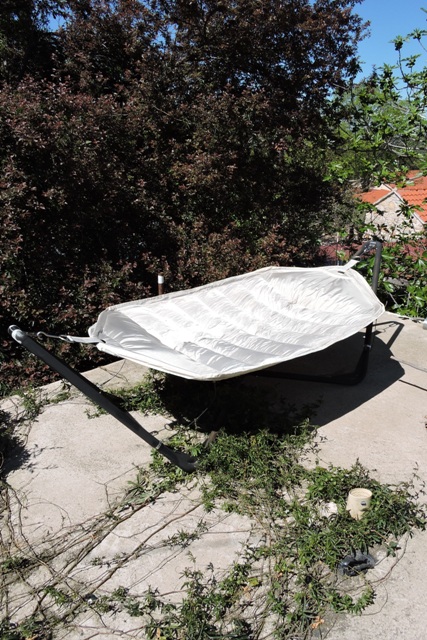
I will admit to testing the hammock. But only for a few minutes until the sun became too hot!
Overnight rain was forecast at the start of the week, so I gave a top dressing of manure to all the citrus trees, the apricots and peaches.
We received 7mm of rain, so some compost was washed into the soil. The rest will wash in later as a slow release fertiliser.
Our winter wet season finishes at the end of March and this past winter we have received 621 mm. This amount is around 150 mm above the average.
I have seen the first Swallowtail butterflies this week. I had the great good fortune to actually see one just after it emerged from its chrysalis stage and had climbed a Hyacinth leaf. Its wings were just filling with blood, expanding and hardening and it looked very new and shiny.

The early butterflies are everywhere. I have a small but expanding patch of Spanish Bluebells which are at their finest this week. Clearly with a lot of nectar because they are covered with butterflies and insects.

There is always so much to see in the natural world, all around my home.
That bit of land next door
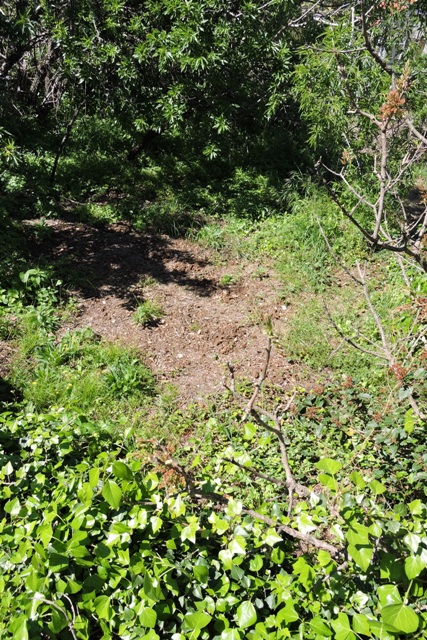
I have done some work on my new plot which I purchased from my next door neighbour last year.
After clearing the brushwood and weed trees, in one corner I have a small terraced plot which I was trying to decided what I would do with.
It isn’t really large enough for fruit trees and has a lot of weeds and ivy growing across it. It is also partially shaded by a mature Almond tree.
In one of my stores I had some potato tubers which were sprouting, and knowing that potatoes are good at preventing weed growth, I planted them up.
Alongside I also planted some onion sets. I think it will make a nice, manageable vegetable plot.
For this year, I will leave the plantings at that. The old advice is that when you start to garden/grow on a new plot, you should always leave it a year to see what is already growing, which you might wish to keep.
I was surprised this week to see in one area that I had cleared of shrubby plants, it was now a riot of magenta flowers.
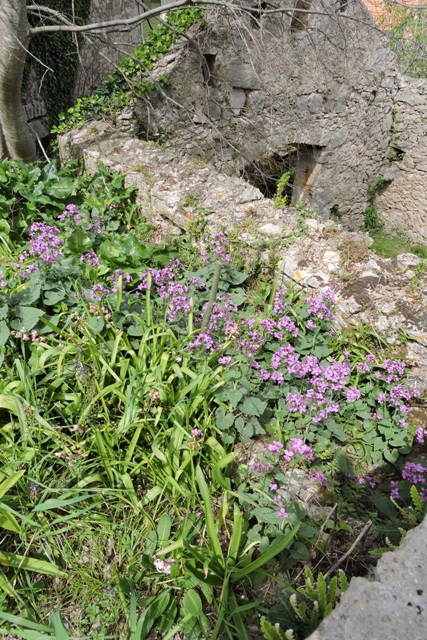
When I did the first cut, the only leaves I noticed were Hyacinth, so I didn’t cut down to soil level because they had not flowered.
The hyacinth have now finished flowering and now these plants have taken over. Try as I might, I can’t get the photographs to do justice to the riot of colour.
I have never seen them in this location before, although they must have been there.
No doubt they were completely hidden by the dense thicket which was growing all around.
What also surprised me is I recognised them as Lunaria annua, the Honesty Plant .

The Honesty plant is well known to temperate climate gardeners and flower arrangers, because of the round or oval siliques which appear in summer as green moons and gradually become translucent.
They look nice on the plant and also in flower arrangements, even being sprayed silver for Christmas decorations.

It was only when I looked into the botanical history of Honesty, that I discovered that it is originally from the Mediterranean, but has been taken and has adapted to many other areas.
It would have been so easy to just have cut everything down with the strimmer.
I am so glad now that I didn’t and this stand of plants I will now leave to seed and reappear annually, as they do.
Doesn’t time fly?
It is three weeks since I started tiling the floor of my Konoba.
I hadn’t realised how big an area 42 square metres is. In the old imperial measurements, it is over 50 square yards.
Some days I have been able to lay close to my target of four square metres.
However on others days, I have not laid any at all, instead just cutting the tiles which run around the edge of the trapezoid room.
I found it was more efficient to measure, mark and cut a number of tiles in batches of ten or so, rather than individually cutting a tiles as I reach the end of a row.
Part of this is because the tile adhesive is what is known as “Quick set”, and has a working time of between 30 and 45 minutes.
It can take me 30 minutes to mark and do a complicated cut on a single tile.
My target has been to have the room finished and useable for Easter. Well we are past that, but on Easter Monday I was able to unpack the setees which came with me from Abu Dhabi.
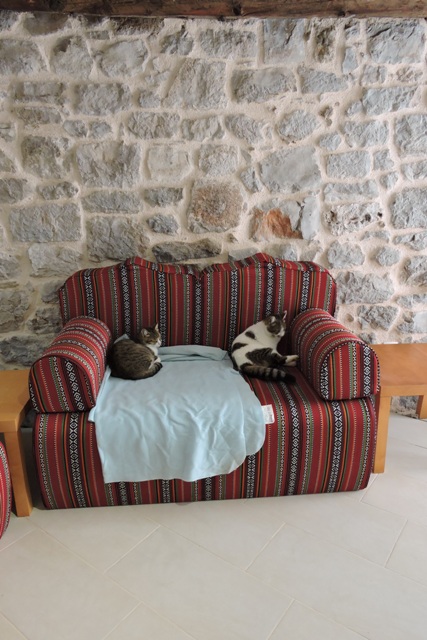
This was after I had laid the first grout into the joints between the tiles. I am very happy with the result.
Being Easter, the daughters of my neighbours from Berlin brought me a traditional German Easter gift of a nest of chocolate eggs. It really is nice to be able to sit somewhere comfortable and enjoy coffee and chocolate…

To be or not 2B, that is the question
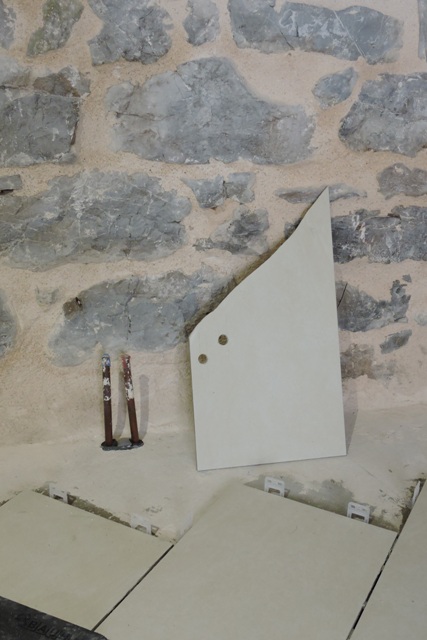
My new floor tiles are 6 mm thick, so they are substantial tiles. This means that cutting takes time, especially when I am cutting complex wavy edges, where the tiles meet the stone walls.
There are also the support timbers for the stairs.

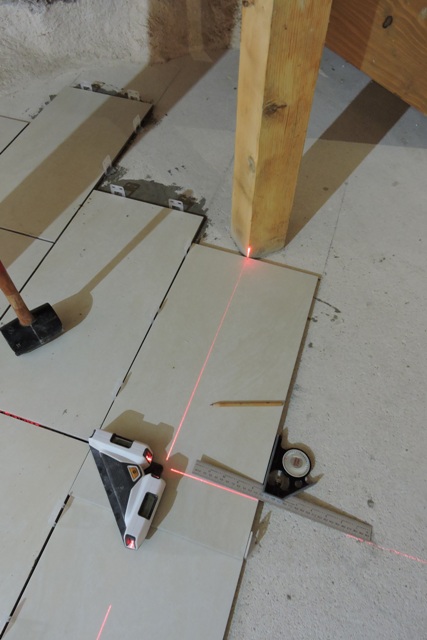
I was thinking about an easy way to mark tiles for cuttings and decided to experient with the laser device.
My laser square is designed to easily lay tiles completely square, a job it excels at.
But I wondered if I could use it to mark where the corners of the support posts would go on the tiles.
The key was to get the laser plumb with the tile it was on, but without using the edges of the tile.
I did this with an adjustable square. It was then just a question of using a soft 2B pencil to mark the tile.
A 2B soft lead line is easy to removed from the face of the tiles with an eraser.
Once marked in one place, I moved the level to get the right angle lines.
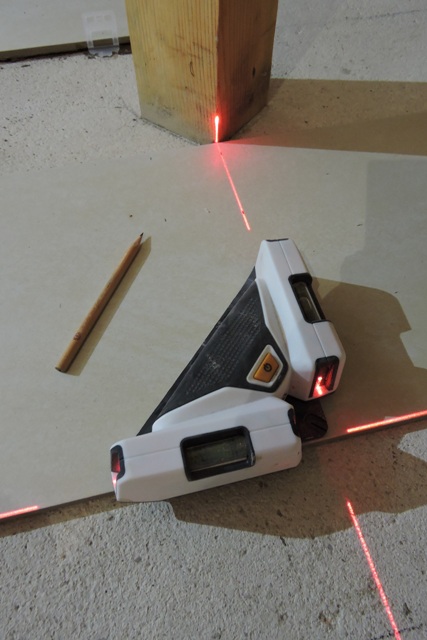
It was then just a question of joining up the intersection of the lines and I had the profile to cut so the tile fitted around the support pillar.
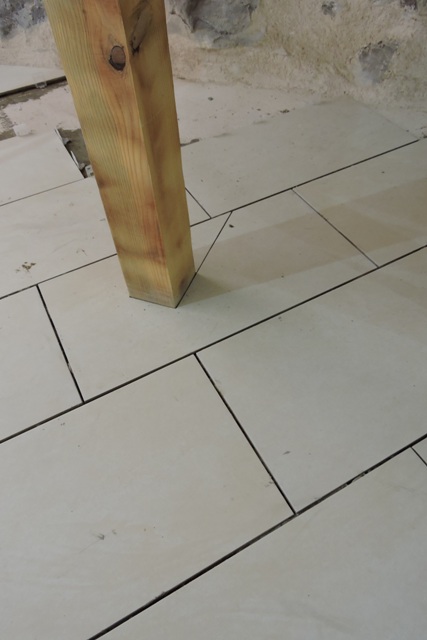
I did need to remove a little more tile to get a nice fit. But that is the right way round.
It is MUCH easier to remove a little tile because it is too tight, than to try and remedy a tile that has too much of a gap around its edge!
Cutting circles
There is a simple formulae you can use to work out the cubic air capacity of a room, and then an online site where you can calculate the size of radiators you will need to heat up the air in room.
The second calculation includes window areas, normal average cold weather temperatures, wall thickness and construction, insulation and floor and ceiling materials.
Using these calculation I laid pipes into the floor for three radiators.
The calculator said I needed two, but before the concrete screed was laid, it was easy to add pipes for a third, just in case….
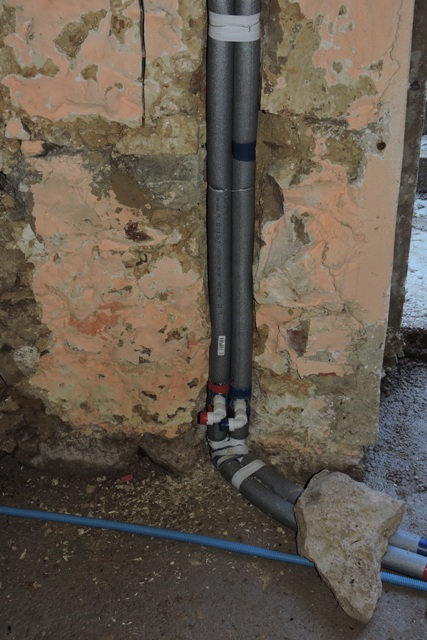
The 15 mm copper tails come out of the floor in insulation, close, but not too close to the walls. However tiles need to be fitted over these.
Once again I used the laser to get the position of the pipe tails marked on a tile.
One of the pipes is quite near the edge of the tile and I was concerned that I might break the tile while I was cutting the hole.
This led to me taking longer than planned, some 30 minutes to cut each hole, with a diamond tip boring device. I had the drill revolving really slowly.
The result was absolutely spot on, with no need for any adjustment.
Once the tile had been laid in position, I think the result was worth all the effort.
Some useless statistics
Having laid the last full size, uncut tile on Friday, I paused to draw breath!
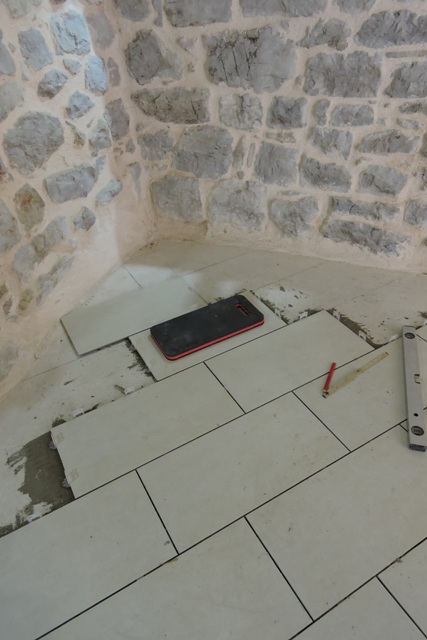
I finished at 13:30, which was early, but I couldn’t do any more as I am in the blind corner. This did give me time to take stock of the project so far.
Out of 38 packs of tiles I am down to my last four.
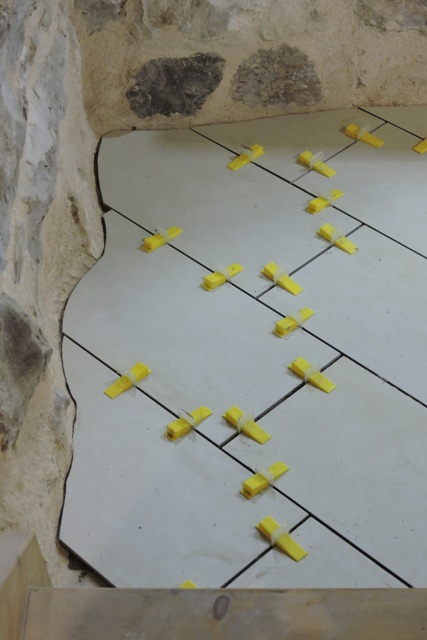
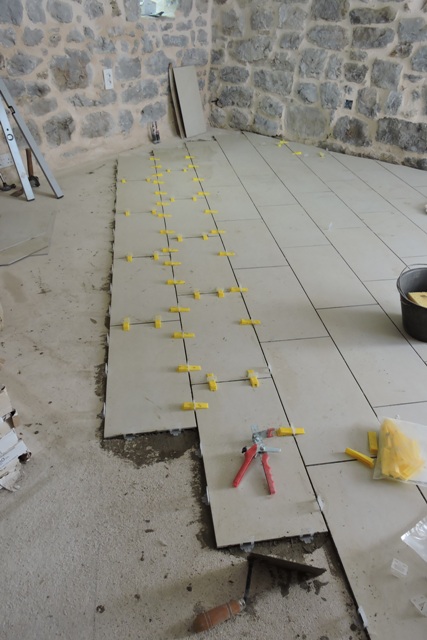
I have used 300kg of Flexkleber quick set tile adhesive, in twelve 25kg bags. Throughout the project I have also used 700 tile levelling clips.
I’ve not used this tile levelling system before and I am impressed with it and would recommend anyone laying tiles to use a levelling system.
The work continues though, because there are around half the edge tiles which butt up against the walls which I still have to mark, cut and lay.
Finally when all the tiles have been laid, there is the grouting to do. I have used 2kg out of 12kg of grout in a trial area.
So I estimate that I still have around three or four full days of work to do. NCG