Live and let live
This week: Door construction; Now for door two; Live and let live; Flowering plants;
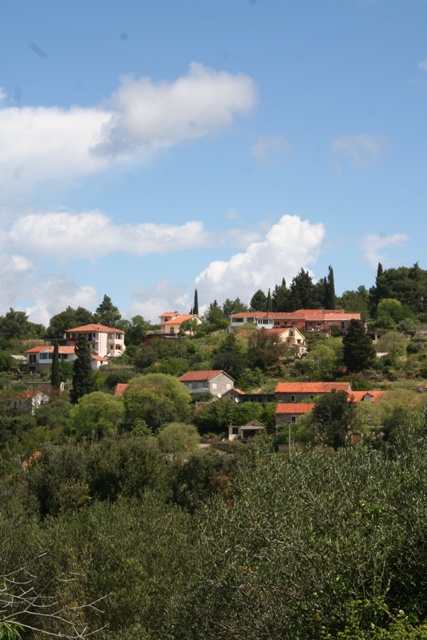
The day time temperature pushed past 30ºC this week for the first time this summer. It’s been hot and humid all week too, neither condition of which favours strenuous manual work.
That said, Cvjetko has done more concreting and finished the new steps.
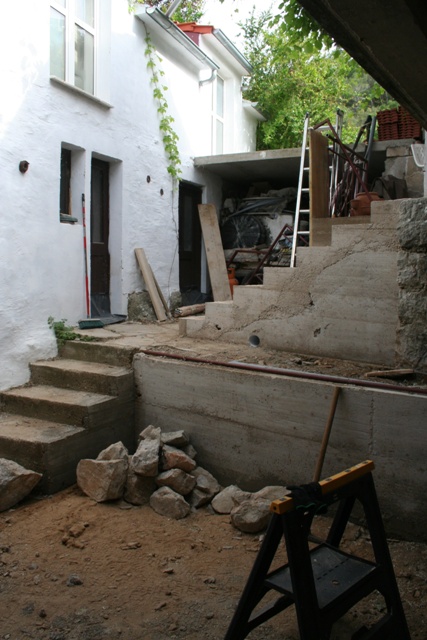
The next job is building a stone wall against them which will support a safety banister and also match the existing stone walling. But as the lockdown eases and requests for his considerable building skills start to rise again, it is not an urgent job.
It’s more one for when he has a gap between other paying tasks. I think I have done very well out of this lockdown!
Most of the week has been about door construction, with a little bit of fitting out the new building with shelving.
Once again Saturday has arrived before I am ready, but there is visible and tangible progress, so I can at least see where I have been.
Door construction
There is nothing quite like a good start to the week. I began on Sunday and working in the afternoon with power tools, I routed the tongue and groove joint for the workshop doors.
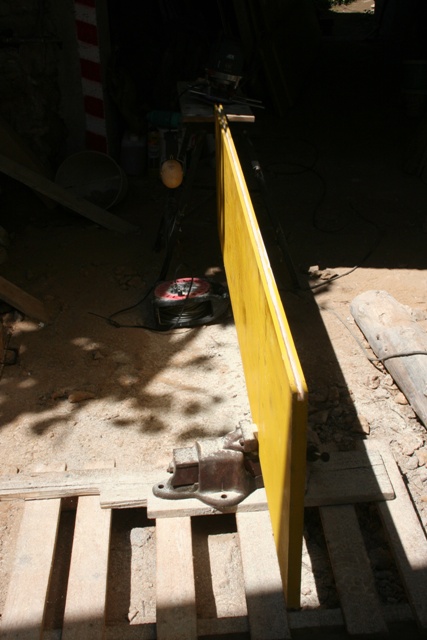
The width of the opening is 120cm but the widest pieces of door timber I can get are 50cm, so I have a single piece 50cm, and a standard width door of 70cm. But that needs both a 50 and a 20 cm piece.
It wasn’t difficult making the joint, just some careful measuring then I let the machine do the work. Late in the afternoon I glued the two pieces together.
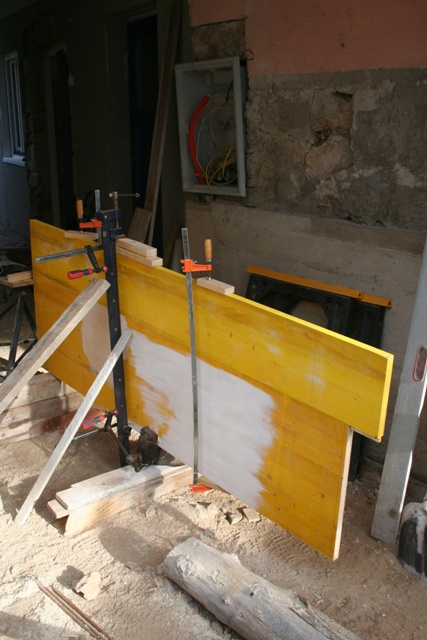
The bracing needed to keep everything square and true was a bit more complicated. I needed three frame clamps, a vice to hold the largest piece in place, several screw clamps and assorted pieces of timber packing.
After leaving the glue to dry overnight, on Monday morning I removed all the clamps and the new door is absolutely true.
Next was the cutting of the braces for the inside and also some very accurately planed blocks which is where the hinges will go.
I did discover that I don’t have any 20 cm long Carriage Bolts. Although the name is sometimes used interchangeably with Coach bolts, there is a difference. Carriage bolts have a much neater finish – they were developed for ladies carriages!
Not having long carriage bolts isn’t a show stopper as they are something that I only need six of and I can add them after the doors have been hung.
The hinges in the main will be fixed with SPAX screws and short carriage bolts. I suspect that obtaining them will have to wait until I go to Bauhaus on the mainland, once the lockdown and COVID-19 has eased.
All the wood work was given a coat of primer paint then left to dry overnight after the ledges and braces had been added.
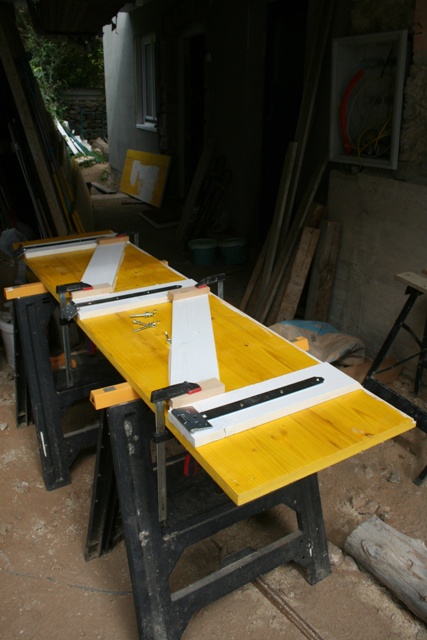
Finally the door was given a coat of gloss paint and again left to dry, then I turned the door over and treated the face side in the same way.
I have almost everything I need in stock, so there are no holdups when I am working.
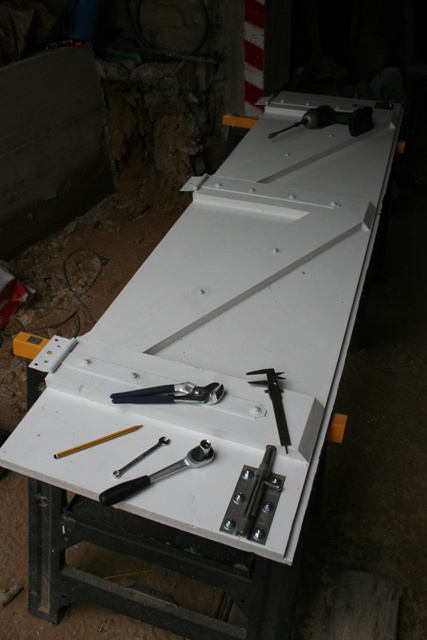
However when removed some door hardware from my store, I discovered this week that the drop bolts I purchased for the doors have no screw holes and no obvious way of mounting them.
I suspect that they are for a different kind of fitting.

This meant a trip to Volat to get a pair of Spanish INOX drop bolts.
I needed some 5 cm carriage bolts to fix them, together with a wrench and mole grip to make sure the bolts were really tight.
Now for door two
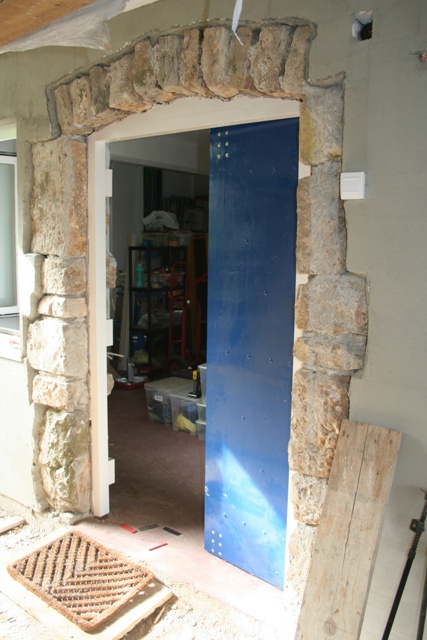
I hung the first door which I had mostly constructed last week without too much difficulty.
It just takes a bit of ingenuity. A clamp to hold it in place, some wedges under the door to lift it by just the right amount then a variety of drill bits to make pilot holes in exactly the right place.
Once I had hung the door, I used a small lifting brace to raise it just enough to take the pressure off the wedges so I could pull them out. The door swung perfectly and closed neatly into the frame rebate.
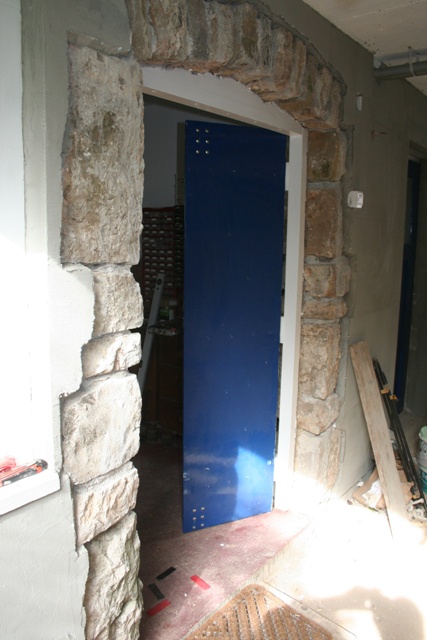
Time to turn to the second door.
With the wood glue dry, it was time to construct the ledges and braces and fix them in place. The longest job is leaving the doors to dry after gluing and painting.
With the ledges now firmly glued to the door, I did a trial hanging, to fix the location of the hinges. One these had been screwed and I was happy that the door was completely vertical, I took it off the frame and added the braces then fixed each hinge with carriage bolts.
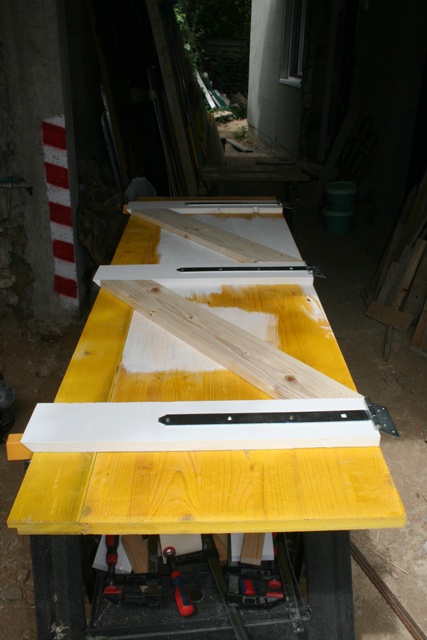
Once again it was given a coat of primer paint, undercoat and then finally on Saturday a gloss white top coat. It is now under cover drying.
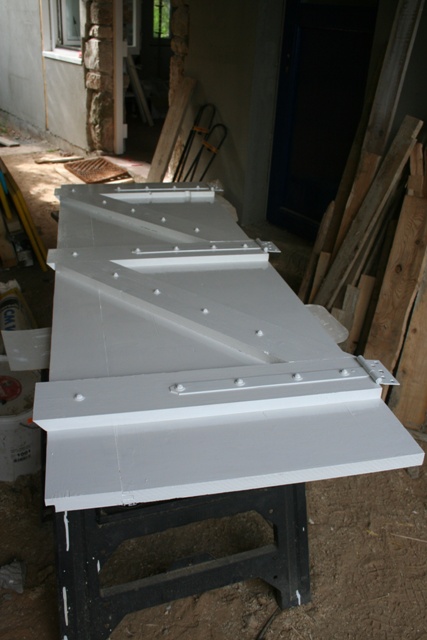
Tomorrow, once the paint is hard enough I will turn it over and treat the face. All being well, on Monday I will be able to hang it in place. But for now, at least I have one finished door.
Live and let live
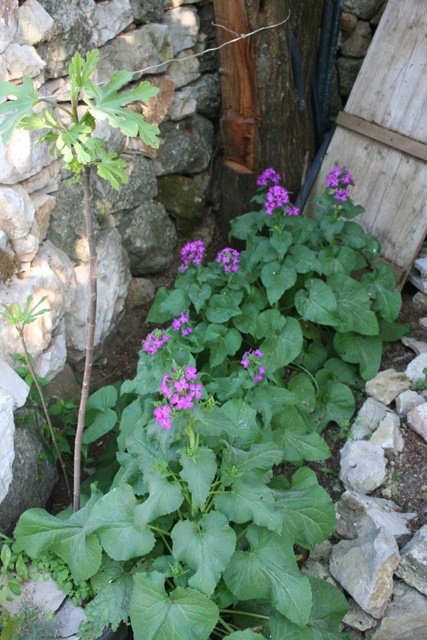
On one of my morning inspections this week I was surprised to see that my Honesty plants were being attacked.
According to all the information, even from the likes of the RHS, Honesty is resistant to all pests and diseases making it an ideal plant to sow and forget.
Well mine aren’t. They have been ravaged by an army of green and yellow caterpillars.
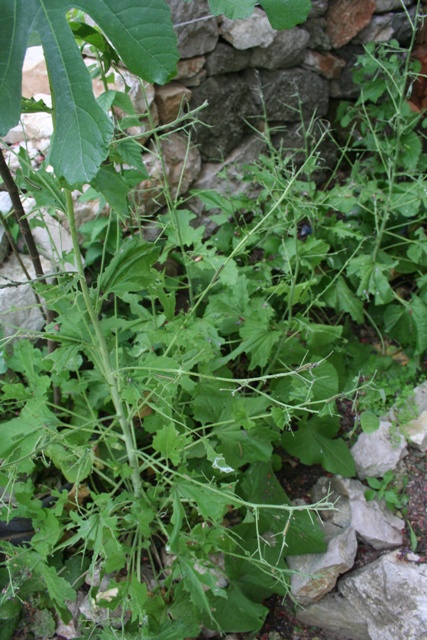
Almost all the plants have been skelonised, from ground level to the furthest growing tip. This has taken just a couple of days.
When I tried to remove the larger of the caterpillars by hand, they squirted a black smelly liquid, clearly designed as a defence mechanism.
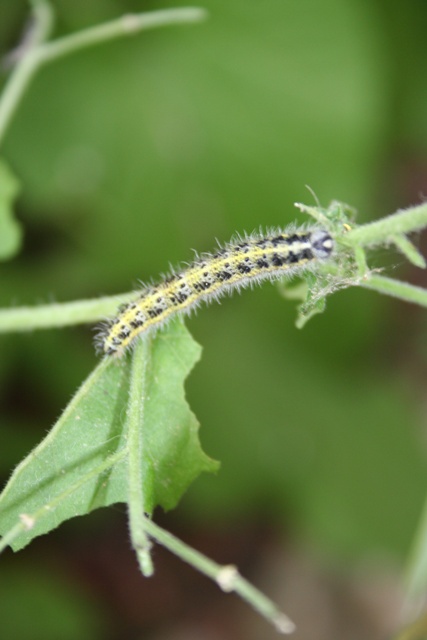
It wasn’t hard to identify what they were. These are caterpillars from the Large White butterfly, Pieris brassicae, better known as the Cabbage White because of its fondness for brassicas.
My initial inclination was to remove all that I could see and dispose of them, however because within 48 hours they had destroyed the plants, there was not a great deal of point so I decided to let them alone.
I don’t see many Large Whites, but clearly one has taken a liking to my plants.
Last year (the plants are biannual) they were untouched. I have planted more, which are yet to sprout, but next year I will be more careful.
It is a shame because the cerise flowers of the Honesty were brightening a rather dull corner.
Flowering plants
Once again this week I have done little garden work. All my time has been taken with the work on the new building. But on one of my strolls through what is rapidly turning into a grassy orchard meadow, I saw these.
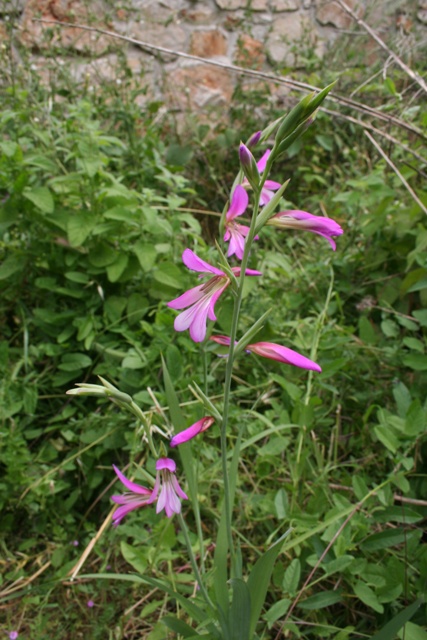
They are Wild Gladiolus, Gladiolus illyricus.
This is a well known Mediterranean biome species, found across the whole basin.
I had a small clump in the orchard a couple of years ago, then while I was weeding, I lost them. This group appeared last year and I have left them to naturalise.
I have planted cultivated Gladioli, watered and nurtured them only for them to grow a leaf and then fail to flower in the heat of the Mediterranean summer. They are still alive, because there are still leaves present, but none have flowered.
Here there is a perfect example of a local plant, thriving on neglect, being left to do its own thing, in amongst tall grasses and despite the parched conditions, it is flowering away and attracting insects.
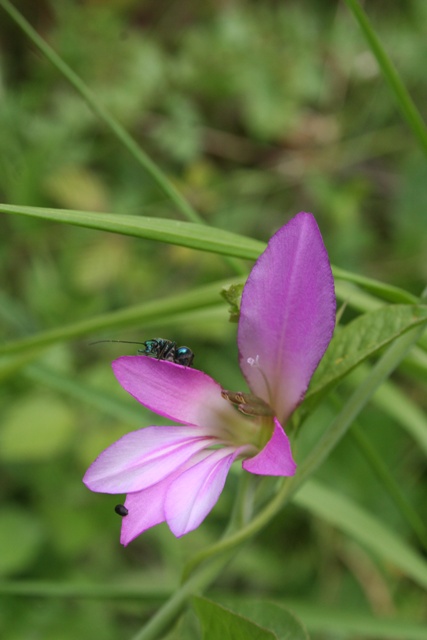
I need more plants like this! NRC
3 Responses
Richard Ellis
Enjoy reading of your progress. Since you have a natural forest, on the island, just gather some of the wildflower seeds and relocate them to your property. Sow and let nature take over. Glad that you are well and healthy.
Tried to locate your place on Google Earth, no luck.
Brian Homans
A great read. I especially enjoyed the door-building tutorial!
Hajo
Again – odlicno posla!!