A bit of a whipping
This week: The smallest room (continued); A bit of a whipping; The Klotski Puzzle; Ready, steady, SHED; Modern engineering methods; Maquis walk; Looking back;
I was backing up old blogs this week and looked back at this week in March, a couple of years ago. My what a difference in the weather!
When the sun shines at the moment, it is positively hot, but the nights have been very cold, down to +3ºC here in Dol, and below zeroºC down in Stari Grad.
In a previous year’s Week 11 blog I’ve mentioned that I have had to cover the solar water tubes because the water has been boiling. Not so this year.
The cold nights do not seem to have affected the plum blossom too much. This year’s crop are already starting to develop.

It will soon be time to pick them.
This blog began as an email when I first moved to Dol, as a means of keeping friends and family in touch. I soon found that email limited my creativity and so I started to write using s programme called Shorthand.
All the past issues are still there, although I am unsure for how much longer, so I backed them all up to off-line storage this week.
Starting this week, I have added a new section at the very end of my weekly musings, called simply “Look back”. This will include the links to this week’s blog from past years.
The smallest room (continued)
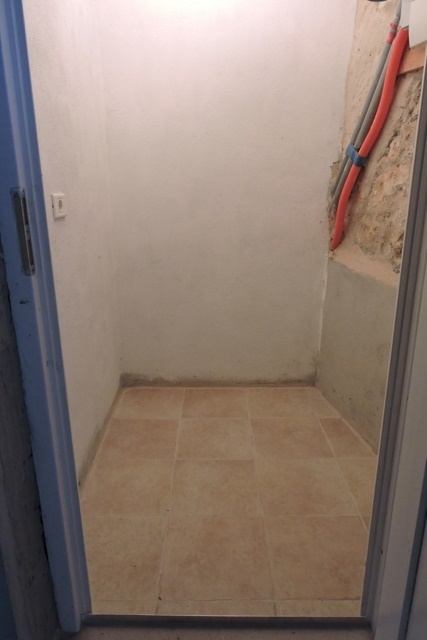
Cvjetko was back on Monday to point the stone wall in the electro-mechanical plant room. It really does look very nice now, even though it will only ever house utilities and services.
He also brought some floor tiles with him.
By the end of the day, the electro-plant room had nice tiles on the floor and the wall was highly presentable.
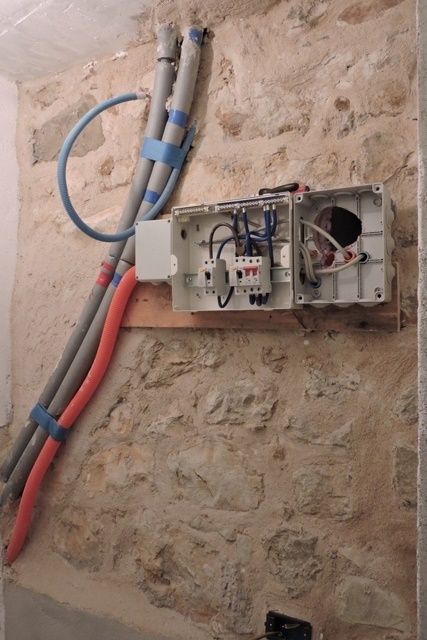
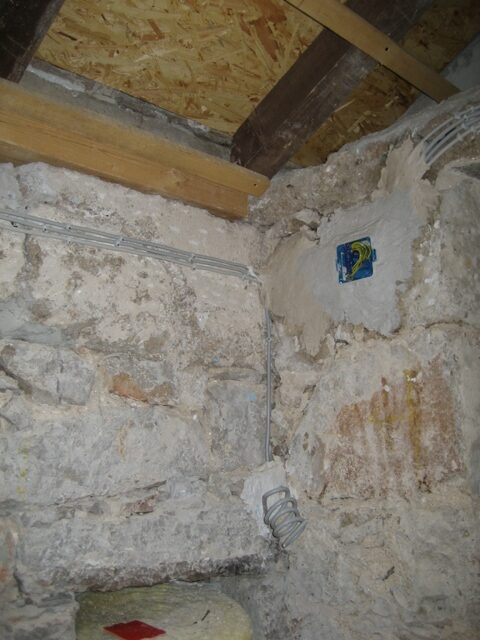
While all this hard work was going on, I was carefully cutting holes in the electrical junction box, to take the various incoming wiring conduits.
It was a case of cut a hole, measure and check where the next conduit would got, cut a hole for it and repeat.
Although I had to leave the floor for a couple of days to allow the tile cement to completely set, the junction box was finished and ready to mount.
Wiring is just following the rules
My experience with electrical wiring here has not been good.
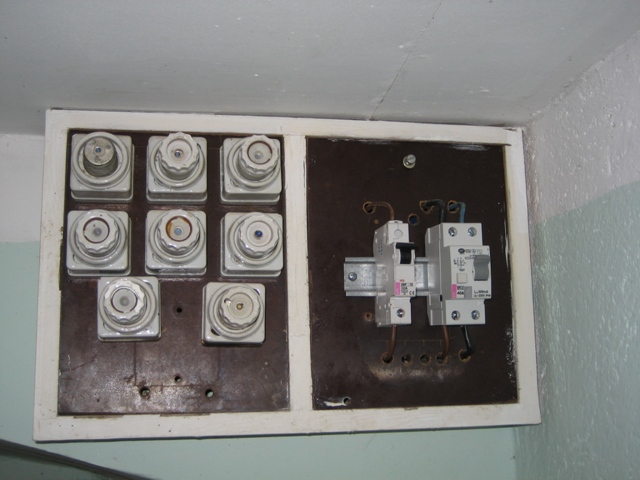
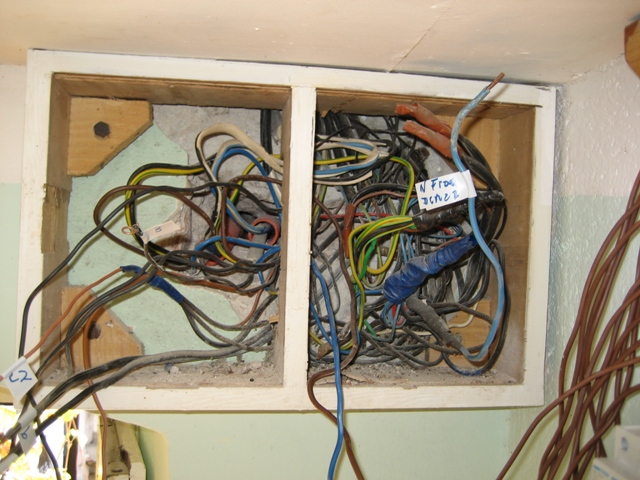
Whether it was the rats nest of wires behind the fuse board when I moved in.
Or a “qualified” local electrician’s work that condemned.
Or just doing some minor wiring for neighbours, I have been appalled by the abysmal workmanship which doesn’t meet even the most basic of European standards.
Then there is the added dimension of a lack of local supplies. For example when I went into a local builders merchants for some brown 1.5 mm live cable and I was offered either blue (neutral) or green and yellow earth, because they didn’t have brown (or black) live cable colours.
The salesman said, “Just take some green and yellow and use that. Everyone else does”.
I know, I’ve found live feeds running on green and yellow cabling. NOT good!
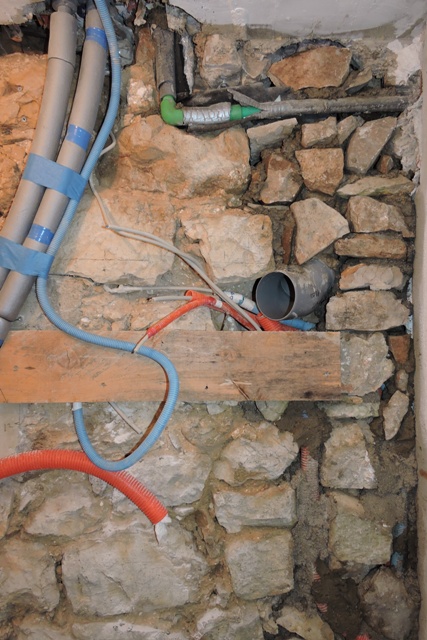
Can anyone tell from the wiring colours in this bundle of wires what its purpose is? I think not…
Before getting the permission to build the workshop I had a visit from the electrical installation inspector, to review the plans. In my introduction to the wiring diagram, I mentioned using the 17th Edition of the Wiring regulations.
He looked up from his notebook and asked what sort of consumer unit I was using.
I told him an IEEE metal clad unit made by Hager in Germany.
His response was, “I’m wasting my time. No one on the island used metal clad or Hager equipment. I’ll pass your proposals now.” Which the man did, without further comment.
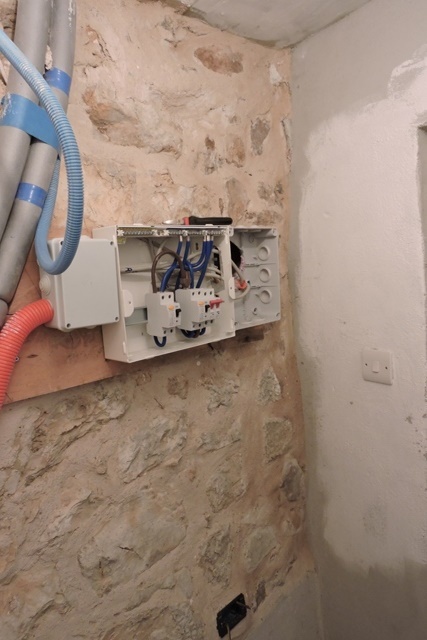
So this week, when I started to wire up the installation in the plant room, I have a clear written plan, fittings which don’t just have a CE marking, but are of the highest quality and a system which would be acceptable anywhere in Europe.
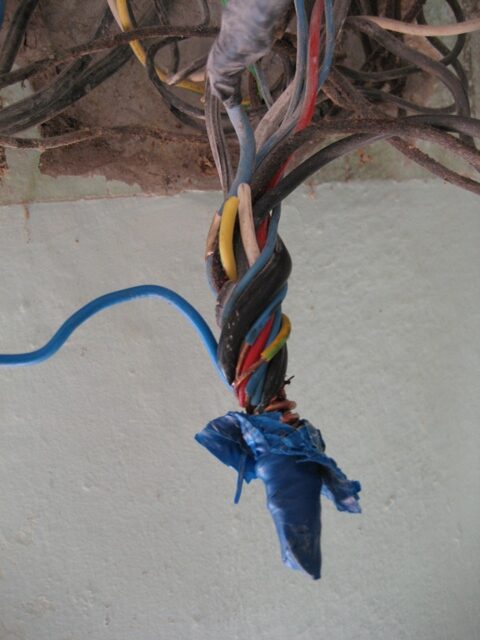
It did take the best part of a day to install everything, but having gone from the mess I showed you in a photograph a couple of weeks ago before we started work in this room –
To a wired split load consumer unit –
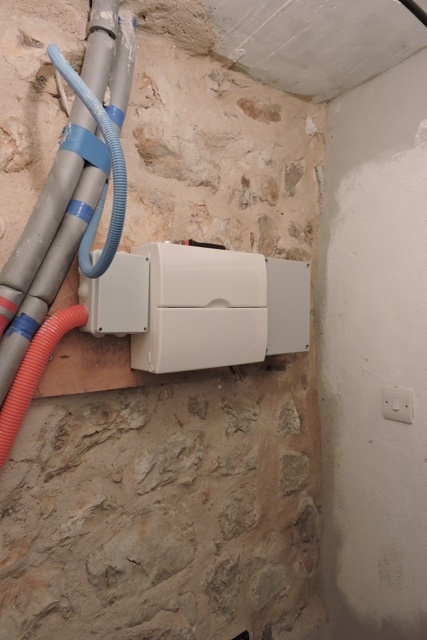
You can now see the difference. There were a couple of small gaps in between the incoming junction box and the plastic piping, so I filled them with expanding foam. Nothing is going to get in to chew on my work.
A bit of whipping
If I mention that this week I’ve got some leather thongs out and a whipping kit, my comments could generate some strange looks. But please read on…
I have some 2.5 m x 1.5 m plywood panels to move, a task that requires some dexterity as well as strength. They are the siding and boarding for the garden shed.
Two easy ways to move sheets of timber is either to have a person at each end, or to use a lifting strop with the board balanced in the middle.
Especially where the weight is not too great, the strop is an easy way for one person to move the boards around, even in confined spaces.
To make the strop I found some thin 6 mm diameter hemp rope that has been in my string box in the workshop. However, only one end had been knotted to prevent the bight coming undone.
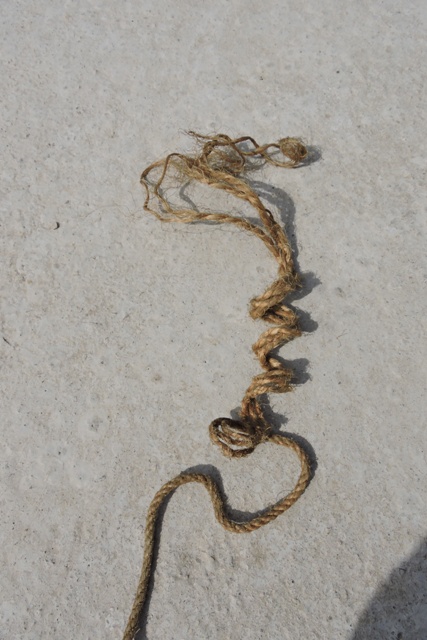
At the other end, no such knot was in place, so the four strands had unravelled for a distance of 30 cm, with the yarn in each strand spreading and in places the individual fibres splaying.
Being hemp, it will not damage timber like a modern nylon or polypropylene rope would so I decided to do a quick repair.
A long, long time ago, in a far away place, I was a member of what was then called the Wolf Cubs – junior Scouts.
One of the things you had to do for your silver arrow badge was learn to be proficient at tying knots. This also involved the care of ropes and how to whip the ends to stop fraying.
These skills stay with you. I use knots all the time: whipping however is not something I’ve done for a lot of years.
So in bright spring sunshine, I assembled my whipping kit. Linen thread, a Stanley knife, a leather thong to grip the rope and a comfy seat.

It was not a long job to whip both ends of the rope.
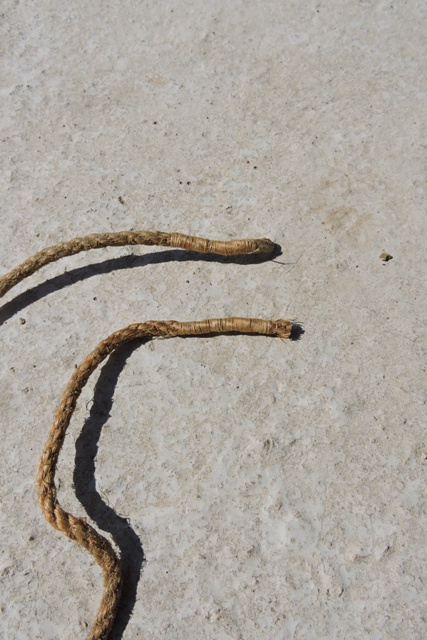
I added a couple of plastic handles before using a square knot to join the two ends together – another useful and favourite knot of mine.
This length of rope should now be good for at least another 25 years.
The Klotski Puzzle
One of the difficulties I have had is bringing a container of “things” from Abu Dhabi, without the refurbished space to unpack and put everything.

I lave likened this before to a square puzzle.
This is where you have to move things around with just one vacant square, but over time I have gone from a 16 square block, to a nine square block.
Building the workshop last year was like solving a Klotski puzzle.
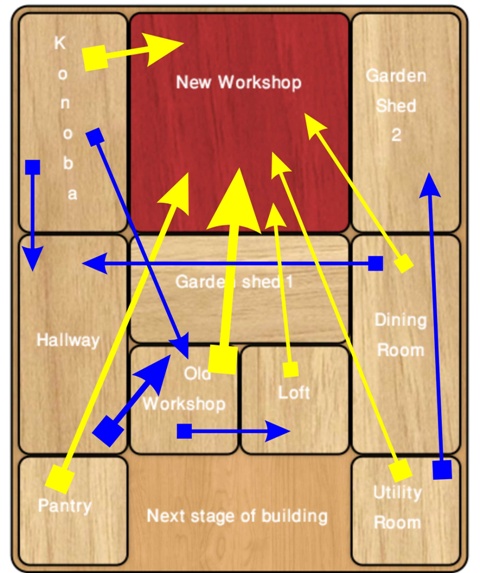
This week I’ve started on the next stage of the building work, by re-erecting the modular shed I built in 2019 as a storage space.
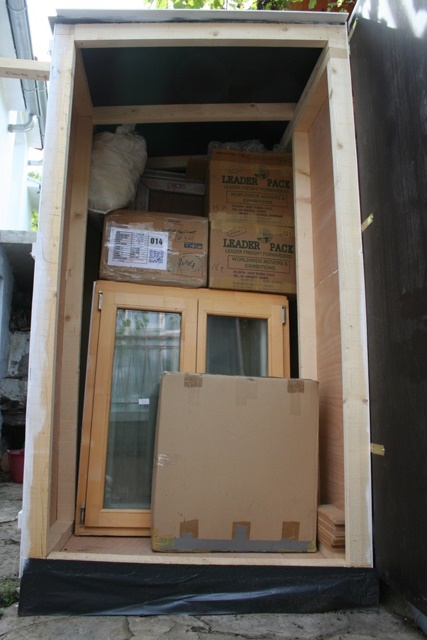
This was where I stored all the pre-purchased materials for the new workshop building.
I still have some timber, a bicycle and other odds and ends in the big Konoba. But to refurbish the Konoba, I need to clear it once and for all. Again I need an empty square.
Time for some shedding…
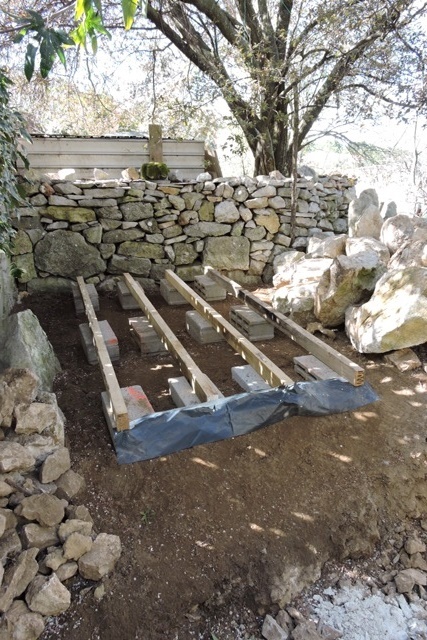
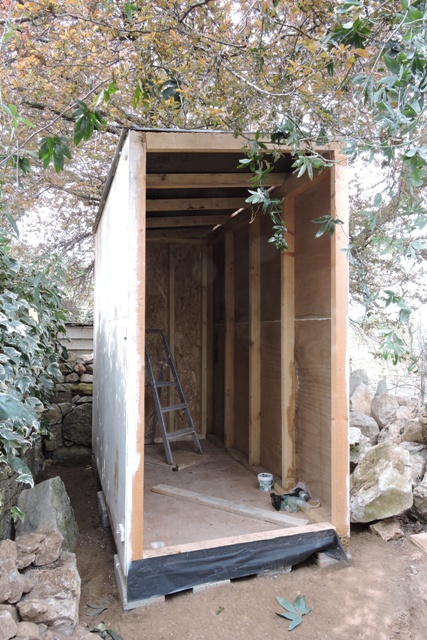
Ready, steady, SHED
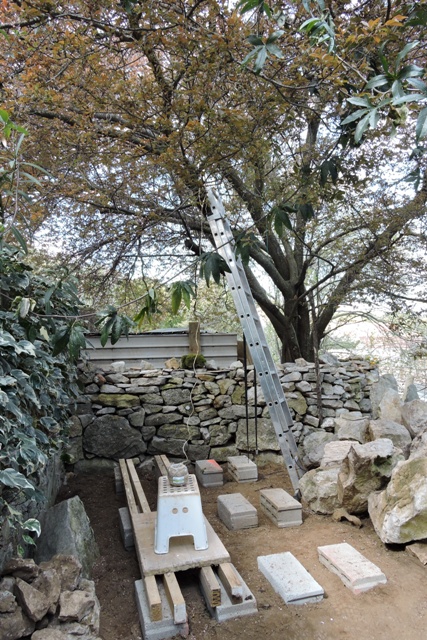
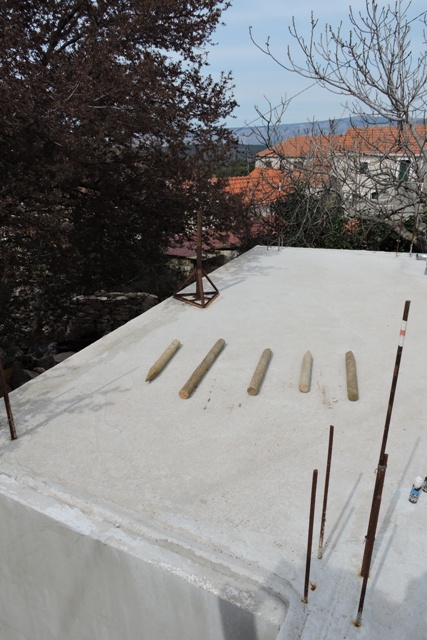
I started the week by marking out the plot and laying some concrete blocks which will act as the foundations for the shed.
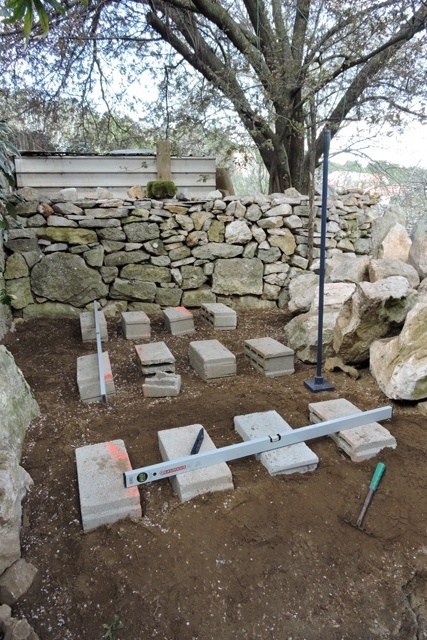
These will take the 10 x 5 cm floor support beams, but they need to be level.
The soil base has been well compacted, so it was just a time consuming task of starting in the lowest corner and making everything level.
With long and short levels, it was not too difficult a task. Then I did a trial lay of the floor support beams
This location is under the old plum tree. This tree had a couple of low hanging branches which I needed to lift out of the way.
In a year or so, I’ll dismantle the shed again and move it, so I didn’t want to spoil the shape of the tree by cutting the branches off.
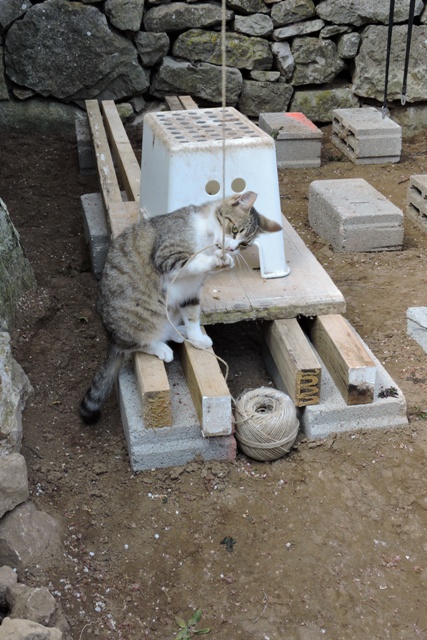
I should add that I have had the apprentices helping me every day!
Modern engineering methods
Although the shed is modular, the area where I am re-erecting it has reduced working space. I therefore decided that I would pre position the wall frames, before I laid the floor. They could then just be lifted into place.
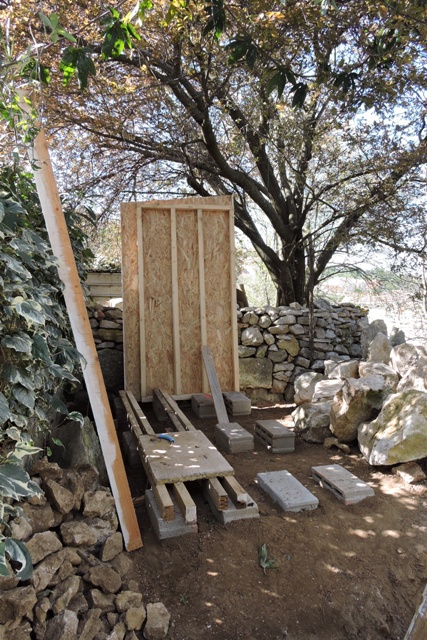
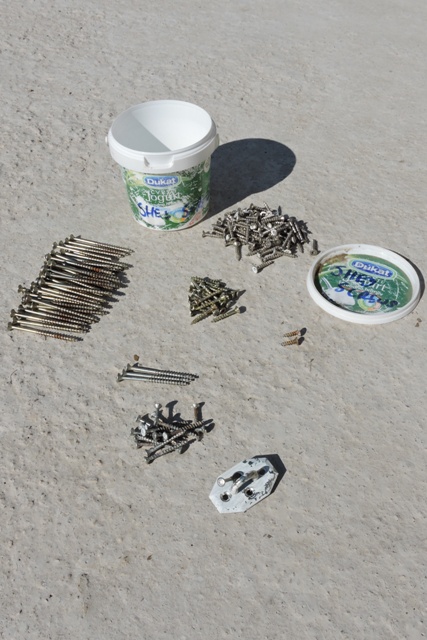
When I dismantled the shed, I kept all the screws together. I tipped them all out onto the terrace and sorted them into their different sizes.
Assembly was straightforward.

Because of the restricted space and the tree above, I had to be a little inventive with the roof.
I decided I would use the most up-to-date engineering methods to slide the roof over the shed.
OK, I Don’t have any fancy hydraulic rams, so went back to the methods employed by the Egyptians when they built the pyramids.
Carrying the plywood sheet was not difficult. I just had to make sure it was the right way round.
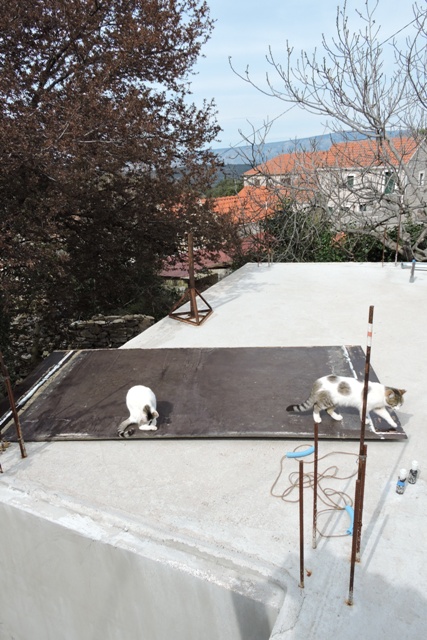
The sheet then easily rolled across the gap and onto the shed walls.
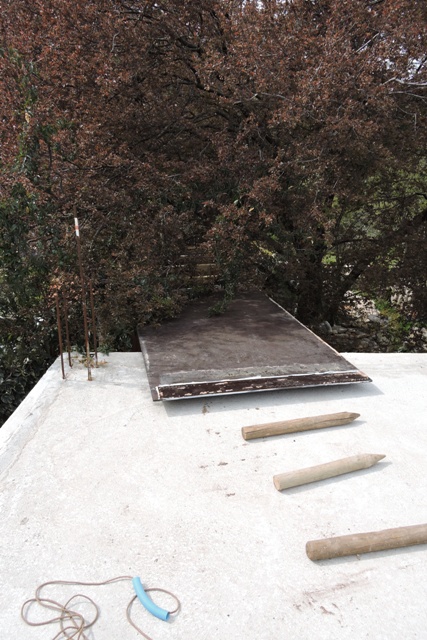
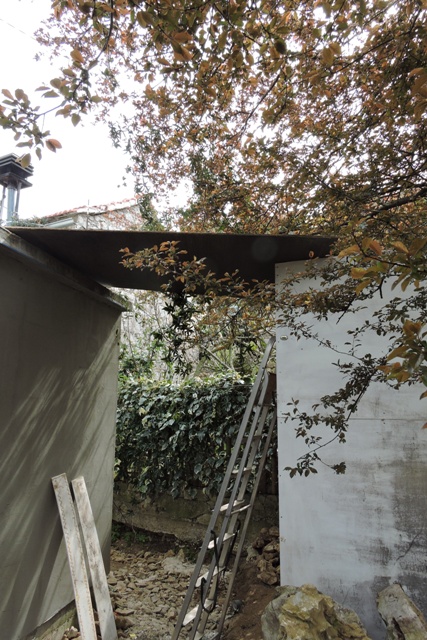
A few more minutes and some minor adjustment and the roof was in place.
With fine weather for the next week, I can take my time to caulk and waterproof everything. The very last job will be fixing the door.
In time this modular shed, which I only ever intended to be temporary, will probably provide an ideal garage for a mini JCB.
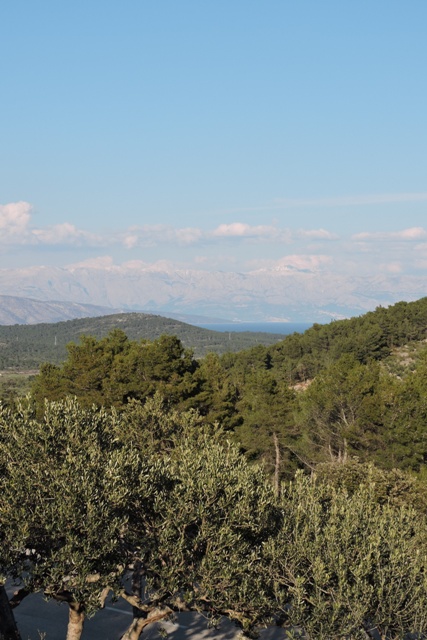
Maquis walk
While I was waiting for my electric screwdriver’s battery to recharge, I decided to have a wander through the Maquis up to St. Michael’s Church.
There are some particular species of shrub that I want to identify. I noticed a couple of years ago that they have “pitcher” flowers that trap insects, but I have been unable to identify them in my books.
Even in winter, the remains of the pitchers are still there.
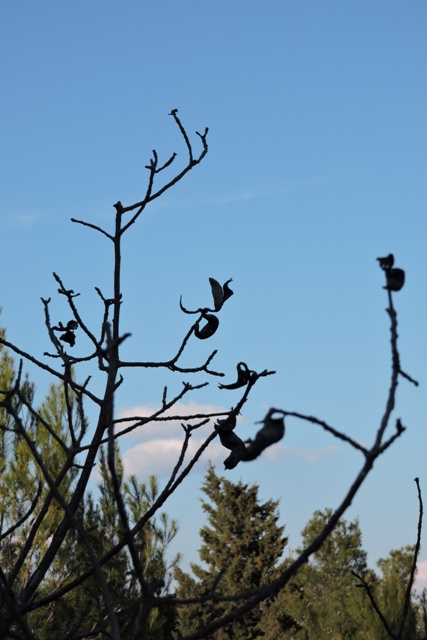
Their form against the blue sky reminds me of a corkscrew hazel.
At the moment there is just the first signs of the leaf buds swelling. I need to go regularly to try and photograph their flowers.
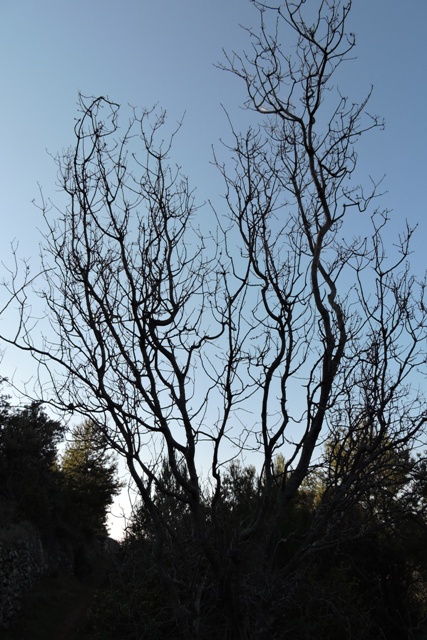
Walking back along the old “coffin route” through the Black pines, rays from the sinking sun were dancing between the trees and illuminating the path.

Even during lockdown, there are many simple pleasures to be had within 300 metres of my home. NCG
Looking back – Week 11
This is the start of a new weekly section, with links to past issues of the blog.
2016/11 How do you eat an elephant
2017/11 I’ve started so I’ll Finish
2018/11 Well clarted boots
2019/11 Digging for Brown Gold
2020/11 Many uses for a blue light
One Response
Andy Robinson
a mini JCB?…I’m surprised you haven’t already made one out of a couple of bits of angle iron and some whipped rope……you really aren’t trying Norman!