The final cut
This week: It’s finished and in use!; The final cut;
The week started a little cool and damp, however as soon as the sun came out, everything has warmed up nicely.
This is typical of both spring here, where as the seasons change, so the weather oscillates between the end of winter and real spring warmth.
Friday was the Vernal Equinox so we are now well on the way to summer, although the temperatures do not really reflect this.
The outside temperature was just a fraction under 20°C on Monday lunch time, but 24 hours later it had dropped more than 10 degrees, to just 9.6°C. Today we are back to 16°C.
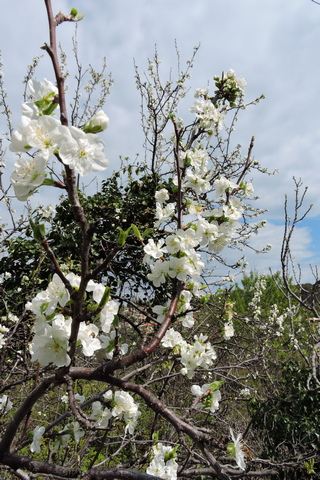
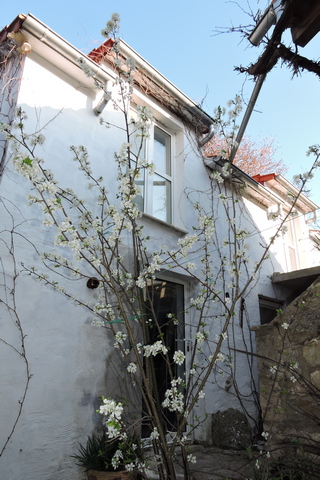
Blossom is everywhere. My Shropshire Prune Damson, Prunus domestica insititia, is absolutely covered in flowers.
Considering this tree came from the UK, with a plant passport, before Brexit, at close to 4 metres tall, it has adapted to life in the hot courtyard with panache.
It is thought that damsons were first cultivated in antiquity in the area around the ancient city of Damascus, capital of modern-day Syria.
They were introduced into England by the Romans. The name comes from the Latin ‘prunum damascenum’, “plum of Damascus”.
Not all the blossom will set, however I look forward to a good crop being ready at the end of August.
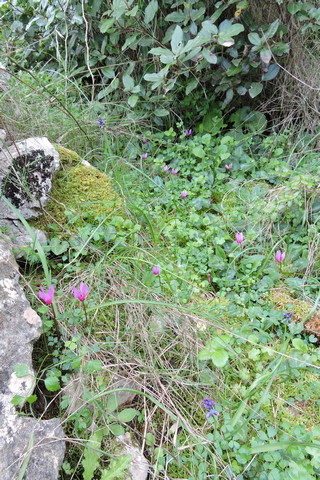
I have continued my perambulations along the paths and tracks around my home this week. There were no new orchids, however I did see several patches of wild Cyclamen, Cyclamen repandum.
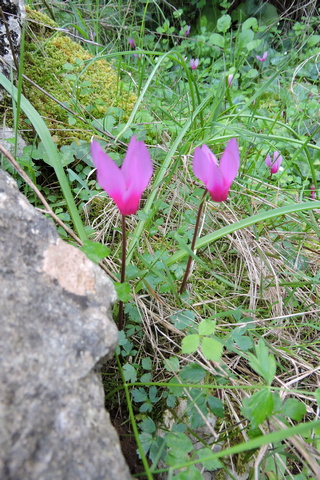
This vividly coloured flower can be found growing from the South of France, through Italy and the Balkans, to southern Greece. It grows from a tubor in shady, rocky spots on the edge of the Maquis.
In the east orchard the Alexanders herb, Smyrnium olusatrum, is all in flower so I have been cutting all the flower stalks at soil level.
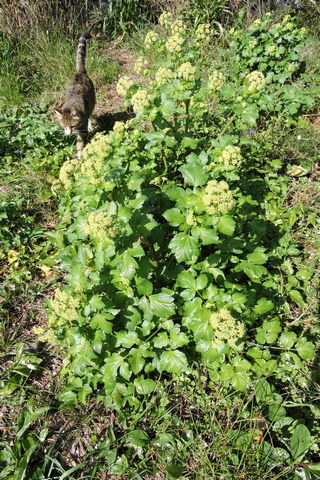
Bees and other pollinators have been taking nectar from the flowers, but I wanted to prevent them setting and spreading seeds. So before they developed seeds, all have been beheaded.
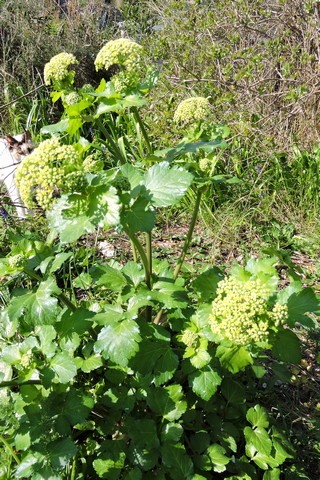
Although a herb and food plant, it self seeds and readily spreads, in the manner of a weed, so it needs controlling.
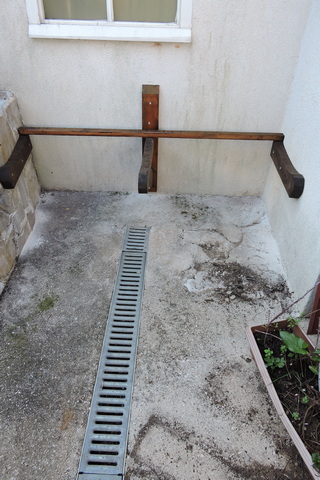
It’s finished and in use!
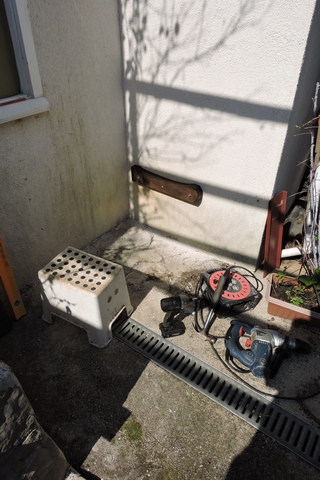
Fine weather has allowed me to finish the kitchen window seat.
As I have said before, I just don’t like donning waterproof’s, simply so I can work outside, so this project has taken longer than I would have liked.
The first task was to carefully drill the stone walls to take the two ledges at either end of the seat.
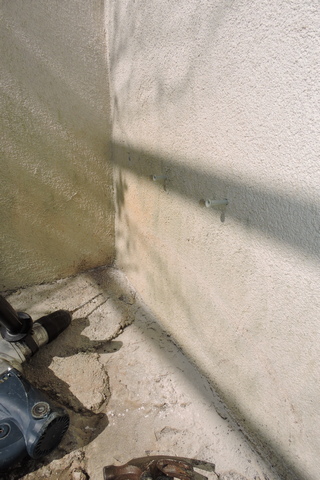
I’m using 100mm plastic wall plugs, with 120mm screws going through the wall ledges.
Because the walls are covered with render, I can’t see what is actually behind, so drilling has to be done carefully.
I started with a 5mm SDS bit, and then worked up to an 8mm bit.
Fixing the ledges was then easily completed.
The next job was to fix the actual seat rails.
I had to adjust the length of two rails because they were too long. However it is much easier to shorten something by two centimetres, than having to add two centimetres because they have been cut too short.
It did mean that I had to treat the cut ends with Sadolin wood preservative.
Because the walls are uneven, there were some gaps between the walls and the ledges, I used a clear silicone bead to seal the gaps.
I am concerned that because this will be an “all weather” seat, my worry was rain ingress between the walls and the seat, leading to the wood rotting, despite being treated with preservative.
Finally I added the seven rails, pre drilled and countersunk the fixing holes, then used 60mm SPAX stainless steel screws to fix them in place.
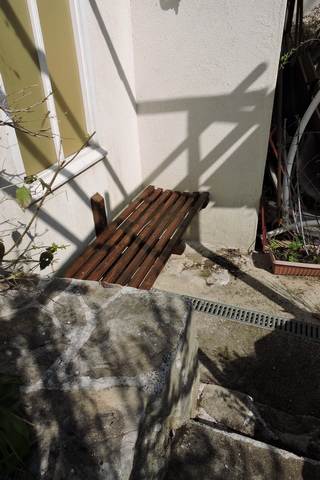
On Thursday I had my morning coffee on the seat, enjoying the warm spring sunshine.
I look forward to making regular use of the seat in the future.
The final cut
I cut another limb off the Nettle Tree on the edge of the East Orchard, because it was likely to make the whole top of the tree fall the wrong way, if not removed first
With the tree now more balanced, I started by cutting a triangular wedge out of one side where I wanted the tree to fall.
Next I connected a rope to the final limb and put it under tension before I used my electric chainsaw to make the final cut to the trunk.
Cutting carefully, a bit at a time, the top of the tree fell exactly where I wanted it to.
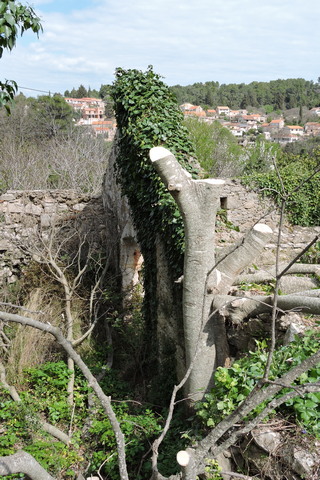
Three jobs remain. The first is the removal of the main trunk where it exits the wall.
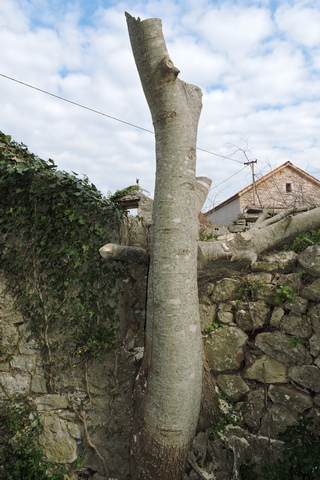
The trunk has a circumference of 145cm, however I need a larger chainsaw, or a chainsaw with a longer blade, to effectively cut it down.
The remaining trunk is actually three metres tall, so although the top has gone, there is still a substantial amount remaining.
The second task is to allow the cut wood to dry for a while. I then need to cut the logs to size for the wood stove. These then need stacking ready for burning next winter.
The third job is to use my large mulching machine, to reduce the small branches to scraps which I can use around trees and shrubs.
For now, with the top of the tree gone, it should mean there is no more growth and the removal of all the limbs before spring growth started should speed the drying of the wood.
I intend to plant something decorative to replace it, maybe a Jacaranda and definitely not in the wall. NCG