They fit where they touch
This week: Big boy’s toys; Starting on the jungle; They fit where they touch; Geometry, kinaesthesia and VARK; Trouble with the rhombus;
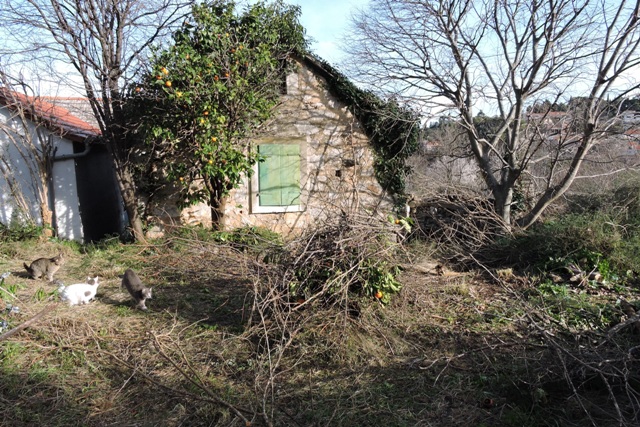
Once again we are in that boundary period between seasons.
This past week it has been tee-shirt weather, with warm sunshine and I have not needed to light the wood stove for heating.
Then on Friday it all changed, as cooler, wet weather arrived. The cold has overcome the burgeoning warmth and after rain overnight, it looks like Dol is in for a wet and cool week ahead.
It is still February of course, even though the heat from the sun (when it shines) makes it feel really warm.
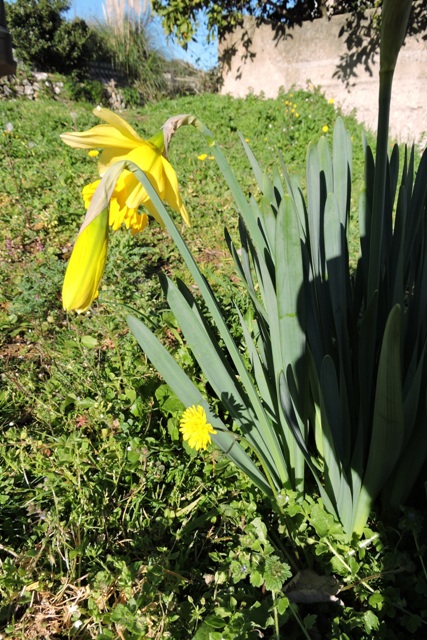
The fist of my Daffodils have flowered this week. I have some miniature Daffodils which will follow on, together with the other later spring bulbs. But it always feels like spring when the “Daffs” are out.
The felines are beginning to molt too. That is when they are not curled up together in a radiator hammock or other similar snug spot.

Big boy’s toys
Before putting machines away for the winter, I like to give them a clean and bit of “winterisation”. The start of the week was a good time to do a spring clean.
Equally, at the start of the new growing season, I give my “toys” a service and check to see what has been hibernating inside over the winter.
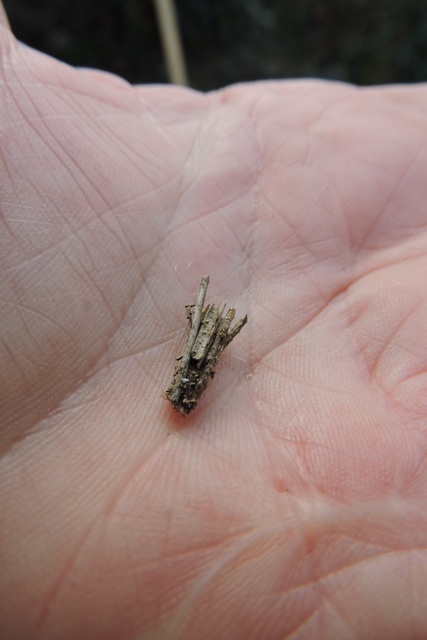
I brought out my 7hp mulching machine and found a tiny Bag Moth caterpillar on top of the engine. I removed it to a safe place in the garden.
Bag Moths protect themselves from predators in a tube made of small sticks and grains of sand, so they look just like a twig.

After pumping up the tyres and checking the oil levels, I cleaned out the carburettor float chamber of the mulcher. Then I added clean petrol, closed the choke and started the engine on the second pull of the cord.
I have quite a pile of prunings and other material, all of which needs to be mulched. Readying this machine for service was a good job done.
The next machine was the chain saw, which needed a new chain fitting. While the covers were off, I cleaned everything, especially the oilway which keeps the chain and chain guide lubricated.
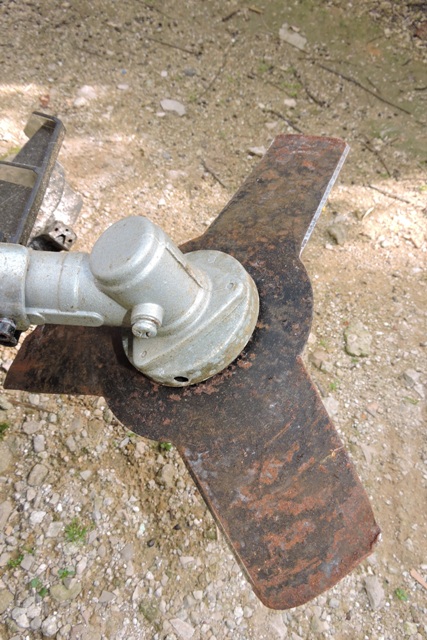
Third up was my strimmer. This is a multi function machine, with a selection of different heads for different tasks.
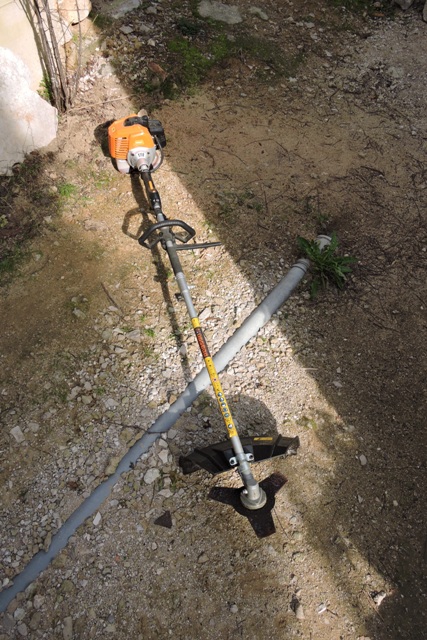
I tend to use a brush cutter blade rather than the cord strimmer, simply because of the kind of material I am cutting and where I am cutting. There are so many buried stones, that cords do not last long.
This blade is an old one, which shows in the damaged blade ends, where it has contacted hard stone.
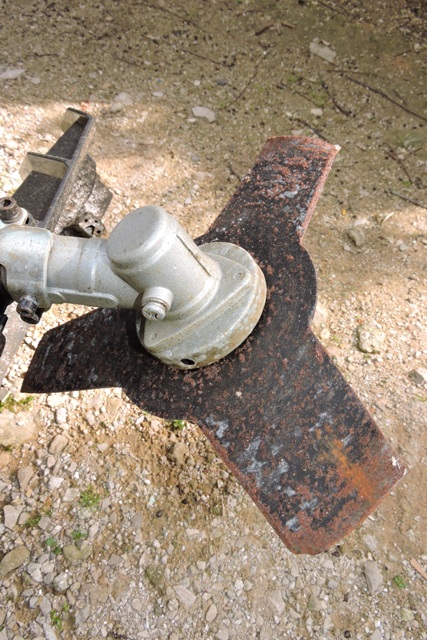
Anticipating work this week, I cleaned the blades edges and sharpened them, but without trying to hammer the ends back into shape. I know what they will be like when I have finished.
After some attention, it is ready for service again. I have a new blade ready for when this one fails, but for now it will do what I need it to do.
Starting on the jungle
I like gathering fruit and vegetables from my orchards.
In the spring I like gathering my Wild Asparagus, Asparagus acutifolius.
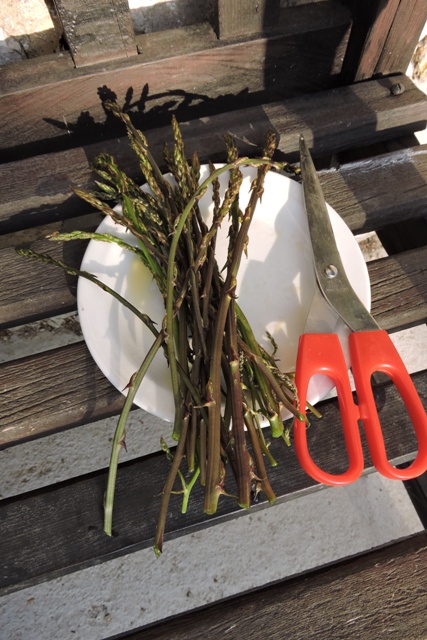
Most readers will recognise farmed Asaragus spears, their thick greenish white stems, packed in plastic on supermerket shelves. Few readers will have picked their own, either farmed or wild.
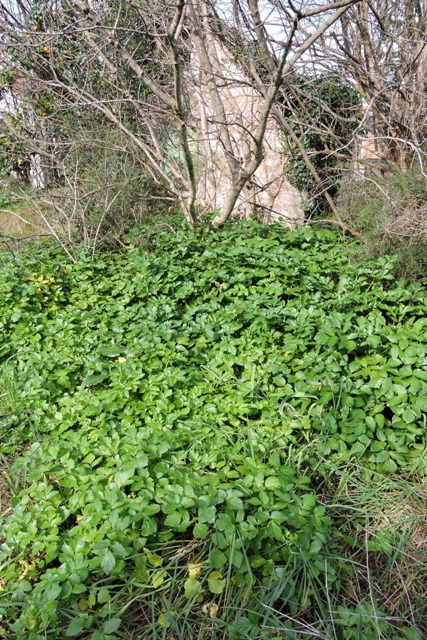
Here in Dol the wild asparagus plants are to be found year round. They are evergreen, about a metre tall, covered in hard spikes and coloured dark green.
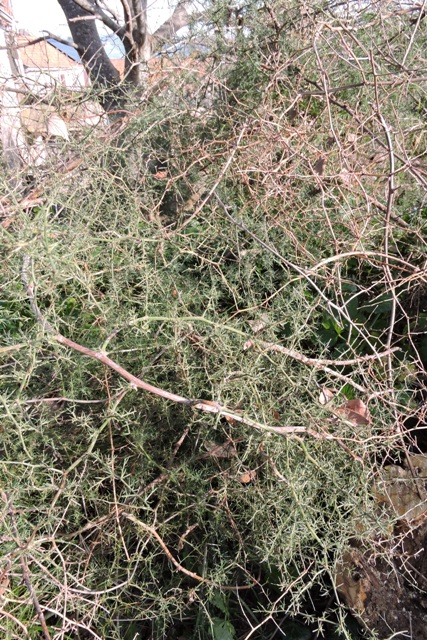
New shoots harden quickly, and equally quickly form an inpenetratable thicket. That is what I have at the moment, an inpenetratable jungle.
We have had little dew this week, which has made working grassed areas possible, from breakfast time.
It is many years since anything was done on the plots I purchased last year and boy does it show. The area I am working covers 400 square metres, so is also quite a substantial size.
There are a number of self seeded “weed trees”. With a large Nettle Tree or Hackberry, Celtis, growing out of a wall, it has seeded everwhere.
I removed perhaps a dozen saplings, ranging is size from two to five meters tall and up to five centimetres in diameter at the base. If left they will grow into 30 metre trees.
There is an old Seville orange, with fruits so small and bitter that they are completely unusable for anything, even if they look nice.
I also found an old Pomegranate between some of the Nettle Tree saplings.
The Pomegranate has been left to go wild and was completely unmanageable. There were multiple thick and intertwined trunks, so I cut it down.
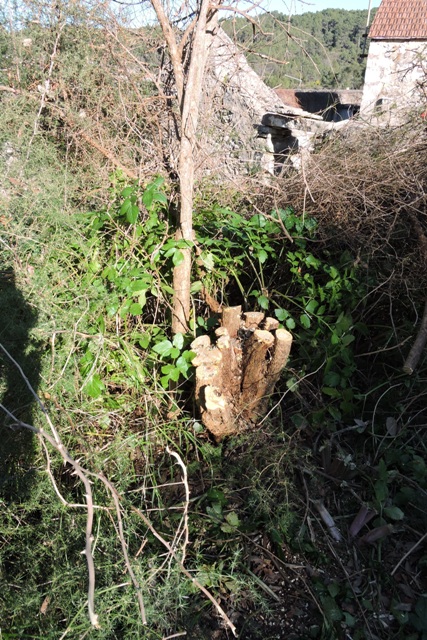
Pomegranates flower and fruit on new growth and this tree was mostly dead with little new growth at all.
Digging the root out will be fun too! They go very deep.
I did discover some interesting specimens too.
In one corner, up against an old stone wall is a Viburnum tinus. It is in flower at the moment with the magenta buds and small creamy white flowers glowing in the sunshine.
This Viburnum is a spring flowering Mediterranean native, with very deep roots. It covers some three square meters in area so has been here for a very long time.

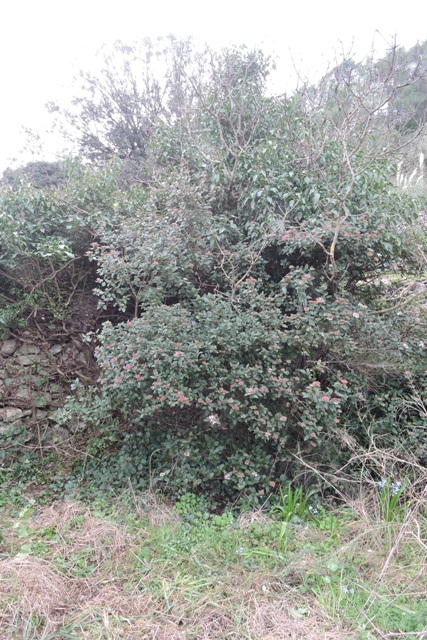
Another self seeded shrub I found in large numbers is the Mock Privet, Phillyrea latifolia.
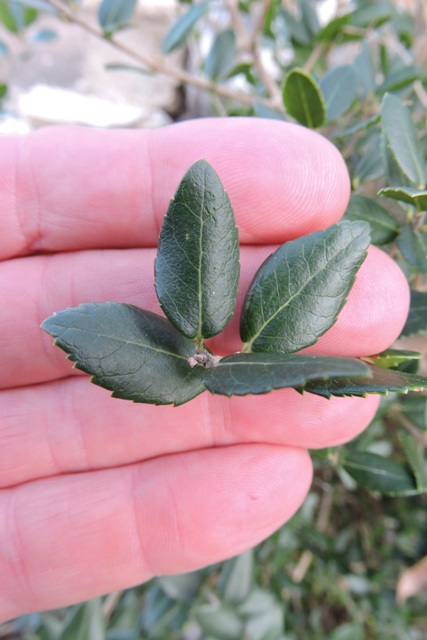
It is another Mediterranean native, readily seeded by birds from its autumn berries. I cut round them with the strimmer and will dig out those I can to relocate.
After a couple of days work, I can at least now see the wood from the trees!
As always, there is more work to do, especially turning the woody material into mulch. But at least now I have a clear area to start working on.
They fit where they touch
I have had some help this week with the Konoba ceiling.
The styrofoam architrave to cover some of the gaps has been waiting since before Christmas, however I needed special adhesive to make it stick.
With the silicone based adhesive to hand, it took a whole afternoon to fix 30 two metre lengths in place.
I built a frame to hold each length steady, while adhesive was piped onto both edges. This took time and it reminded me of cake decorating!
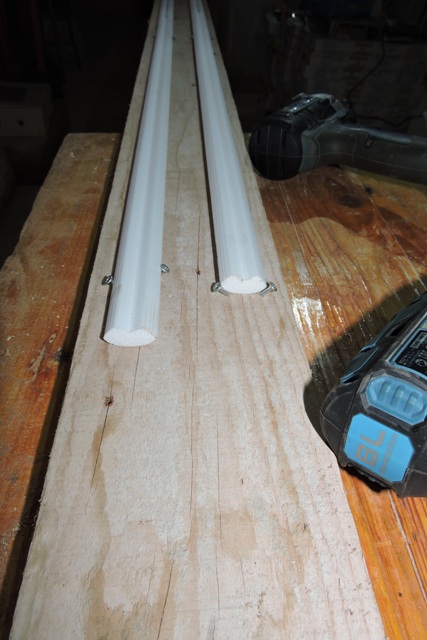
Some of the beams are square, some round and some are in between. Fixing the architrave to the square beams was relatively easy.
However I discovered that for the round beams, the best way was to just put adhesive on one face and attach it to the ceiling.
The lengths of architrave weigh almost nothing, so there was no problem with the adhesive holding them to the plasterboard ceiling.
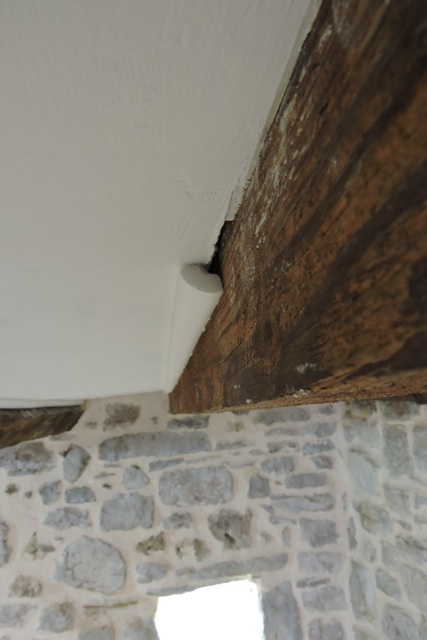
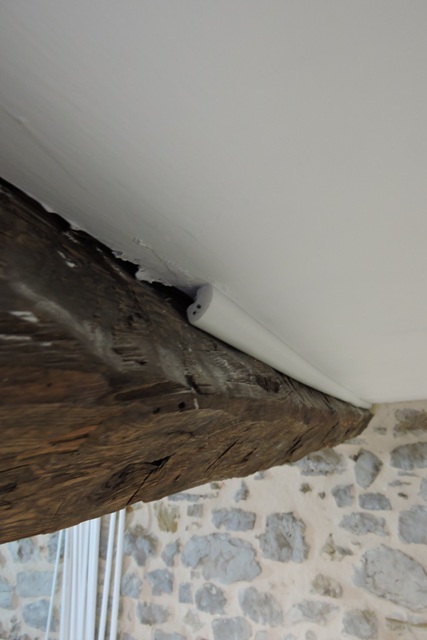
In this photo you can see the square beam on the right, with an architrave length fixed and a rough hewn tree trunk on the left, before fixing. It is that unsightly gap that I am trying to fill.
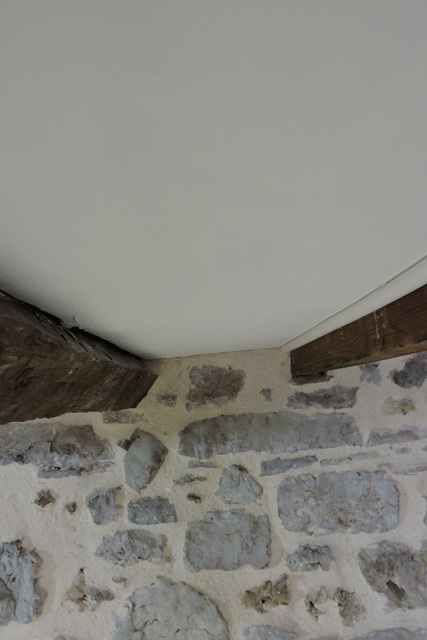
After installation this is what it looks like.
There is a very clear improvement.
It took me just an hour and a half to fix the final eight lengths on Wednesday morning.
This is another job I can tick off my list of “jobs to do”…
Geometry, kinaesthesia and VARK
“You don’t know what you don’t know” is a truism.
I hated school with a vengeance, was not a good student and really only started to learn after I left and began my career.
You didn’t “graduate” in those days, there was no ceremony, you just moved on. I didn’t know why I hated the place so much, but I knew I did (and I’ve never been back).
To set the scene it was a time when the teachers, known as “masters”, stood at the front of a class and did ‘talk and chalk’, punctuated by the occasional well aimed blackboard rubber!
I enjoyed and was successful in areas like geometrical and technical drawing, geography, biology, English and technology. But I didn’t really understand mathematics, chemistry and never learned the list of all the Kings and Queens of England in history.
It would be many years later when I became a trainer and was introduced to the different learning styles, that I realised I was a visual/kinaesthetic learner. Didactic teaching just didn’t work for me.
These are part of the VARK learning styles; Visual, Aural, Reading/writing and Kinesthetic.
That does explain why when I started helicopter pilot training, which was all practical, that I was allowed to go on my first “solo” with 6½ hours of flight time.
Learning quickly by doing was easy for me – the archetypical kinaesthetic learner trait.
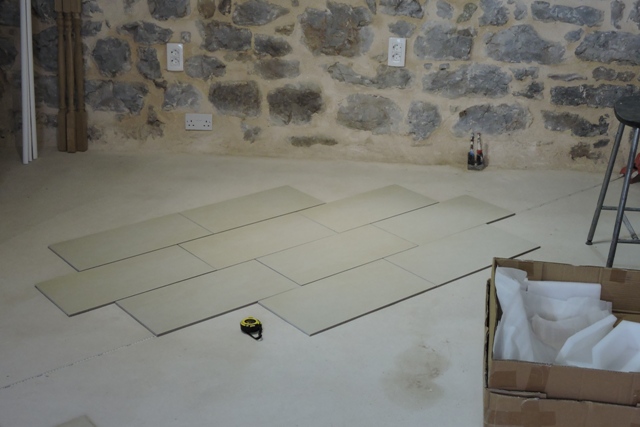
All this came back to me this week when I started thinking about the design for the floor tiles for the Konoba.
Cvjetko brought my pallet of tiles more than a month ago, and they have been waiting forlornly to be laid ever since.
I want the room to be striking as someone walks in, so I need the tiles to make a strong visual statement.
Look on the internet and there are pages and pages all about different designs, mostly written by companies trying to sell you some tiles. Well of course they would, wouldn’t they?!
Tiles are expensive and once again, the room being an irregular quadrilateral, it means there will a lot of cutting to do.
My concern is tile wastage. I have added 12% onto the 40m² floor area as a buffer, but there will still need to be a lot of cuts.
I went back to my basic geometry and the only corner which is close to 90º as a start point. Then with a 25m measuring tape, I laid a line which dissected the corner at 45 degrees and ran it to the opposite wall.
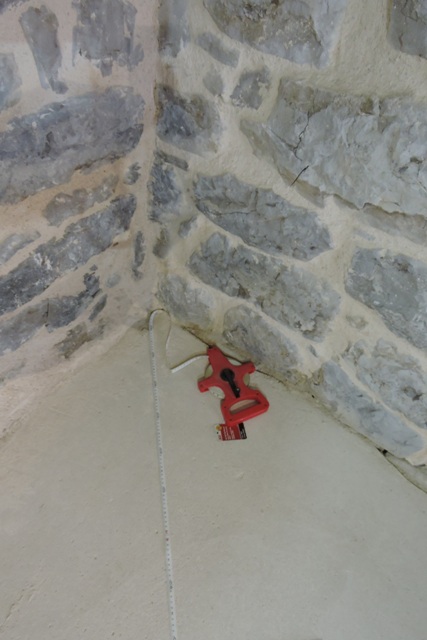
With that measurement I then multiplied the number of tiles and the gap between each, to see how many I needed.
It came out as 11. I now had all the basics to start planning my design.
Trouble with the rhombus
My new tiles are rectangular, measuring 30 x 60 cm, so this rectangular shape immediately dictates how they can be used in design.
The room is oblong, and almost a rhomboid shape. 150 years ago, they just didn’t worry about things being square, especially Konobas.
As I mentioned earlier, I want the design to be striking, but not mesmerising, so a Herringbone pattern was out. This just would not work after a little too much of my neighbours Rakija!
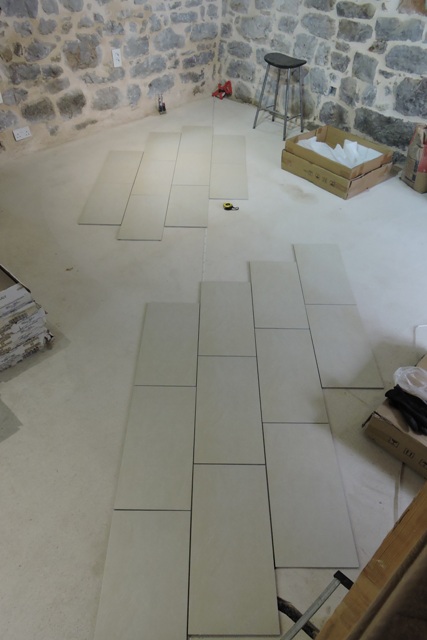
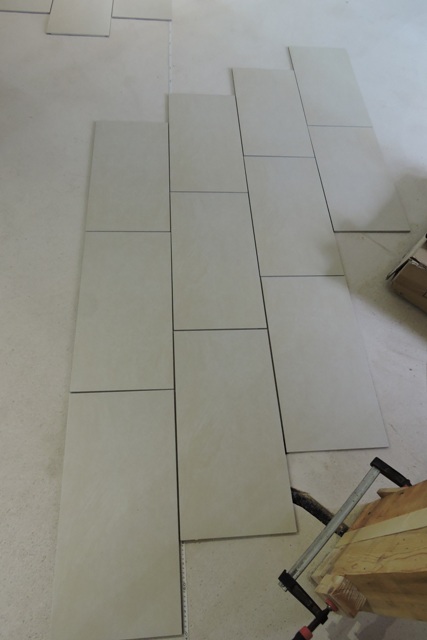
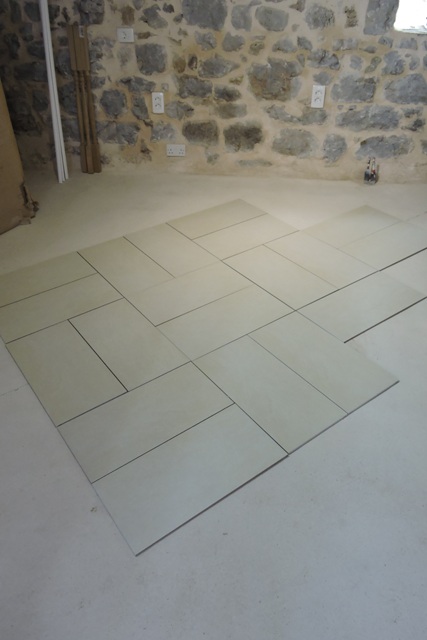
Going back to my kinaesthesia, I started to lay out some patterns to see what they looked like in the room. I took photographs from some viewing points; the stairs, main entrance from the courtyard and inside at normal eye level.
I immediately saw that the “English Bond” design appeared to zig-zag across the floor. So that one was a non starter.
The other designs were possible, however the irregular wall shape is going to make cutting the tiles difficult.
One possibility I have thought of is to put a row of half tiles around the outside edge, to essentially make an inner area which is perfectly square.
This would reduce wastage overall, but again the semi-rhomboid room shape will make it look uneven.
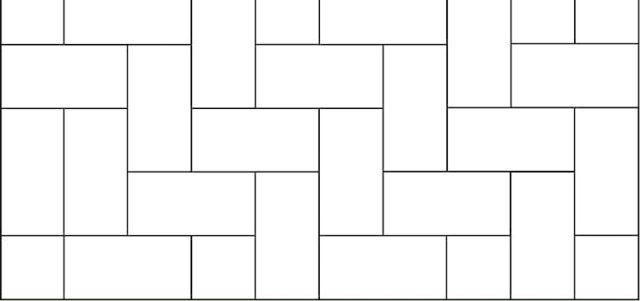
The pattern I have decided I like is the “basket weave”. This strikes a balance between being aesthetically interesting, but still easy on the eye.
However there are two issues which I need to resolve.
On each pack of tiles, there is an admonishment, in both English and Italian, “Lay these tiles with at least 4mm joints”.
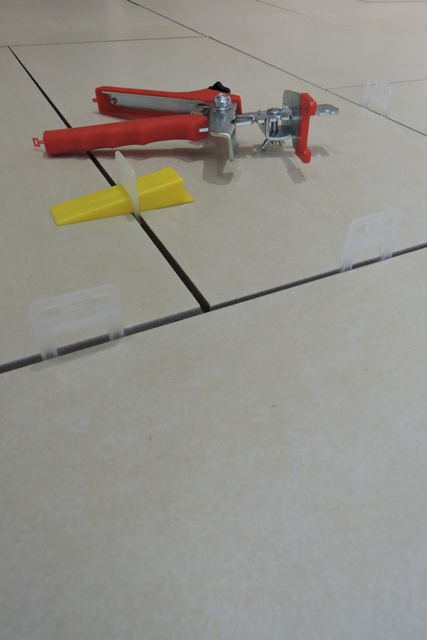
I am using a tile levelling system, which consists of nylon spacer clips and reusable wedges.
This week I visited all the local builders merchants in the hope of finding 4mm clips. The widest available were 3mm.
When a company prints a bold warning on every packet of tiles, it is there for a reason, even if the reason is not explained.
Hunting on-line there are no 4mm clips available in the country, however I found multiple suppliers in Germany.
I have emailed the tile makers in Italy, to ask why 4mm is quoted and can 3mm be used?
I have three millimetre clips in stock and while I was setting up the insertion tool, I discovered a second problem.
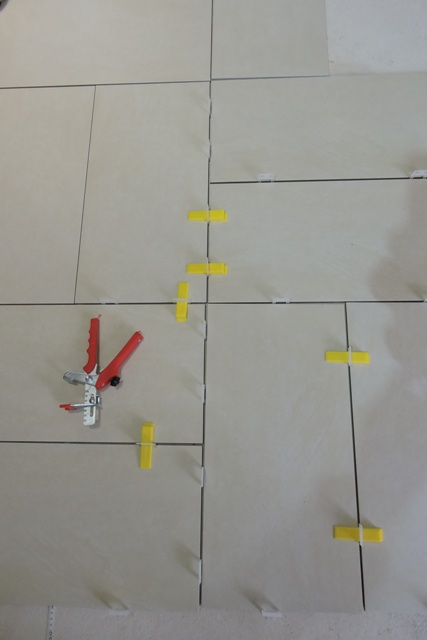
With a basket weave pattern, the tiles, which are exactly 60 cm in length, plus the gap, don’t match.
Some gaps between the tiles are wider than others and it shows. It may be possible to get a grout which makes the gaps almost invisible, but it is a problem.
I have looked at using differential gaps and levelling tabs, but I don’t think it will work.
Clearly I need to do some more work (and geometry) to solve this, so as anyone enters the Konoba, they are struck by the tiles! NCG