Make do and mend
This week: Make do and mend; More repairs; Garden tales;
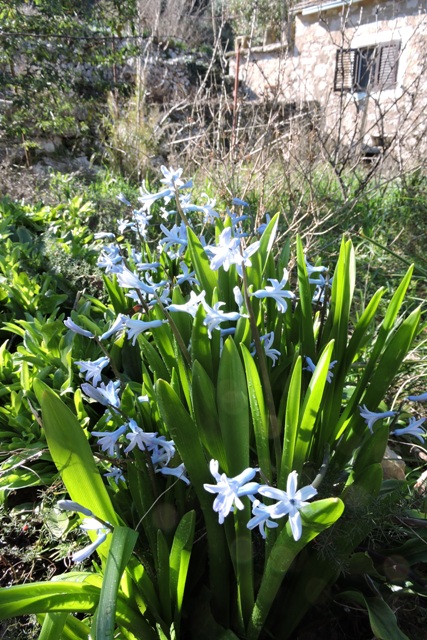
Dol has been bathed in spring sunshine for most of the week.
Spring is very definitely here, even as the last tentacles of winter cling on in places. The birds are in full courtship mode and everywhere you look, the buds are swelling and bursting.
I started the week by finishing a couple of outstanding inside jobs. First up was to cut mitre joints in the kick strip for the hall stairs.
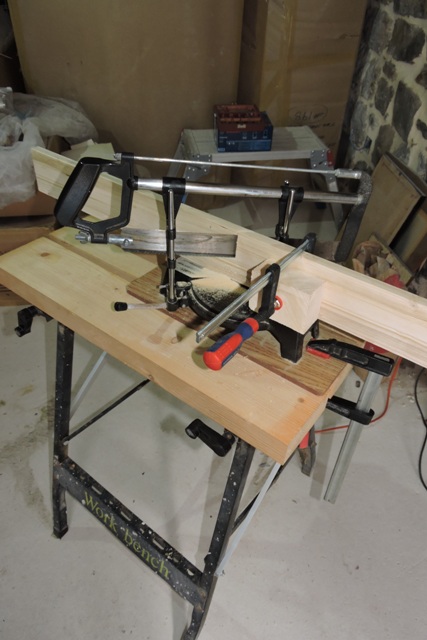
Even with all kinds of electric tools, there is still a place for the old fashioned mitre block and saw.
Before I fitted the strip, I used my Router to cut some decorative mouldings into the top and bottom of the strip.
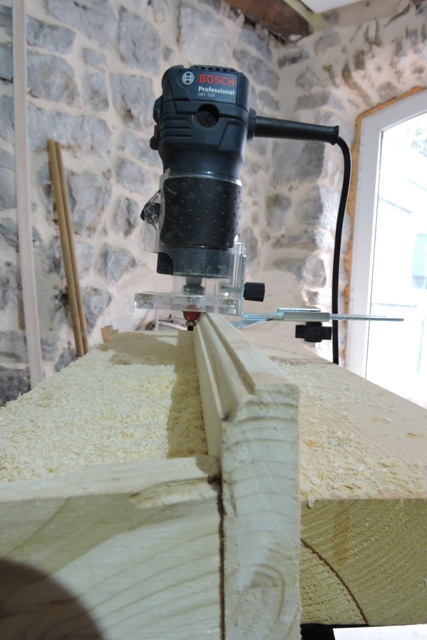
The final job before fitting was to varnish, sand down again after the varnish had dried, then give a final coat of varnish before fitting it to the top step tread.
Another job was to top up the roof solar water tank with anti corrosion fluid.
This fluid is quite expensive, so I wanted to make sure that nothing was leaking after my servicing of the the system last week. I’m delighted to report that I have not suffered a single leak.
The sun is heating the water again to high temperatures, so I do not need the electric immersion heater any more.
There is only about an eight to ten week period over January and February when because of the low angle of the sun and thick cloud, the water does not get beyond “tepid”.
It will not be long before I will have to cover some of the tubes, to stop water in the tank reaching boiling point!
Make do and mend
Spring is always a time of renewal and of course “Spring cleaning”. This week I have been doing some mending too.
However, nothing annoys me more than when something breaks and I can’t get the parts to fix it.
The longer I am here, the more I recognise that older equipment, manufactured years ago, is both simpler and easier to repair than modern stuff.
My kitchen is somewhat compact (that means small!). There is barely room to turn a cat round, let alone swing a cat.
Here of course I am talking about the 18th and 19th century punishment of the cat-o-nine-tails. Just in case anyone was thinking about swinging felines…
With little spare space, I value compactness and one thing I have, which doubles as a seat, stool and steps is a step-stool. This came from the UK when my Mum and Dad’s house was sold a few years ago.
I suspect it is 60 or probably more years old. I have a vague recollection of it being in my Grandmother’s kitchen, a memory which was reinforced when I took it to pieces.
The seat cover had torn and needed repair. When I was in one of the DiY shops on the island, I found some adhesive backed material for sale, so bought a metre with the intention of refurbishing the seat cover.
Removed the seat was as easy as undoing four screws. The underside of the seat showed that the cover had been attached using staples.
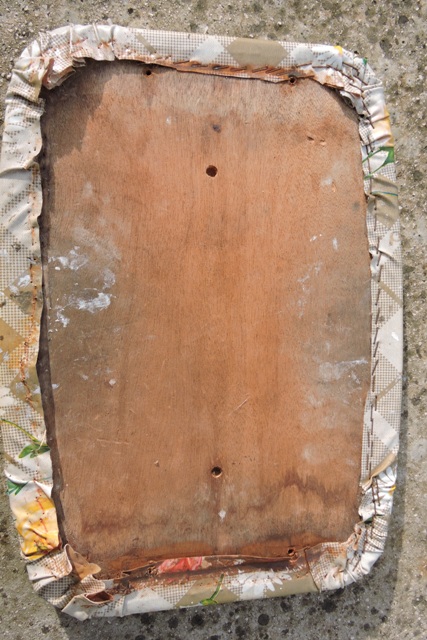
There were dozens of them, which I removed. Underneath was another cover, held by more staples and under that was a worn leatherette top.
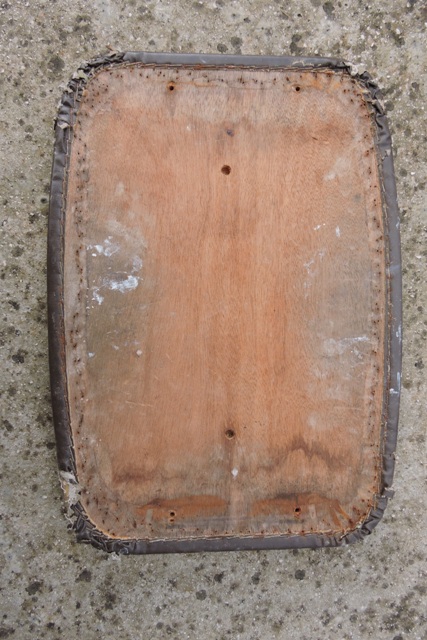
This had been professionally attached to the wooden base, and it was this brown leather top which I vaguely recall being in my Grandmother’s kitchen when I was small.
I cleaned the chrome legs of the stool and left them to dry in the sunshine.
After measuring, I made a pattern and cut the 100 x 50 cm length of material into two pieces. I could actually get two covers from the single length.
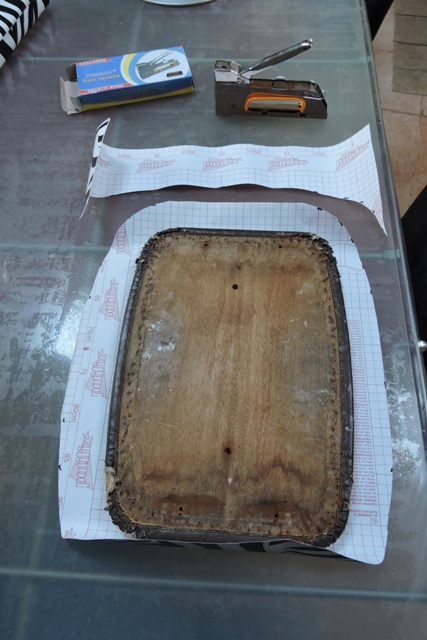
I left the original leatherette cover in place and put the seat onto the first of the new covers before stapling it into place.
Often I sit on the stool to have a coffee or a bowl of soup in the kitchen, so I decided to put some padding onto the seat to make it a little more comfortable.
Once I was happy with the padding, I fixed the second cover over it, again using my staple gun.
I screwed the chrome frame and steps back onto the seat and put it back in the kitchen.
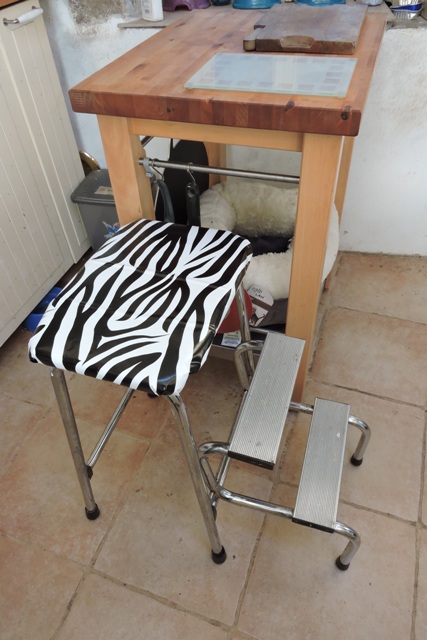
I’m not sure how long my replacement cover will last, but I can always just staple some more material on top. The old step stool has been given a new lease of life.
More repairs
It is not only outside where the strength of the sun wreaks havoc because of both the heat and the UV light.
Inside I have covers over book cases, because where sunlight comes through windows, it fades the spines of the books.
Also in the kitchen, a nice hardwood chopping block has progressively become “unglued”.
The block was a Christmas present thirty or more years ago, so it probably doesn’t owe me much. However a couple of years ago, I started to see gaps opening up between the hardwood squares.
Bearing in mind it has been with me in Spain, Abu Dhabi and now Dol, over the years, the block has been exposed to a lot of sunshine and heat.
As I started to “spring clean” a number of the blocks fell apart. The glue which originally held everything together has completely dried out.
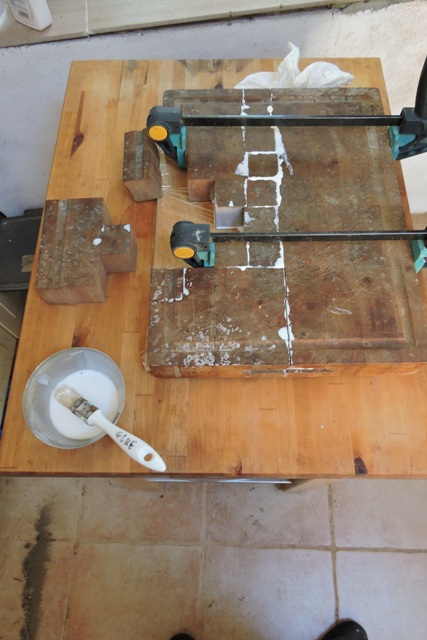
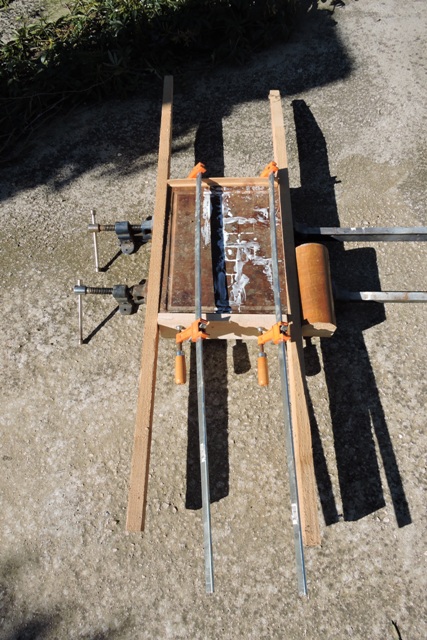
I used a waterproof wood adhesive to put everything back together.
The white glue was brushed on, then the individual blocks were put back in the correct order and lightly clamped, while other bits were attached.
Underneath there is a flat board which I covered with cling film. This was to prevent the board sticking to the base as the white glue was squeezed out.
Finally, with the reassembly complete, I put the whole cutting board into frame clamps and left it outside to dry.
After leaving the board clamped for a couple of days to allow the glue to dry thoroughly, I was a little disappointed when I removed the clamps.
There was a gap in-between some blocks and two on an edge had not stuck at all.
I used a belt sander to remove the top surface before I pressed glue into the crack and re glued the two loose pieces.
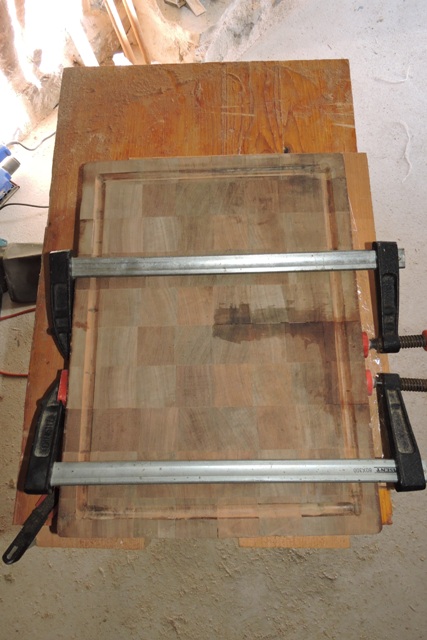
I will leave the block for another couple of days before I try and finish the project.
Garden tales
My work focus is shifting away from inside tasks, towards jobs in the garden and orchards.
I have a lot of pruning which needs doing, especially on the grape vines.
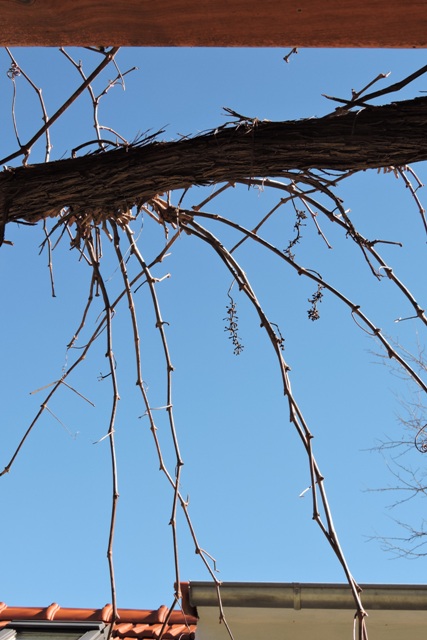
My neighbours who have hundreds of vines have been out for days on end pruning them.
This week I started on the apples and pears, which both have a lot of water shoots.
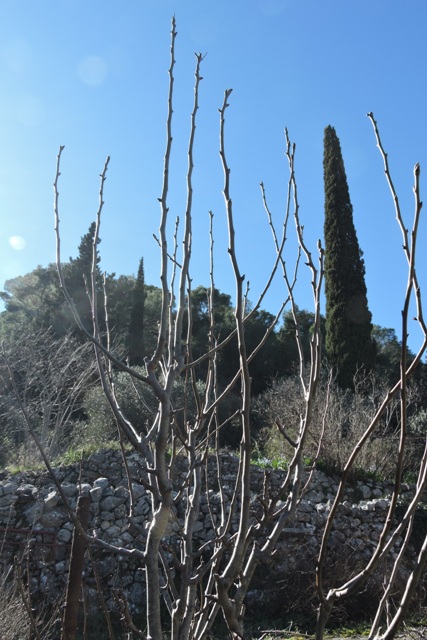
They are all now pruned and finished and I have made a start on my grape vines.
All my citrus trees are grafted onto rootstock. Several have sprouted from below the graft and I need to remove these shoots.
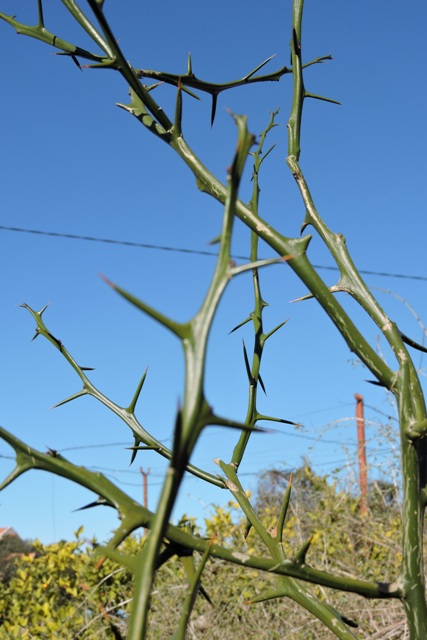
Wild citrus have fearsome spines!
This winter has been mild, even by our Mediterranean standards. These are Cana lilies. Usually the leaves have all browned and died with the cold Bura winds.
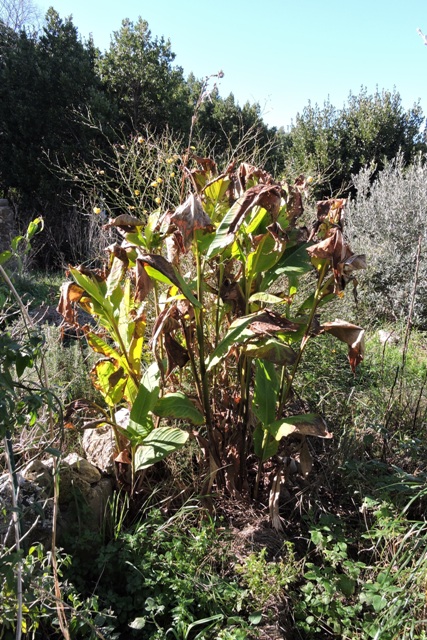
They have large, deep rhizomes and are already producing new shoots from the base of the plant.
The first Forsythia flower has opened this week. It will be a couple of weeks before the shrub is in full bloom. Along with the Forsythia, my Kerria Japonia has started to flower and will now continue to October.

I also noticed this week that my New Zealand Mānuka, Leptospermum, is covered in flower buds and also has its first flower open.

Of all the seasons, it is spring which I enjoy the most. NCG