Sime lost keys
This week: January in the garden; Some lost keys; Dealing with “Wattle walls”; A solution for the problem;
It is 12th night, so I have carefully removed the Christmas lights and packed them away in the box, ready for Christmas 2024. Rain was forecast for Saturday afternoon (it is raning now), so I packed everything away while it was dry.

After weeks of seeing the colourful display, the terrace always seems a little bare after the lights have gone.
I have a Black and Decker workmate and it is one of those things which are in use almost constantly.
No doubt there is a maximum safe working load, which I probably exceed in 75% of my work. The result is that two of the support stays on the workmate have given up the ghost.

They were only made of light flexible steel, and after years of use and being folded and unfolded, the steel has bent and has fatigue cracks. A bit like me!
Using some aluminium extrusion, I cut two new pieces, drilled the aluminium to take new bolts and then drew around the end profile of the old stays.
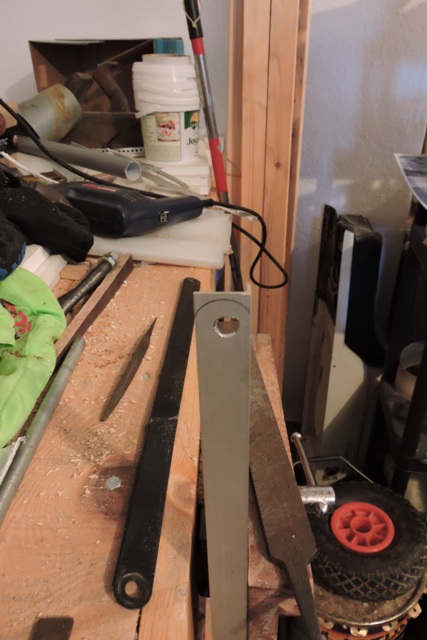
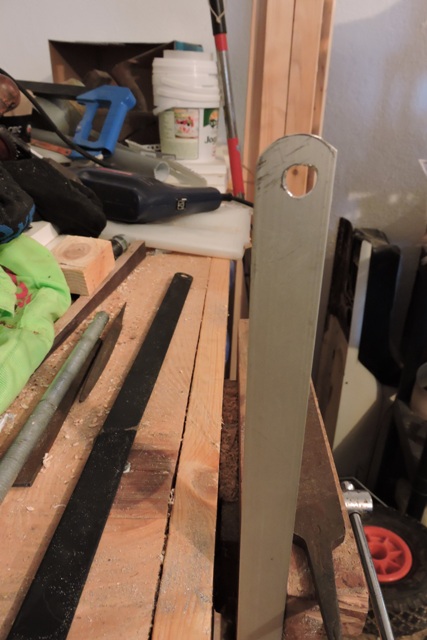
In my workshop, I carefully shaped the ends with a large rasp. With the new stays finished, it did not take long to remove the old ones and replace them, replacing the bolts with new as well, at the same time.
If you look after your tools, your tools will look after you.
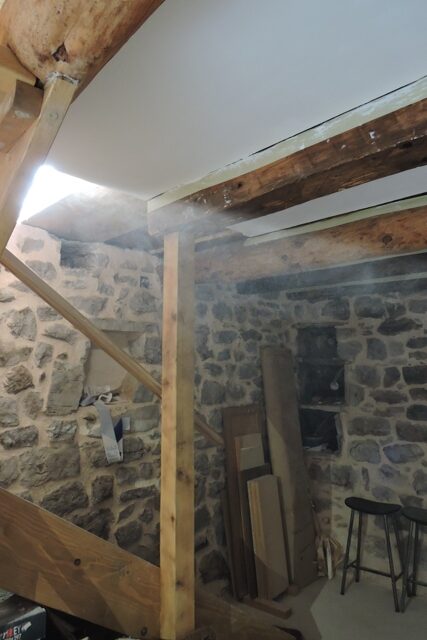
The ceiling in the Konoba is now finished and I have been clearing up the mess left after the plasterboarding.
I sprayed the floor with water to keep the dust down as I cleaned.
Even so, as shafts of sunlight shone down into the Konoba, the dust in the air was clearly visible. I can’t wait to get the ceramic floor tiles down.
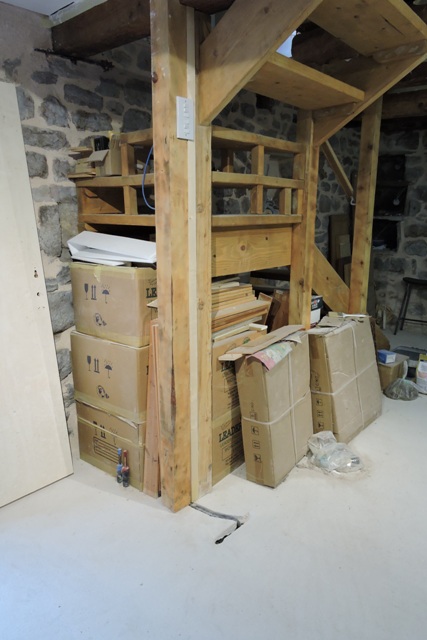
Still on the subject of the Konoba, I have finished clearing all the boxes to make it as easy as possible to lay the new floor tiles.
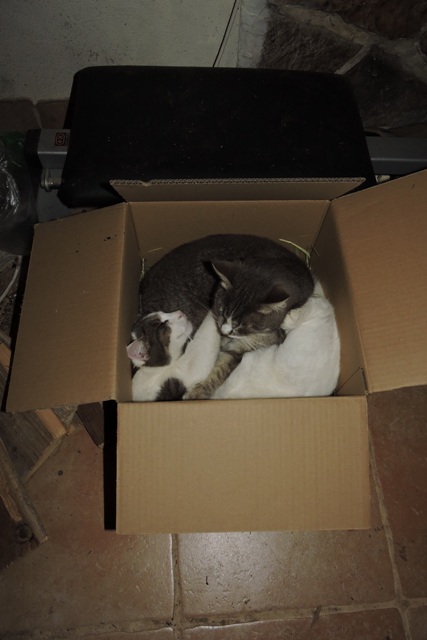
A surprise parcel arrived this week with New Year gifts from Germany. I now have a three month’s supply of chocolate biscuits to have with my morning coffee!
The box was immediately upcycled by the felines, to be placed in front of the wood stove. If you pack them carefully, you can get at least two inside…..
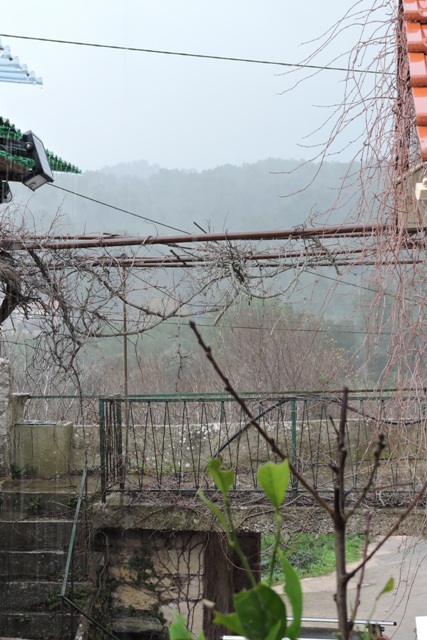
January in the garden
As I write this section on Friday night, it is 15.1ºC outside at 19:30. This is just not normal!
As I walked across the courtyard earlier in the week, I saw this caterpillar making its way across the sand.
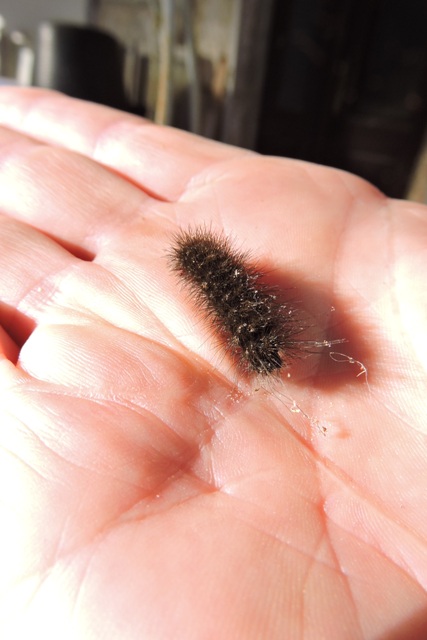
I picked it up and put it near some food leaves. There were none in the direction it was heading.
I do not usually see caterpillars until March or April.
It’s a moth, and these caterpillars are food for birds. So if all the eggs have hatched, and they pupate into chrysalis, there will be no food for the migrant birds when they arrive in a few weeks.
Also in the garden I have a range of plants in flower.
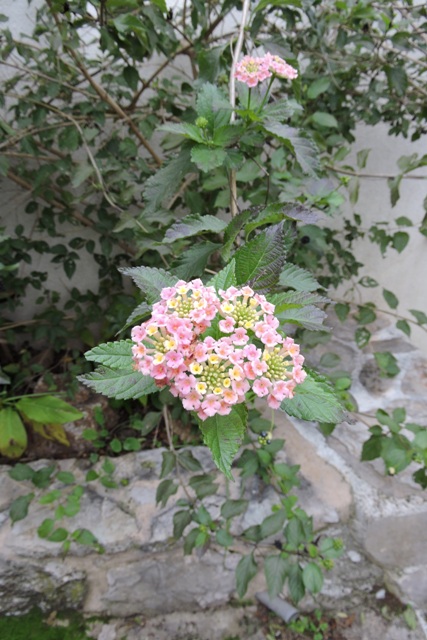
One of the tender plants which usually dies back a little in winter is the Lantana. This winter it has continued growing, producing leaves and shoots and flowering.
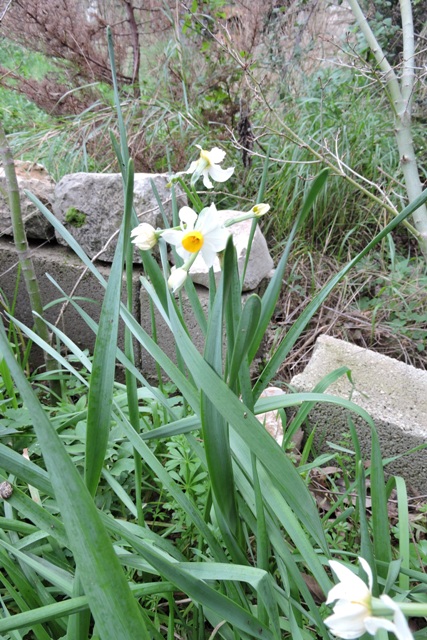
The first of the spring bulbs are out. These are Narcissi.
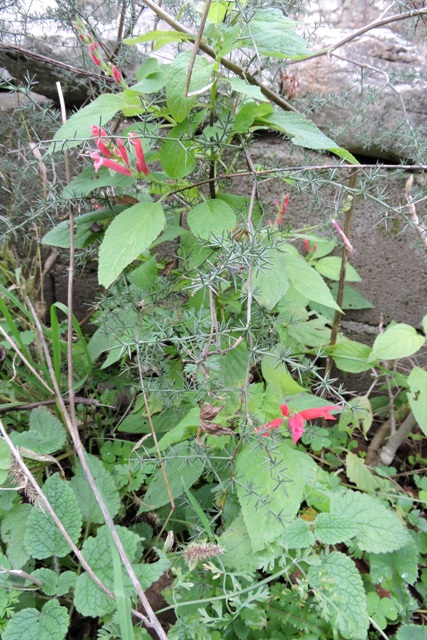
Nearby there is also a red Salvia in flower. This shouldn’t be in flower until April.
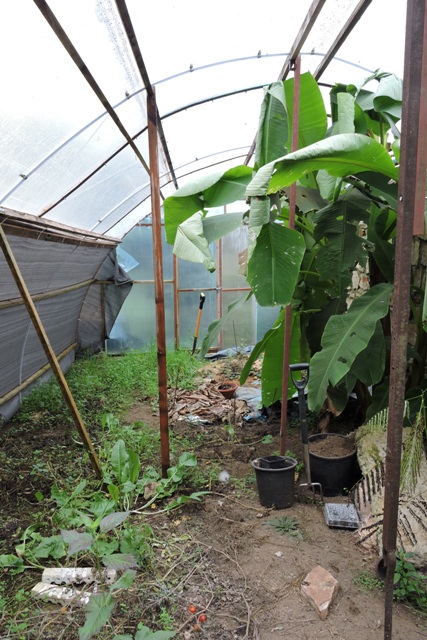
When I checked inside the polytunnel, the tomatoes have now finished and I really need to spend a morning inside, clearing up, ready for the spring.
Some lost keys
It is hard to believe that it is 50 years since the local government reorganisation in England and Wales created several “new” police forces, including Humberside where I was based.
This year will be the Golden Jubilee and I have been pushing since 2020 for some suitable commemoration. Finally work is actively taking place and I had a good conference call this week about it.
Each month there will be focus on different policing areas, starting with “technology” in February.
The 1970’s and 1980’s was a golden age when the Home Office was putting money into technological innovation. It was also a time when forces had money available to buy the technology as well.
In my area we had a brilliant electro-mechanical status/availability computer in our vehicles.

Crews could use the “VAST” box to update their location and status digitally. I saved one of the boxes for the force museum, but when I talked to the jubilee coordinator this week, it can’t be found.
I knew I had a couple of the call sign PCB keys along with other small items and needed to find them to photograph them.

When I moved to Dol from Abu Dhabi, I created an inventory for the boxes I packed. This included a label with a QR code, so I could immediately find things when I neeeded them.
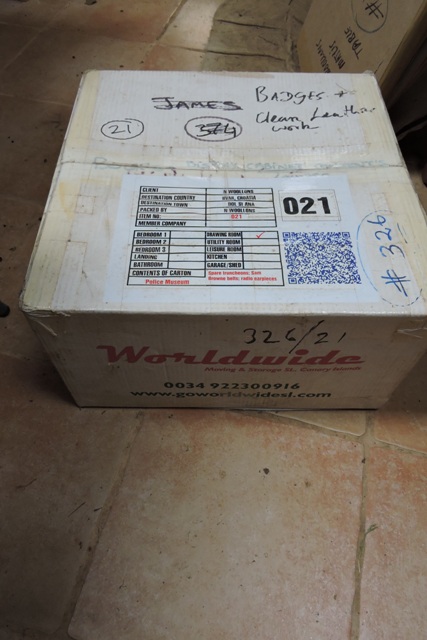
I took a few seconds to check the digital inventory spreadsheet and find the box number I needed and which store it was in.
It took a little longer for me to actually find the VAST keys in the box.
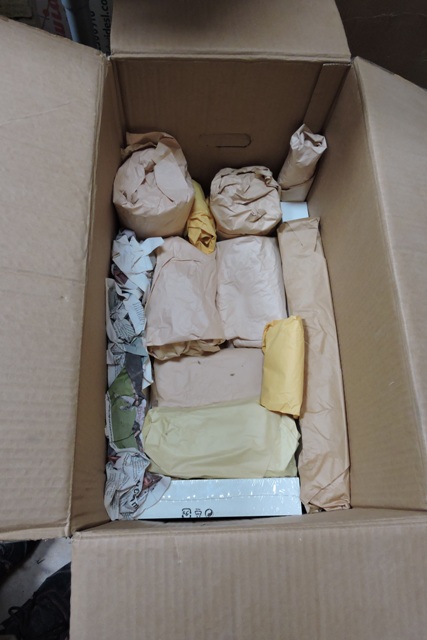
Also in the box was one of the cameras I was issued with in the 1980’s. This is another technology that has been superseded.
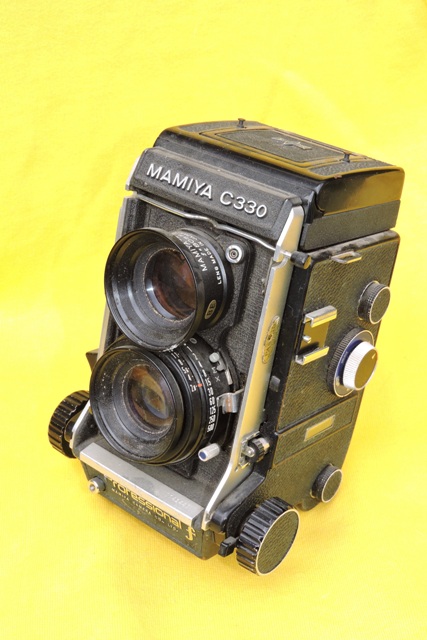
The camera in the most standard cell phones these days will do more, with fewer control and no thought process needed by the user, than this twin lens Mamiya.
Films came on a roll and could be bought from pharmacies. You either did your own developing and printing, or sent the film to a lab for processing.
Then a week or 10 days later you got the prints back. Too late to take the photo again, so the photographer had to make sure they got it right the first time.
It is another example of the staggering technological changes that have taken place in our life time.
Dealing with “Wattle walls”
I am about to start laying the last pieces of hardwood flooring in my hallway. However before I start, I need to make sure that some electric cables are encased in conduit under the floor boards.
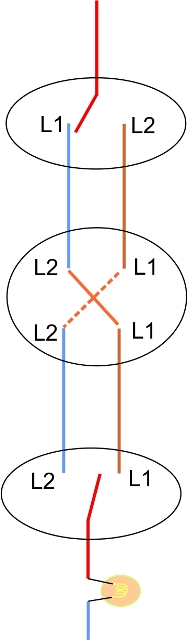
One facility I like is the ability to turn essential dafety lights on and off from different places.
These are things like hall and stairway lighting, so you are not trying to negotiate stairs in the dark, until you can reach the light switch.
Wiring for these two-way switches is not complicated, but it does entail more cable than if a light is just a simple on and off switch.
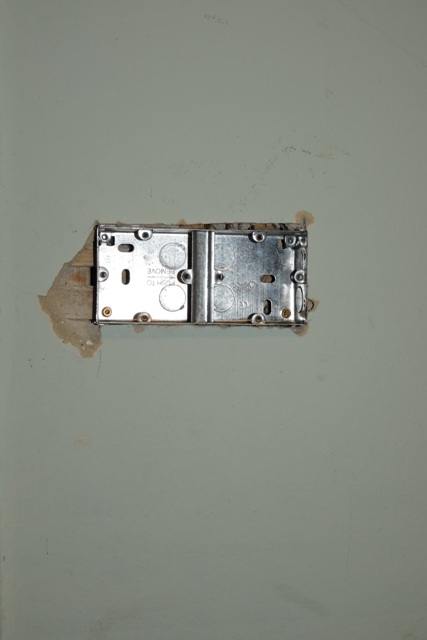
With the stairs that link the hall and the Konoba, I have the cables in place, but there is no switch in the wall at the head of the stairs.
I started by marking the place where the switch pattress box will go on the wall.
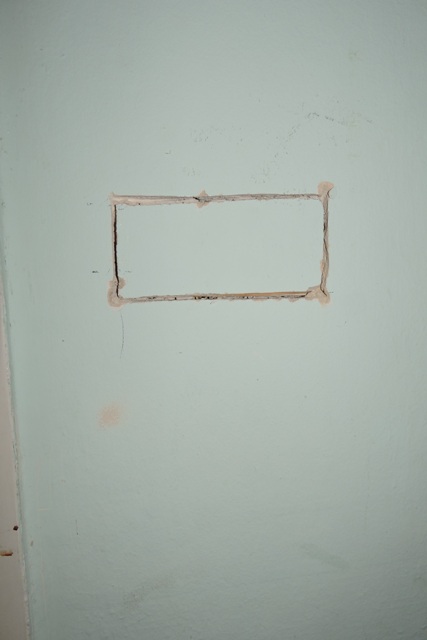
Then it was the turn of the oscillating cutter to cut a neat hole in the plaster wall. However what I found behind the plaster is causing me some concern.
I have written before about the morning that my home and most others in the village were burnt during WWII.
This particular building was gutted by the fire. The marks are everywhere; in the stone walls that have been cracked by the extreme heat; the burn marks; the carbonised pieces of wood which poke out of the walls.
The inside and roof of the building was rebuilt in 1943/44, from dates I found in the concrete and this wall is one of those that was built back then.
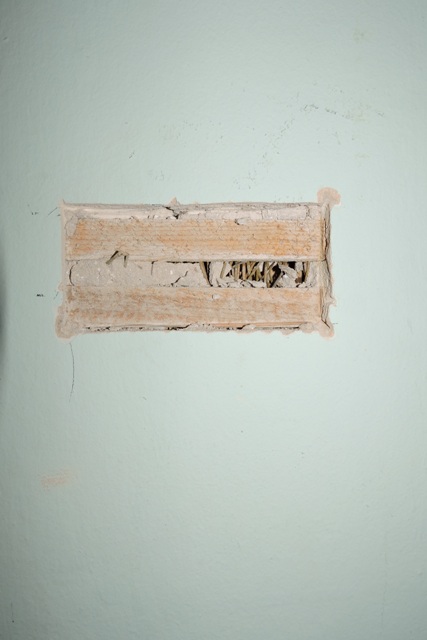
However the technique used by the builders goes back several thousand years and is called Wattle and daub, or Lath and plaster.
A wooden frame of 5 x 3 cm timber is created where the wall is to go, then onto this thin wooden lats are nailed with gaps of around one centimetre between each lat.
Sticks and twigs are then cut from nearby trees and shrubs and these are fastened inside the wall between the lats.
Lime mortar plaster, which is quite soft, is then pressed onto each ride of the wall, between the lats and this hardens, with the sticks and twigs and the lats holding it in place.
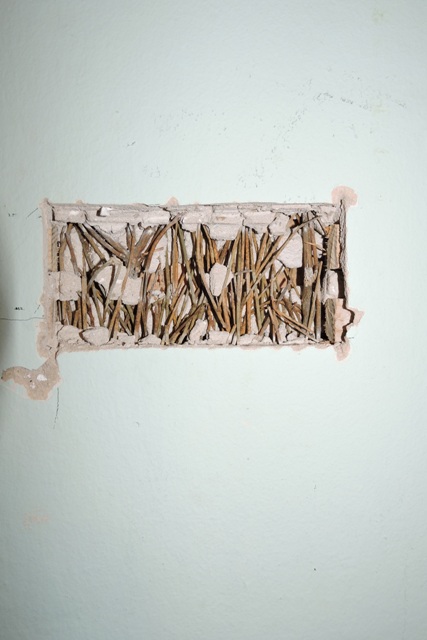
A finishing coat of smooth plaster in skimmed across the outside of the wall, which is then painted.
Because the sticks and twigs are densely packed and the lime mortar is on and all around them, my attempt to force a path for conduit on the inside of the wall failed.
Extremely frustrated, I went and had coffee and cake with my neighbours.
A solution for the problem
One of the issues with lime plaster is that it is brittle. That was why I was using the oscillating cutter to create the void for the pattress box. And even so, a piece on the edge of the void broke away.
I needed to get modern conduit to hold three cables, into the wall between the switch box and the floor, and the switch box and the ceiling light.
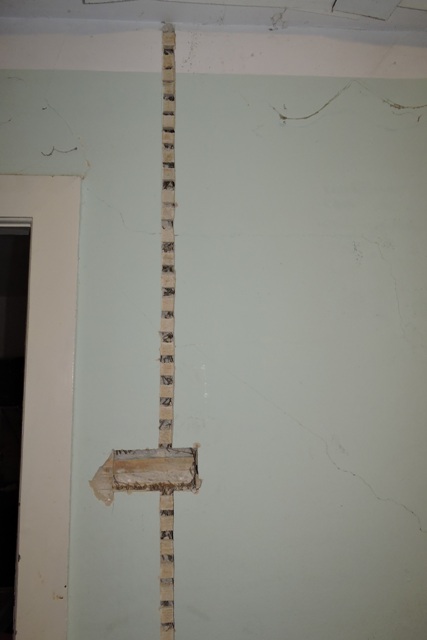
What I decided to do was to open a small section of wall, both up and down from the switch box, but only sufficiently to see the lats behind.
What I would then like to try and do, using broad blade screwdrivers, is to force the sticks apart, or sufficiently apart enough to be able to thread conduit up the middle.
Just cutting the lime plaster creates masses of dust, so I put a board underneath where I was working to catch it and the debris.
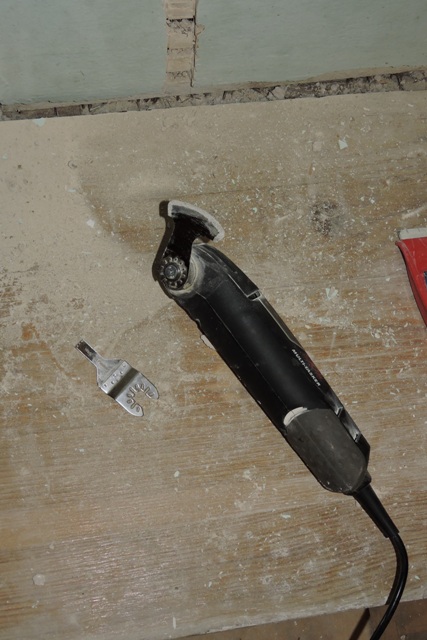
I have some 15 different blades for the oscillating cutter, but for this job I selected a stainless steel, diamond tip. his cuts the plaster like hot knife through butter, but it does not easily cut the wooden lats behind.
This makes it easy to just cut the plaster away.
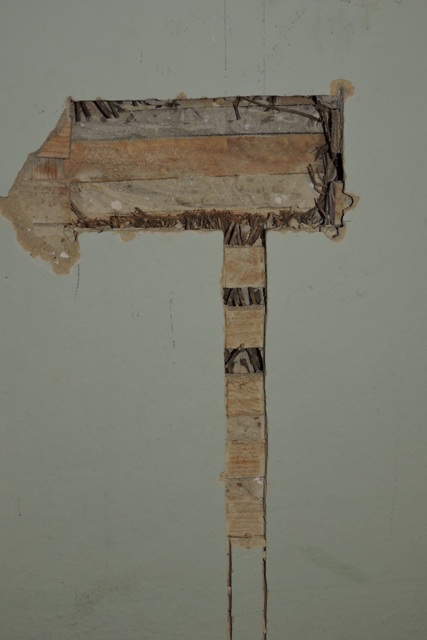
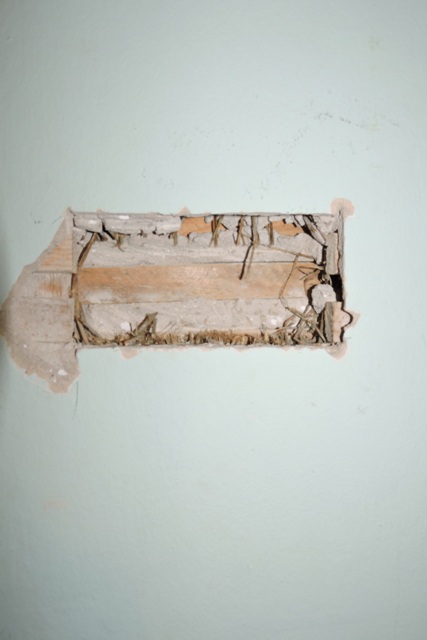
With the plaster removed, I then set about removing the sticks in the cable run.
My idea of moving them to ome side did not work.
I also found that I could not get conduit in place in the centre of the wall. There was not enough space.
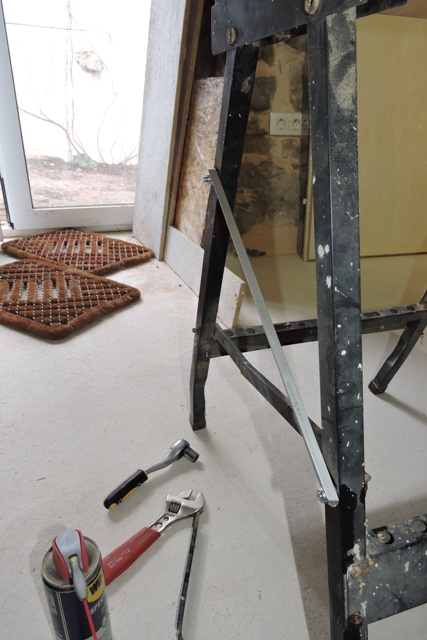
I have a couple of Anaconda in the workshop. This is another of those tools which you don’t use very often, but when you need one they are invaluable.
It did take some time and some bottle-nose pliars to get the Anaconda pull-through into the void in the wall.
Once I had the pull-through in place, it was easy to get the first cable into the void I have created behind the lats in the wall.
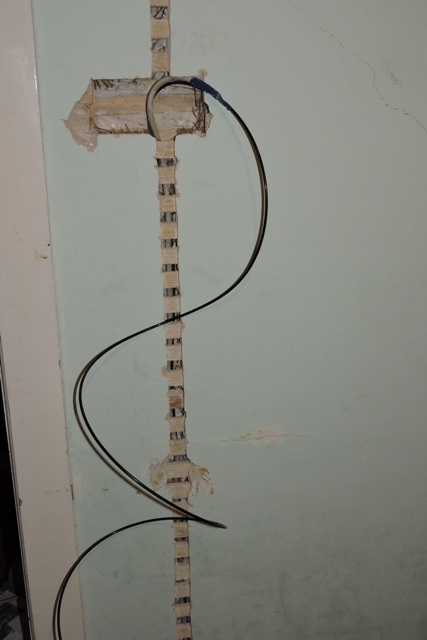
I need two get two more cables in there and one up to the ceiling light, but I have made progress.
Putting wires in walls, without conduit, does not meet the current building codes.
However when you are dealing with 70+ year old structures, you can’t always follow the latest code. NCG