Cracks are appearing
This week: Sling enough mud…; Project finished; The problem; Cracks are appearing; In flower in April;

As I write this it is almost 7pm, the sun is still shining on the south shore of the neighbouring island of Brač. I do like it when the clocks go forward.
The sunlight fills the courtyard in the morning and it is light into the early evening.
The weeds are growing too. Growing too well I’m afraid.
This week I have been fully committed on work in relation to my new workshop, with little time for anything else.
Even with extra daylight, there still remains only 24 hours in a day!
Sling enough mud…
and some will stick”, is an ancient English idiom.
An older generally understood meaning is that if enough [false or reckless] statements are made about a person or organisation, their reputation will be tainted, whether or not such reputational damage is deserved.
However when I was checking my understanding of the idiom, I found that its meaning has evolved to mean “Try the same thing often enough, and, even if the general standard is poor, sometimes it will be successful.”
Then I chanced on the English Wictionary where both meanings are listed, but with the etimology as well.
The suggestion is that the saying dates from the days when rural builders had walls made of wattle and daub. The daub was a mixture of mud and straw.
If daub was thrown at the wattle (made of reeds or Willow stems) with sufficient force, the the mixture would penetrate the wattle and stick. These walls were both warm and waterproof.
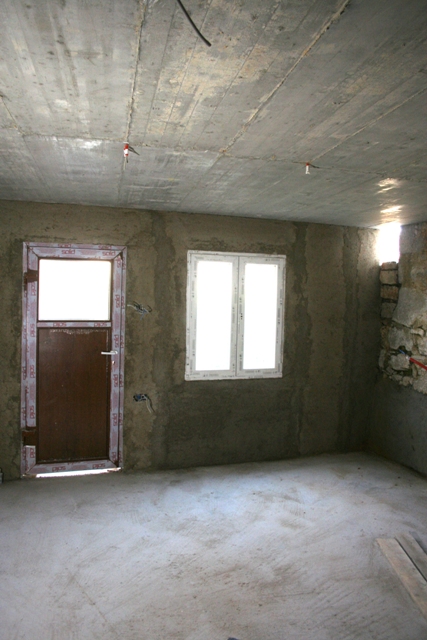
That is exactly how we are covering the walls of my new workshop this week. Not with daub, but a mix of modern materials, applied in the old way.
Cvjetko likes doing things the old way. First a VERY sloppy mix of cement, crushed rock and water is thrown at the clay block wall.
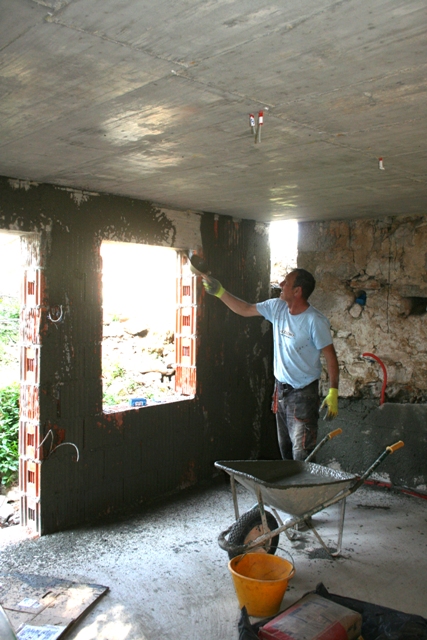
The clay wall blocks being dry and the mix being about 3:1, this sticks like glue and dries quickly. It is extremely messy because of the high viscosity of the mix.
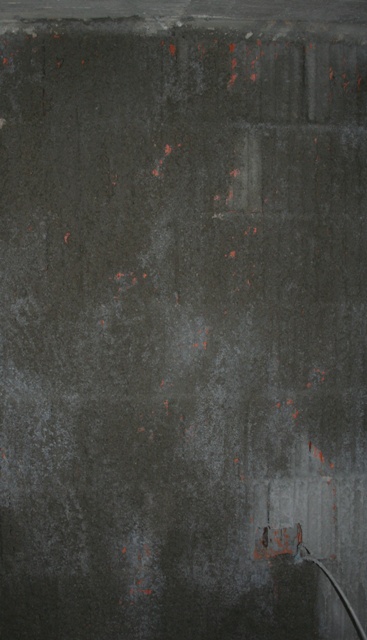
The next day, the 1½ cm backing layer is applied by the same method. This is a thicker mix of cement, finely crushed rock, calcium and fibreglass fibres. It sticks to the previous days key.
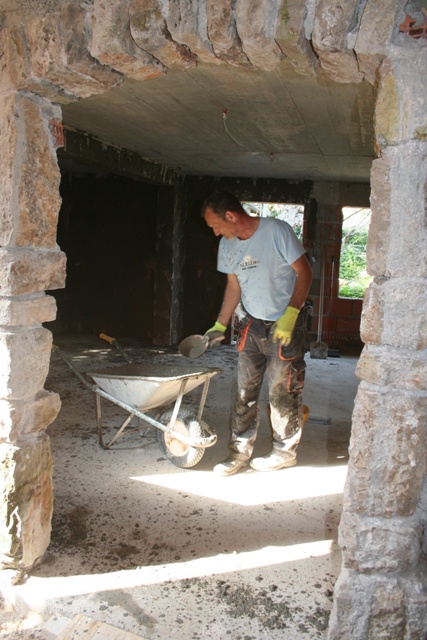
Cvjetko was telling me that even for sole traders, you can get a cannon to fire the mix at the wall, but the “stick rate” is not as good as the “old” ways. These machines use compressed air as the propellant, so the mix contains a lot of air within it, even after it has stuck to the wall.
The old method uses a relatively airless render mix and the force of it being thrown at the wall drives air out.
This is why he still does everything by hand, even if it takes longer. But the finished result will be a much harder, stronger and better one.
Project finished
I mentioned three weeks ago (week 11) that I had cut some pieces of timber for a ladder rack, to go under the newly covered area between my buildings.
Since then they have had two coats of undercoat and a gloss white top coat.
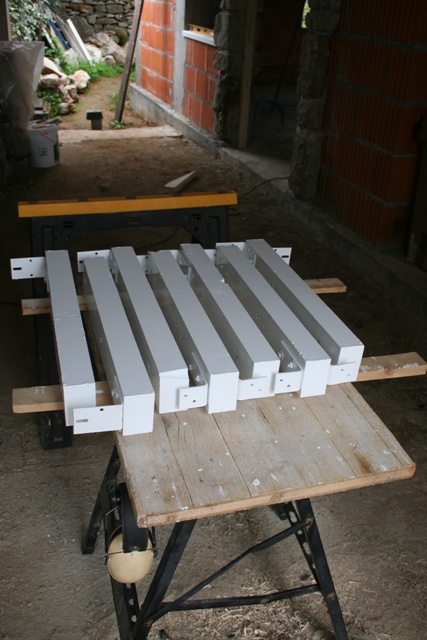
I bored through the timber, ready to take the threaded bar which will support the weight between the posts, then added the metal fixings.
This week I have fixed them in place to the new concrete ceiling and then filled the rack with a ladder and timber from my store.
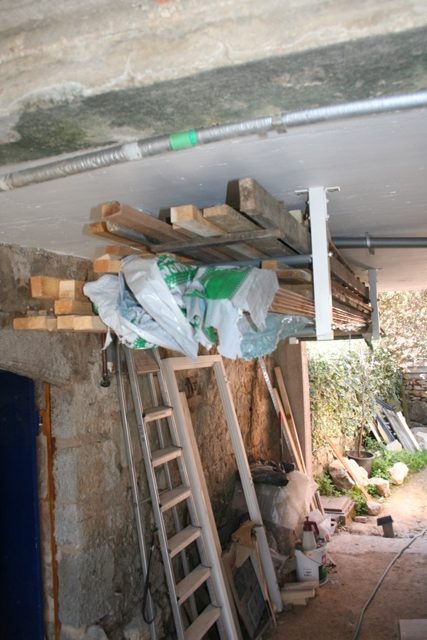
When you have things in store, it is difficult to always see what you actually have. As I started moving the timber, I discovered that I had several lengths of timber which I had forgotten about.
These four metre lengths will not go to waste, it just means I don’t need to go and buy lengths for a while.
Two weeks ago, I reported on making the window sill for the new workshop.
This week the windows, doors and the main door frame have all been installed. The window and sill fitted into place perfectly.
I first had to bed a packing piece onto the clay wall blocks. It took time and an old fashioned method to perfectly line up the holes in the blocks with the wooden sill – blobs of grease.
With the packing piece marked, I used a hand drill press to make perfectly vertical, sountersunk holes. The packing was then screwed firmly into place.

The with a rebate cut into the new sill to take the tenon on the window, the sill was tested for the fit.
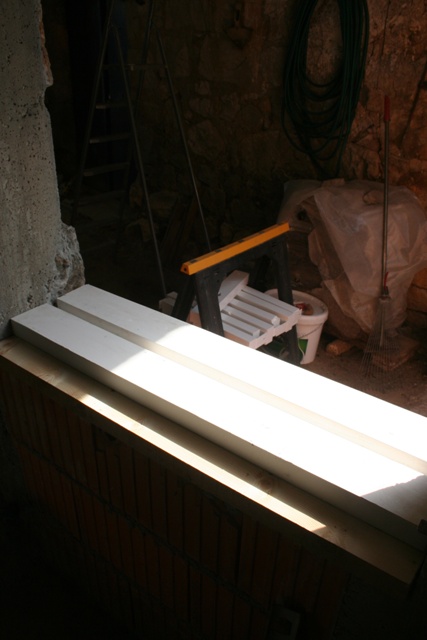
With the wooden window and the sill mated together, the whole unit was gently slid into place. With a gap of less then 5 mm all round, the window was fixed to the walls then the gap was filled with expanding foam.
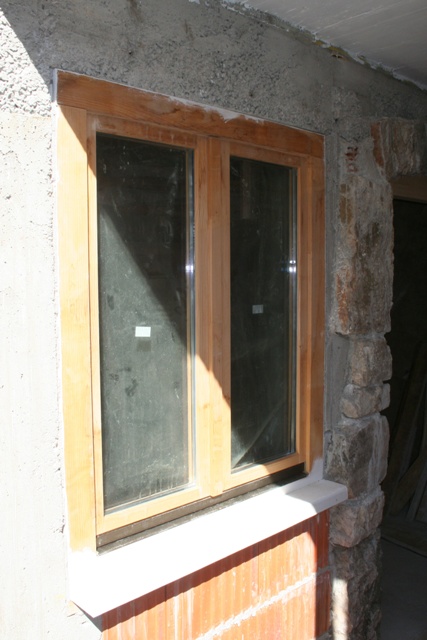
The workshop is not quite weather proof yet, because there is a small additional void that I need to make a window frame for, but it is almost windproof now.
There is still a lot of wood-working to do. I need to make the double doors for the main entrance. Part of the reason of moving all the wood out of the store was to let me access the materials I need for the door.
I already have all the hardware, so next week it will be high on my list of work to do.
The weather forecast for next week is a hot week, with cloudless skies. I feel more work in the courtyard coming on.
The problem:
Talking to Cvjetko on Friday, we discussed next week’s plan. Finishing the inside of the building will be the first job, then we will start on the courtyard walls.
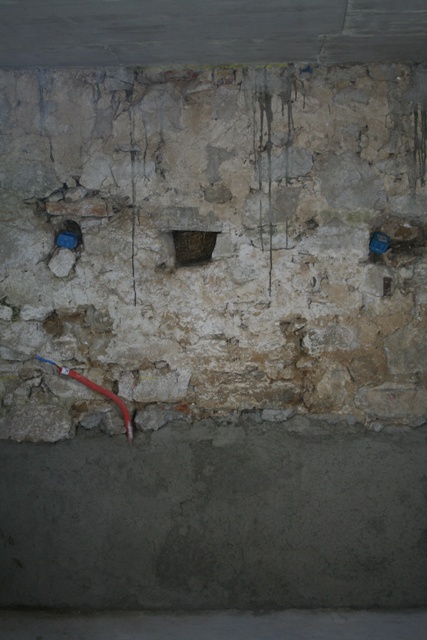
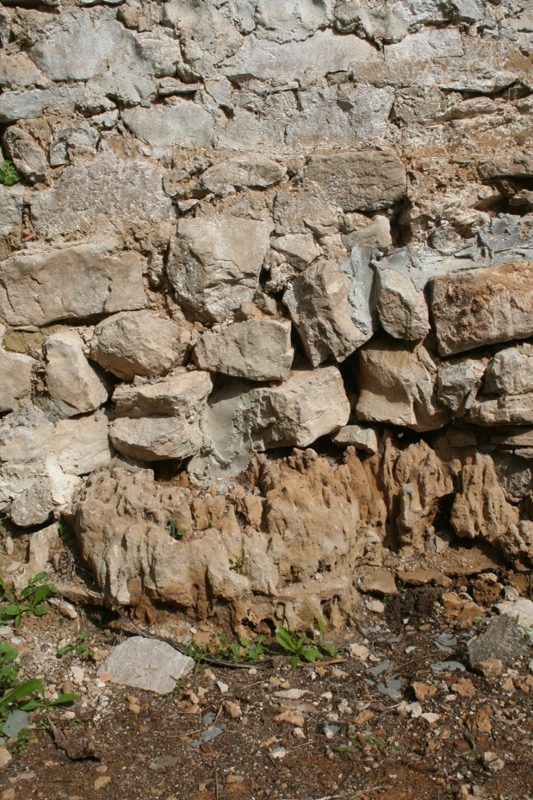
By way of a reminder, the courtyard was almost a meter higher than it is now. When the old concrete was removed, then the sandstone underneath to level the courtyard, it exposed the sandstone bedrock which the buildings were built on.
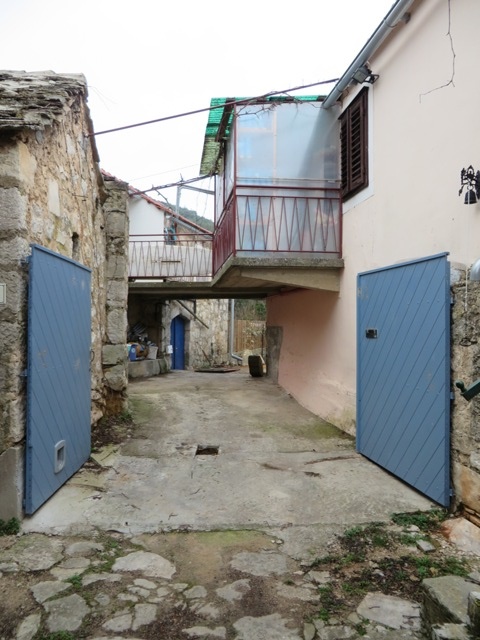
There was not even a pretence of foundations – 100+ years ago they just built on the yellow sandstone.
The shelf on one side of the courtyard, like shelves everywhere, has become a place to “leave” things. So it has accumulated various containers, tins, chunks of wood and assorted other items.
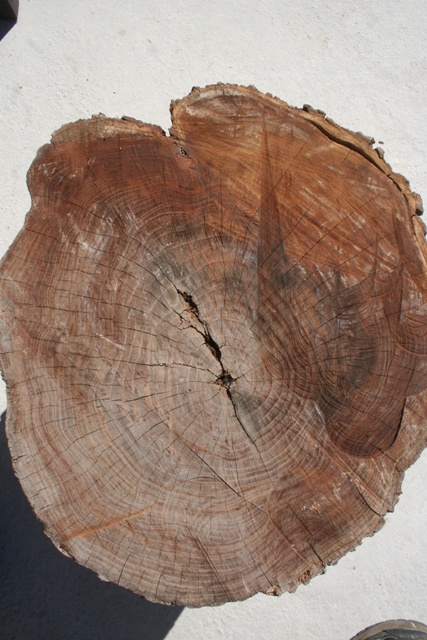
One of the pieces of wood is a complete circular section from the bowl of the diseased Black Mulberry tree that I had to remove.
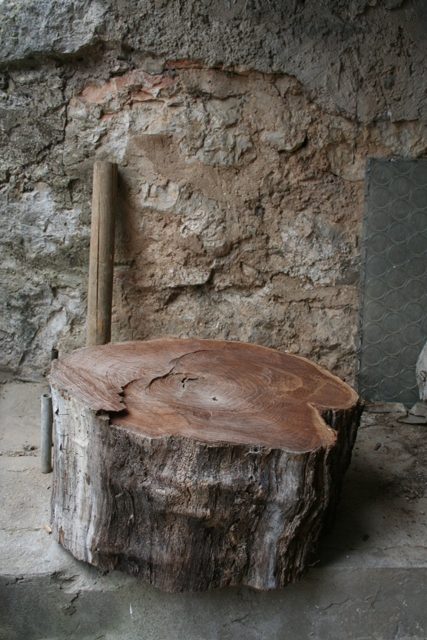
This is over half a meter in diameter and 25 cm thick. At the time I had the thought to keep it and make it into a table, but it has been sitting in the shelter, gently air drying, for the past three years.
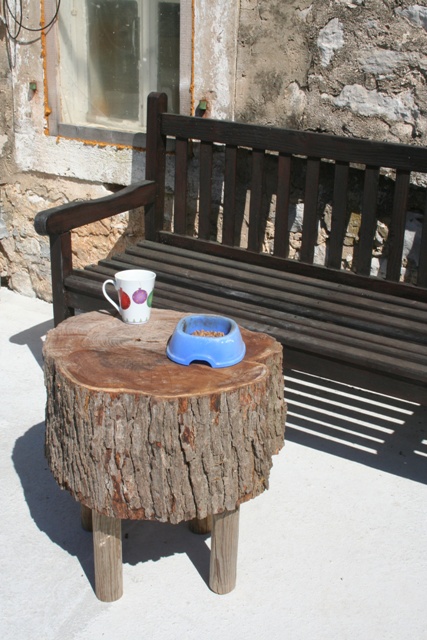
Now I have my terrace and the old bench seat from the UK, I have somewhere to sit and enjoy coffee in the morning. But the problem is, there is nowhere to rest our coffee cups.

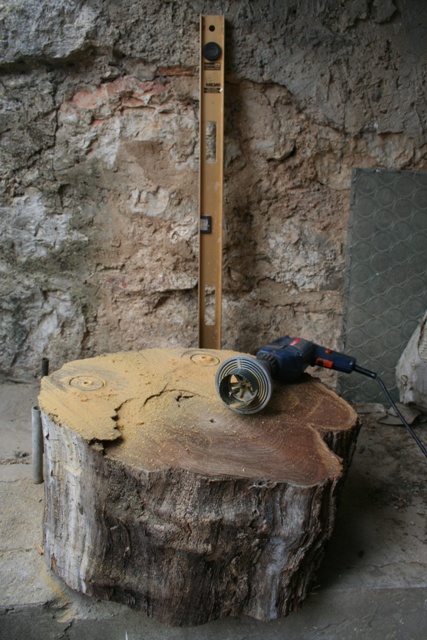
I found that in my wood store I had a pole left over from when I was building the garden Arbour. So a quick check with a measure and I had enough wood to make the legs of table.
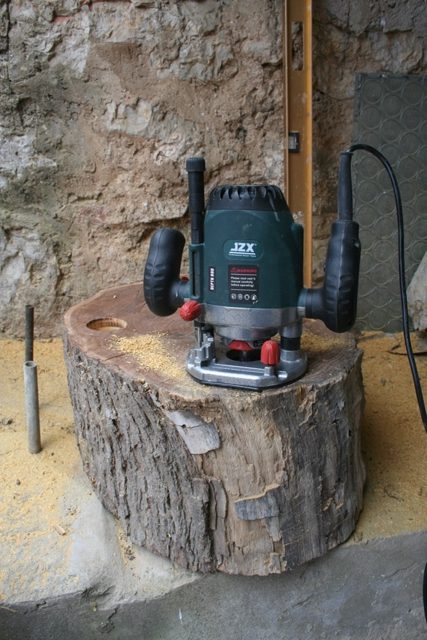
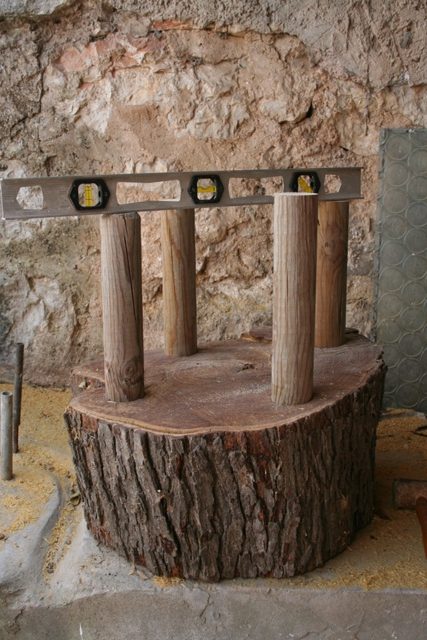
This has been one of those very quick and easy projects. First I used a circular cutter to create four 60mm holes in the bottom of the table.

With perfect circular holes made, I then used a hand router to clear the centre of each hole.
The top of the table is more or less flat, the bottom less so. So measuring the longest length needed, I cut the circular timber into four lengths, then fitted them.
Using the first leg as the reference point, I adjusted the individual pieces until they were all the same height, and made sure they were vertical too.
The last job was to glue them into place. They are a very tight fit, so the glue is more to prevent moisture ingress than anything else.
I need to soak the timber in Sadolin so it doesn’t rot while it is outside, and I need four rubber feet for it to stand on. Just enough to lift the feet off the terrace and stop the legs absorbing rain and then going rotten.
But on Saturday morning, we had somewhere for our coffee mugs. Not bad for an afternoon’s work!
It is now possible to count the annual growth rings. There are 45 and they show some marked differences in width, meaning differences in the climate of the years
Cracks are appearing
I downloaded the last of the March weather statistics from my weather station this week and added them to the data spreadsheet.
It really confirmed what I already knew. This has not been a typical winter.
It has been generally warmer than average and although the total winter rainfall has been above the average, we received almost all of the precipitation in November.

Since mid-December there has been a dearth of precipitation of any kind. We are 200 mm down on the average.

The fabled “Mediterranean Climate” is characterised as being a winter mild and wet and a summer hot and dry, with not much in between.
There isn’t a clear Spring or Autumn season. Of course we have spring flowers, but they appear any time from early January to late March, depending upon their variety.
Deciduous shrubs and trees start changing colour and losing their leaves from late August until December. So again, although the days shorten and temperatures drop, there isn’t the sudden change which I remember from the UK.
This always seemed to happen around he time the clocks changed in late October, and by November 5th it was cold and early winter.
The lack of rainfall this year – and we are a long way below the average – means that my soils are already dry.
I have been watering a lot of the plants in pots once a day for a couple of weeks now. Some of my shrubs, like the Bougainvillea and Hibiscus have not yet show the first signs of life, while others are already in full bloom.
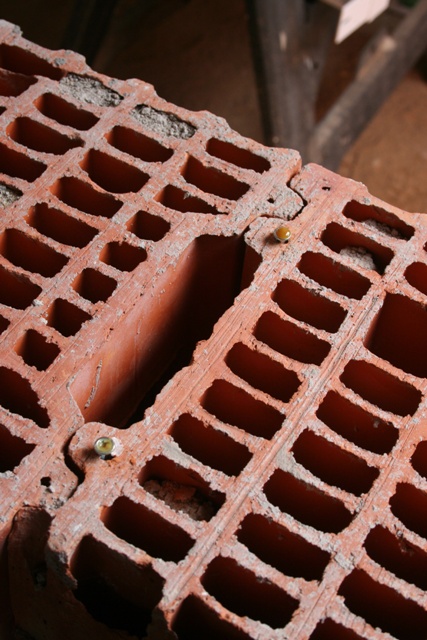
While I was inspecting my crop of verdant weeds this week, I was surprised to see that the soil in the citrus orchard is already cracking. This is before I have removed the shade netting from around the young trees.
This shade netting which has protected the citrus trees, especially those with blossom, has also protected the soil. Yet it is so dry that it has large cracks showing.
With no sign of any extended rainfall any time soon, I think it will not be long before I have to activate the underground irrigation system. This event seems to be getting earlier and earlier every year.
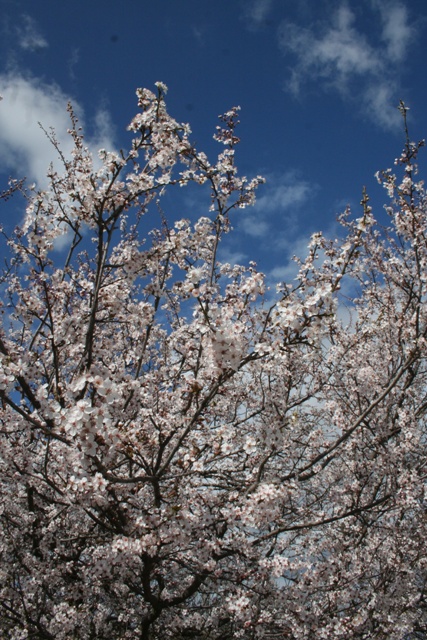
In flower in April
We are now into April, but still have had a cold wind which has kept both the daytime and night time temperatures down.
The sun is strong, but with clear skies at night, the earth’s surface quickly radiates the heat accumulated during the day, away to the open sky.
Both my Magnolia are in flower at the moment.
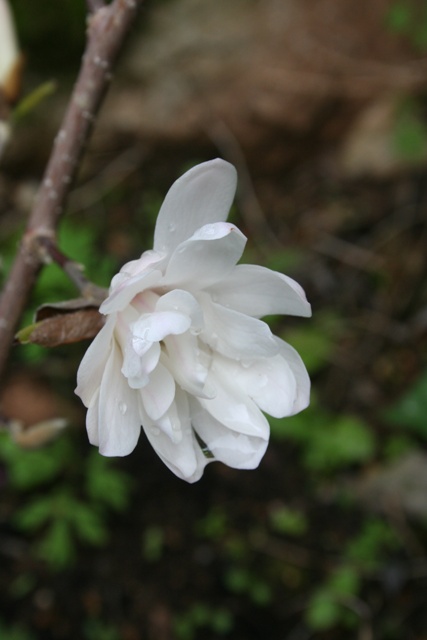
The strange maroon claw shaped flowers are the variety called “Susan”.

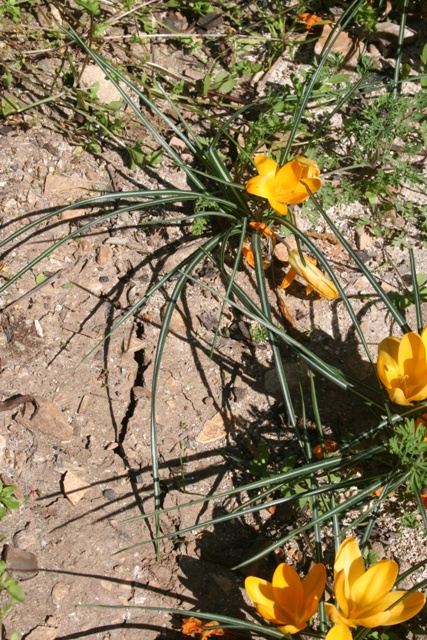
I have several Alstroemeria, known as Lily of the Incas, which gives their home away. I have several different colours and these have come into flower this week too.

These are sun lovers, growing best in slightly alkaline, free draining soil, preferably in full sun.
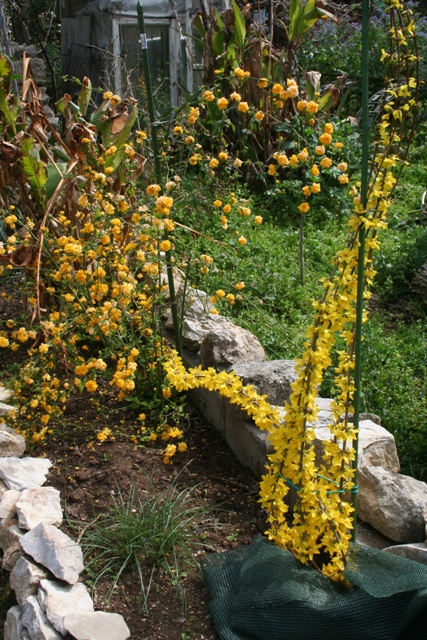
A new shrub I planted last year, Forsythia intermedia “Lynwood Gold“, is also in flower.
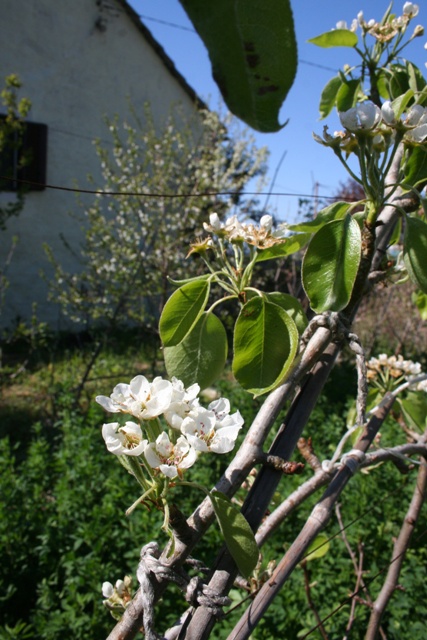
The pear trees are in full blossom and my apples are not far behind, but I think last week’s cold has caught a lot of the plum blossom.
Although my lovely bronze Myrobalan plum now has it’s summer colours – quite a change from just a couple of weeks ago when it was covered in pink flowers – there seem to be few plums forming.

I have found a lot that have fallen on the ground under the tree.
This happened a couple of years back when we had a cold snap at blossom time and I had hardly any plums to harvest.

On the other hand, the old fig, which is next to my new building, is covered with the first crop of small Breiba figs.

Roll on summer! NRC
2 Responses
Lynn Woolsey
Still such an interesting and relaxing read! Take care and be safe!
Marcy
Your pictures of the flowers and trees are stunning. The table is adorable. Thank you. For sharing. Always a bright spot on a Saturday especially in lockdown. Stay safe and healthy. Marcy