Reversing my tongue
This week: Laying hardwood flooring; Blind nailing; Reversing my tongue; Just plain awful engineering;

It’s Saturday again! It really doesn’t seem a week since I was in front of my screens, selecting the photos for last week’s blog…
We have had a good week for weather, with some warm, sunny days and just a little rain.
That changed yesterday when the wind swung 180 degrees from the south to the north.
A northerly wind brings cold from central Europe and today it has only been +6ºC outside. In the polytunnel, it was a very pleasant 15ºC, so I am sure the plants will be happy.
I have a single Kumquat tree, Citrus japonica, and it is laden with fruit. The Kumquat is winter hardy, so it is the only citrus which I don’t bother covering.

The fruits are unusual because you eat everything whole, the outer peel and pith and the fruit within. Mine are not quite ready, as they are still a little bit tart.
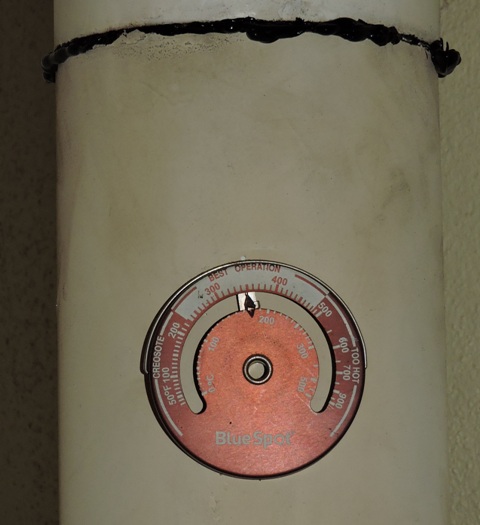
On Monday when I lit the wood stove, I was surprised when spoke started seeping out into the dining room from the fire,
I needed to keep the chimney top fan running the whole time, to prevent smoke filling the room.
On Tuesday morning, I stripped and cleaned the inside flues. There was a small build-up of clinker, but nothing to cause the smoke to recerse.
However when I removed the flue port on the outside 90º bend, it was a different story.
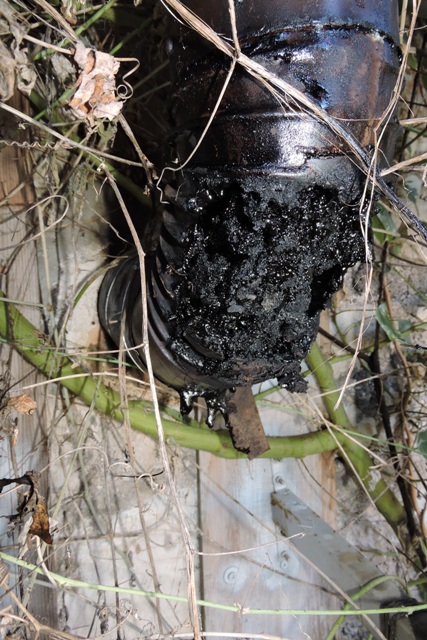
Almost the whole of the flue was blocked by clinker.
Flues should be straight, or at the most have gentle 45º bends. My problem is that of necessity, I have two 90º flue bends in close proximity.
The one outside is at the bottom of a two metre flue pipe, so any residue falls and collects here.
It wasn’t difficult to remove the clinker. It isn’t actually dirty, rather it is a solid, light, glassy lump.
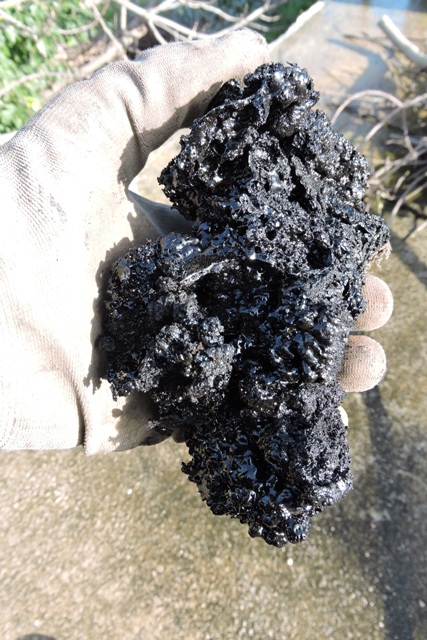
When I lit the fire, it almost immediately was up to working temperature, and with no more smoke coming inside.
Laying hardwood flooring
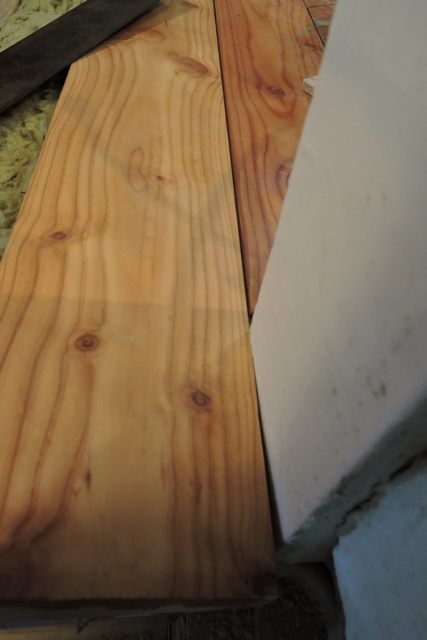
I have spent most of the week laying hardwood flooring in the hallway, around the stairs up from the Konoba.
Natural materials move, some more so than others.
Stone doesn’t expand much when it is heated, but its surface is changed, often cracking and fracturing.
Wood on the other hand, even long dead and ostensibly dry timber will absorb moisture from the atmosphere, and expand and contract.
I started by fitting the fillet which goes in the doorway. I cut the profiles to fit around the jamb moulding at the end of last year.
However when I came to fit the first length of timber to the fillet, the wall runs off so at one end the board wasn’t flush with the frame.
I carefully marked the piece of wood I needed to remove and cut the tiny sliver with my band saw. The result was a perfect fit.
Blind nailing
The new floor boards come in four metre lengths, which I have to cut to the required size. The boards are all “tongue and groove”, so they fit together without too much difficulty.
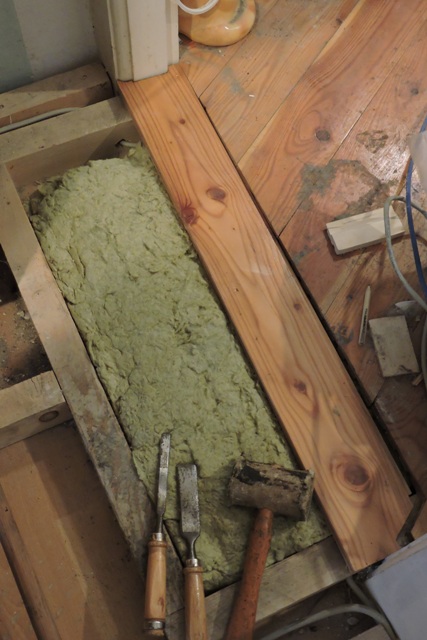
The boards are fixed to 5 cm wide wooden beams with insulation between the old and the new floor.
I am using a technique called blind nailing to fix the floor boards. This is where a 30 mm pin is driven at an angle through the board, into the beam underneath.
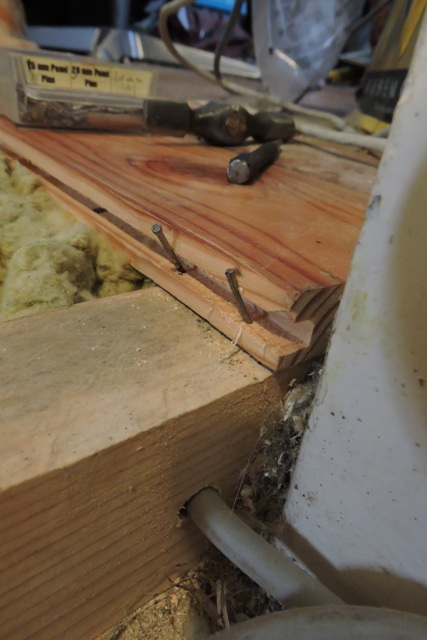
This means that no nail heads will be visible in the floor. I quickly realised that the fillet in the doorway, with the groove facing out in the direction I was laying the new floor, was going to cause me a problem.
The pins are going through the bottom of the groove, instead of through the actual board. It is hard to nail in this position and difficult to use a punch to get the pins flush with the timber.
I have taken great pains to make to top of the beams level, because the old floor in this building bows towards the centre. Despite all this effort, I found that there was a gap of 9 mm between the bottom of the boards and the top of the beam at the head of the stairs.
This would mean that all a person’s weight would be on a piece of floor bard which was unsupported underneath.

I don’t know how I got the level and/or measuring wrong, but it seems only to be in one place, by the woorway.
I added an extra beam underneath because being a doorway, there will be ll the weight of foot traffic concentrated in this one spot. This extra beam is too high, so with my power plane, I reduced the height by 6 mm.
Because the first board was already fixed in place, I then used some thin wooden shims to fit under the end of the floor boards, to carry their weight. Across the front of the step tread I will fit a piece of wood, so everything behind will be hidden.
With the shims in place, I then fixed the board in place.
Reversing my Tongue
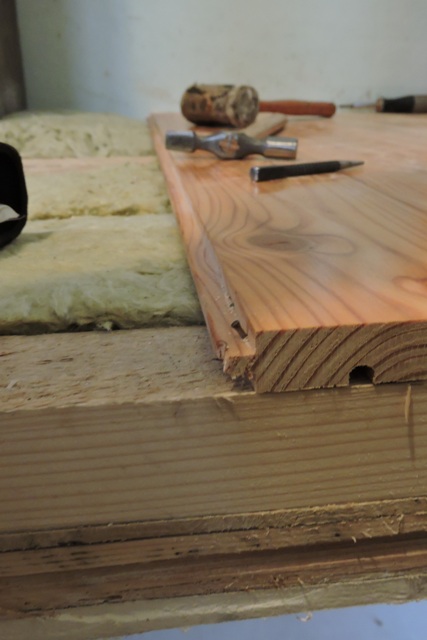
The next problem was the outward facing groove. To make it easy to fit the following boards and to fix the boards down, it should be a tongue, not a groove.
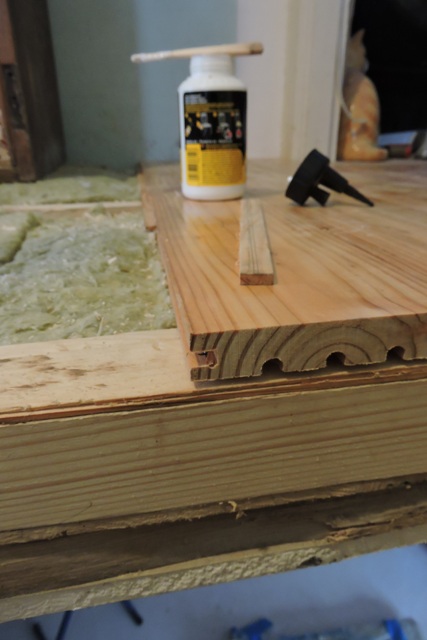
My engineering solution was to place two boards together, groove to groove, and to make a wooden tongue to fit and join them together.
In my wood store I found a piece of scrap wood with almost the right dimensions and cut it to size, before gluing it into one of the grooves. The joint was then left it for 24 hours for the wood glue to dry.
I fitted the next board’s groove over my home made tongue and fixed the board in place.
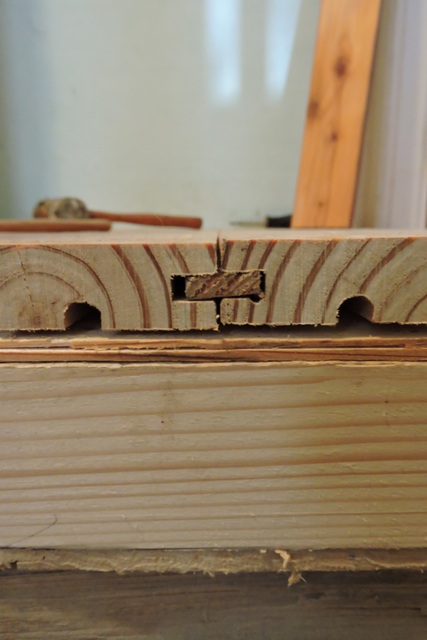
Because the end will be covered by a nice piece of hardwood, no one will ever see the double joint behind.
This means that all the rest of the boards in the hall can be laid and fixed through the tongues, rather than through the weaker grooves.
Just plain awful engineering
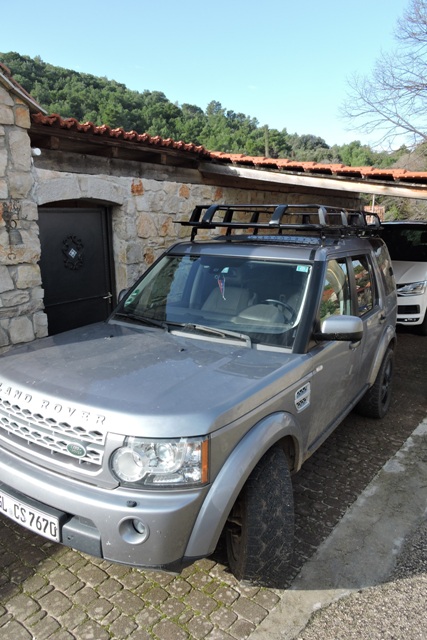
I was helping a friend on Wednesday to fit a new roof rack to his LR Discovery 4.
This is a €500 piece of equipment, made of aluminium and came from the UK.
However it is engineering at its very worst.
Starting just after 10am, with three people working on the task and no lunch break, we finished after 4pm, just before the rain started.
Once upon a time, “Made in England” was a byword for excellence. But not with this piece of kit.
It started from the off. There was no manual: nada, nothing and the company website didn’t offer any help.
Trying to remove the plugs in the roof of the vehicle resulted in tearing the top off the first, leaving the plug in the bolt hole. Not the best start, by any means.
I found an online video about fitting a different kind of roof rack. The narrator glibly said that you need an “interior trim removal tool”.
Hands up everyone who has one of those in their garage? Let’s just forget that these plugs are on the outside, not the inside the vehicle…
OK, how about “Hands up everyone who knows what a ‘trim removal tool’ even looks like”.

Well I don’t have one of those, but I have a tack lifter, which is similar. So it was pressed into service and removed six of the eight plugs.
The two which broke were removed by drilling the centre out with my Dad’s very old hand drill, and then inserting a 3mm screw and pulling with a claw hammer.
The whole job from start to finish was difficult.
This roof rack comes with fittings that will work on a number of models of the Land Rover Discovery range. I suspect that in their efforts to make it fit many models, there have been design compromises, so yes, it fits several models, but it probably doesn’t fit any of them very well…
Once we got the rack in place and adjusted, and the bolts all tightened, it looks very good and will certainly be a useful addition to the vehicle.
However we were really fed up with the process, especially the “journalistic licence” suggesting it would take “just two hours to fit”! NCG