My cost benefit analysis
This week: Snipping away; My cost benefit analysis; Making palings;
It has been a strange start to the year, weather wise.
We have had consistently northerly winds for the past five weeks, with more to follow this coming week.
The cause is near stationary Atmospheric Rossby Waves over central and northern Europe blocking high pressure from the Atlantic.
It means that we have a lot of clear sunny days, but clear and cool nights too. Any heat in the ground from the sunshine quickly leaches away after sunset.
There have still only been a couple of nights when the temperature has dipped fleetingly below freezing for a short time, but some tender plants have still been nipped.
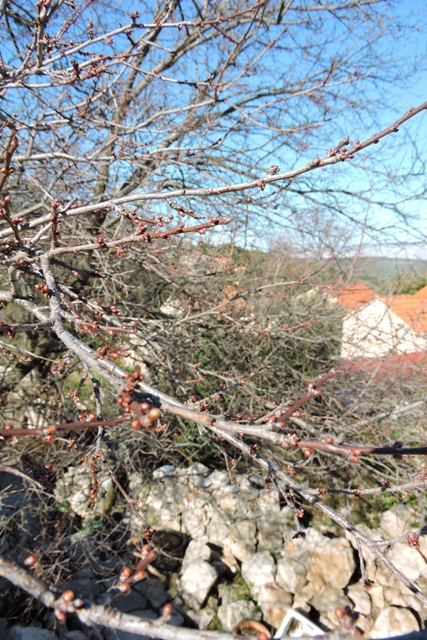
As the days lengthen so Spring advances. The fruit blossom buds on my plum trees are rapidly swelling and I spied a single flower. A little early and well ahead of the pack.
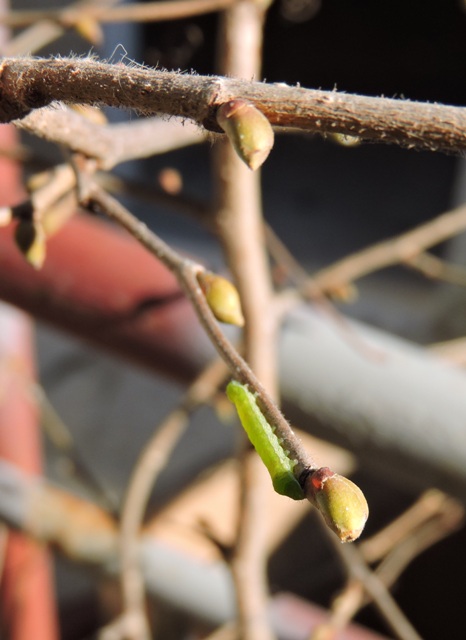
As I walked past my nursey area I spotted some vivid green on a Cosford Cobnut tree which is awaiting planting. Cobnuts are a variety of Hazelnut.
Examining the twig, it is a newly emerged caterpillar that was munching on the flower buds
Spring had definitely arrived, even if it is a degree or two colder than normal for this time of year.
Snipping away
The blossom buds on all my early fruiting trees are really beginning to swell now. Some are easier to see than others. My substantial Myrobalan plum has its lower branches at first floor level. Exactly where my terrace is so they are easy to observe.
The apples and pear trees are also stirring, with both large fruit buds and the smaller leaf buds visible.
I decided I had better get a move on and get everything pruned this week.
My grape vines were partially pruned back in November, so it was not a long job to finish them off first.
I then attacked the apples, followed by the pear trees then a couple of cherries before finishing late in the afternoon.
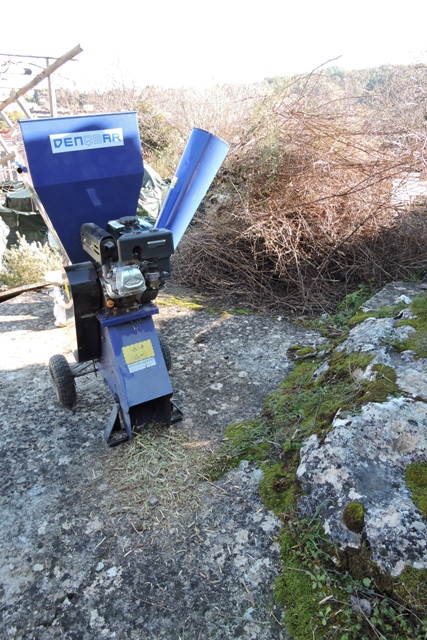
I brought my large mulching machine out of its winter quarters and with a big pile of cuttings up by the Donkey Track, I began to reduce everything to a useable, or reusable format.
I had planned on shredding everything, so as I pruned, I laid the pruning’s parallel. This made it relatively easy to load the material into the machine.
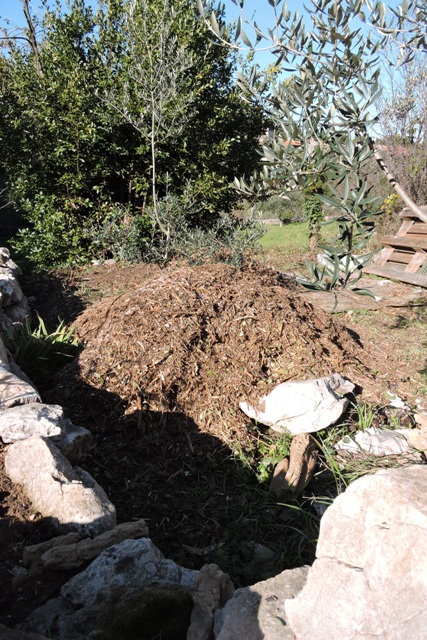
The large pile was reduced to a usable mulch in just over an hour.
My cost benefit analysis
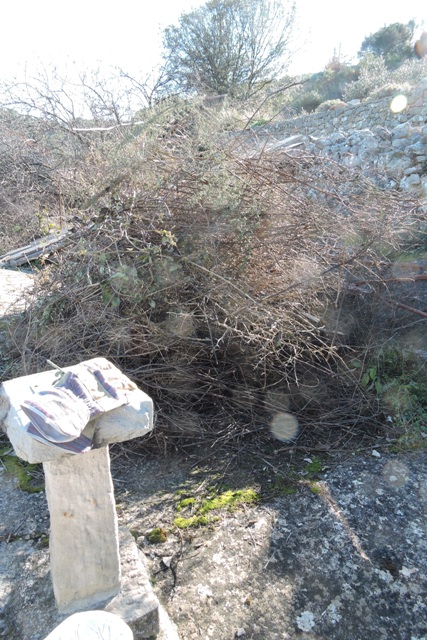
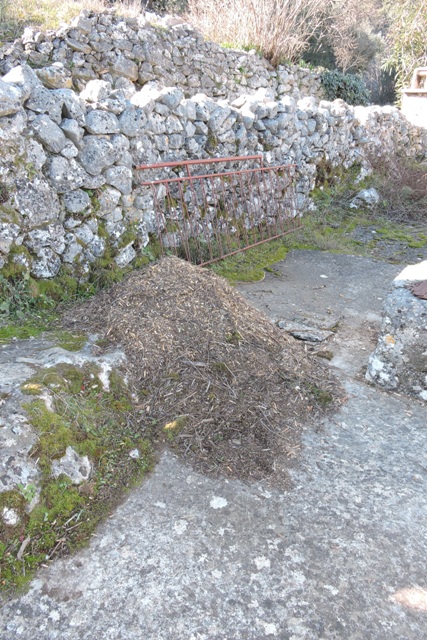
Next I wheeled the machine to the opposite end of my property where there was a much larger pile of cut branches, brambles, twigs and leaf litter.
This pile has been at the end of the orchard for at least two years.
However, as I mentioned at the start of the year, I am determined this year that I will really make inroads into the Top Orchard and landscape it properly with nice plants and shrubs, and a small pond.
There are already 14 fruit trees and I have another six waiting to be planted. The orchard will be both productive and ornamental.
As I have pruned plums and cherries, and cut the brambles, everything was piled in an unused corner at the bottom.
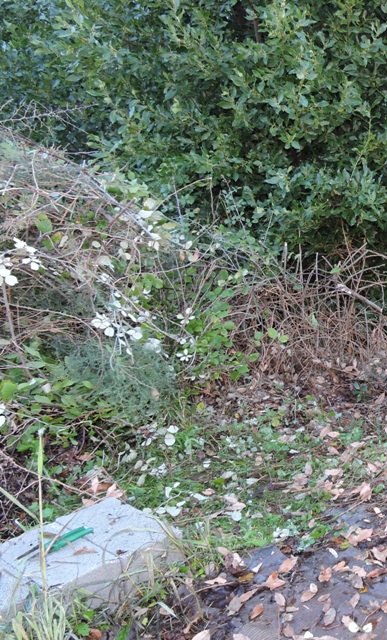
It would have been easy to have a bonfire and burn everything, but then that would have destroyed eggs and larvae of insects and invertebrates. Not to mention every living thing hibernating inside
I’m a realist though and I understand that putting all this material through the hostile environment of a machine, to reduce it to mulch, will also kill some of the inhabitants. I hope that most will run away (like spiders) as I move their homes.
Some eggs will survive. I was also hoping to find a hedgehog. I’m sure there are some although I have never seen one around my home. All I have found is some droppings.
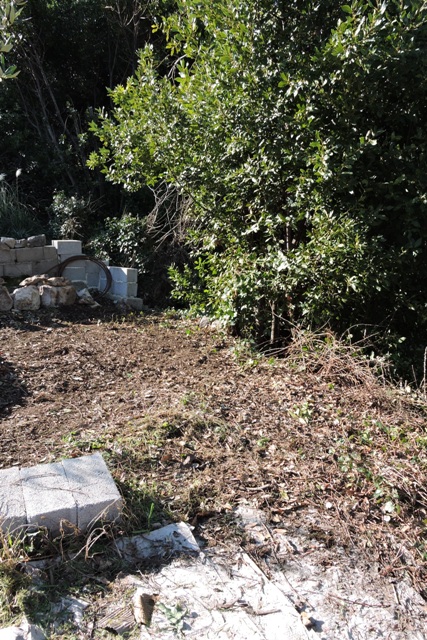
In the end I didn’t find any mammals hidden away in the warm depths of the leaf litter.
My shredder is powered by a small gasoline four stroke engine. So of course when it is running it gives off various emissions and I used just over a litre of fuel.
Doing a cost benefit analysis (on the back of a cigarette card), the emissions from the engine would have been much less that the smoke from a large bonfire.
So together with the chance of insect eggs and larvae surviving, the mulching machine is better than a bonfire.
Making palings
What do you do when you want some palings, but there are none in the shops on the island?
Make your own of course.
I’ve been through the Bauhaus website this week looking for wooden palings either 120 or 100 cm long, and there are none listed.
I have one left so had the name and barcode number. There were 50cm lengths, but that was all. So for my orchard fence I decided that I would make my own.
In English a “Paling” is a wooden upright with a pointed top. The point is more than decoration, it is so that rain is shed and doesn’t soak in and rot the timber.
What I can easily buy here is 4 metre lengths of “Daska”, which translates as ‘boards’ or ‘planks’.
Again in English, a plank is a thick piece of wood which you can walk on, a board is thinner. Here Daska covers all eventualities, thick, thin, wide and narrow
I have several pieces of different widths in my store, that were left over from previous projects. So I dragged some pieces out and started measuring.
All timber here seems to come in 4 metre lengths, but of course the width and thickness varies.
My Daska lengths were 15 cm, 18 cm or 22cm wide, so I decided that I would halve each length down the middle, giving me 8 palings from each.
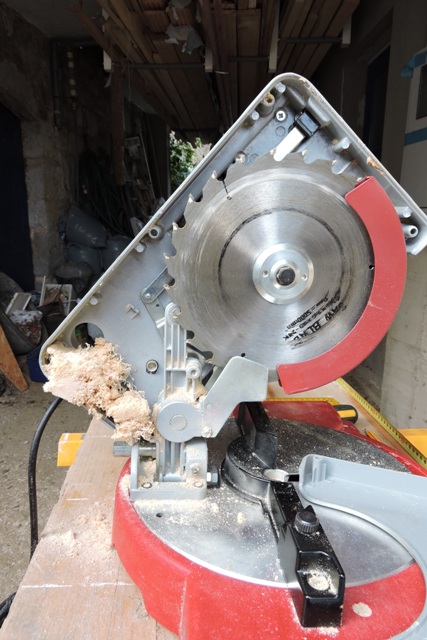
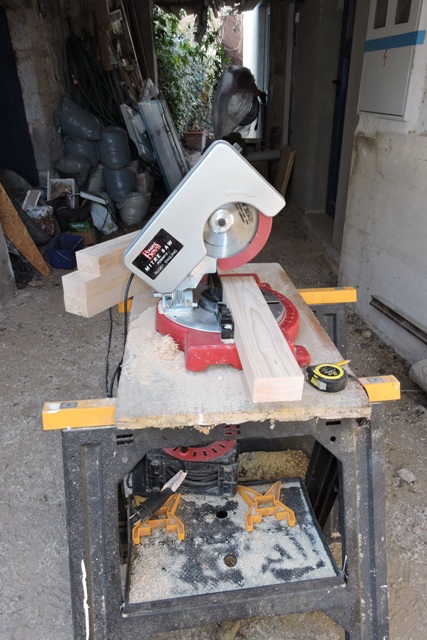
With a lots of lengths to cut, I brought out my Crosscut saw, which needed a clean and service first, to remove the accumulated debris from inside.
After cutting to length, I split the lengths down the middle with the table saw and then drew 45º angles on the best end to make the point which will shed rain water.
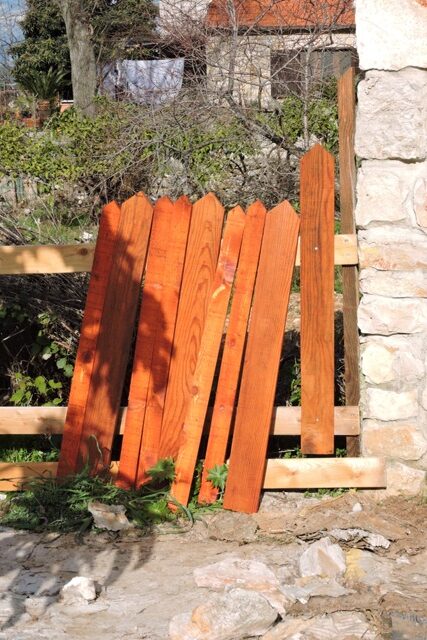
The lengths have all had two coats of Cuprinol wood protection, with special emphasis on the cut faces. The space available for treating the timber has been limited which means that I will have to do two batches.

On Saturday morning I started fitting the first of the palings. I want the fence to look nice, even though it is only made from very rough untreated timber, so I used a long level to make sure all the points are in line.
Once the first is in place, the rest will be easily fixed with a drill to bore the holes in the paling and SPAX 40 mm x 4 mm screws.
When the second batch have been treated with Cuprinol, the fence will be assembled.
I need to keep something so I am busy next week! NCG
One Response
Marcy
Hi Norman, What a great blog. The weather there is almost identical to here in Colorado Springs, CO. We have only had one relatively large storm that was almost melted the next day. At night it’s almost always below freezing, and the day can be as warm as 61F, like yesterday. The rest of the week is predicted to be in the mid to upper 40’sF and lows in the upper 20’s to 30’sF. Nothing is really budding yet, but I suspect soon.
Have to say I love the color of your fencing. It’s beautiful. It will be an awesome fence. I also think the areas you mulched look really good. Your property is looking amazing. I know you must be proud of all you have accomplished. Thanks for sharing.