Getting stoned

This week:It’s the pits;Getting stoned;Some more history;
It’s been a strange week for weather, very warm at the start and a howling gale at the end. On Saturday morning with clear skies and warm sun, the air temperature was just +2.5ºC. A bit of a change from the 15ºC we had on Monday.
This is the time of year when we have beautiful sunsets, and for those early risers who are around, colourful sunrises.
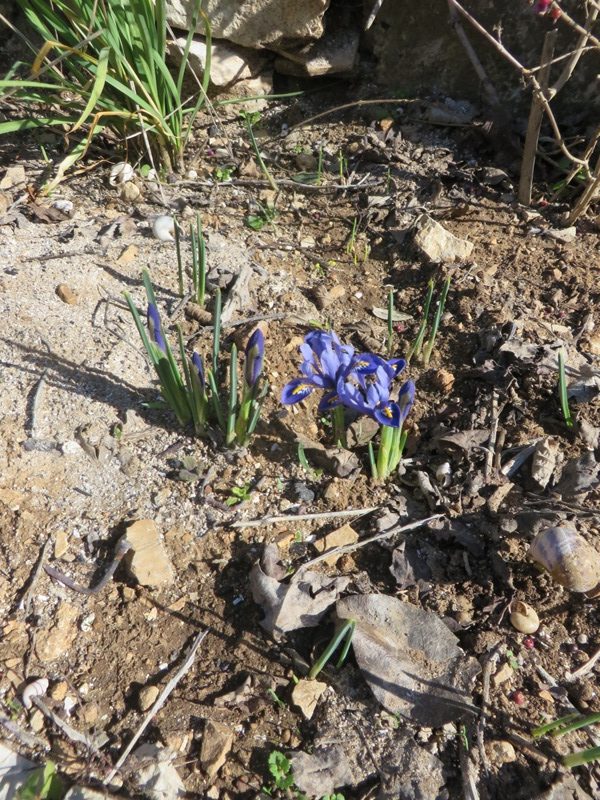
The first miniature Iris burst into flower and I have blue Hyacinth flowering in a number of places.
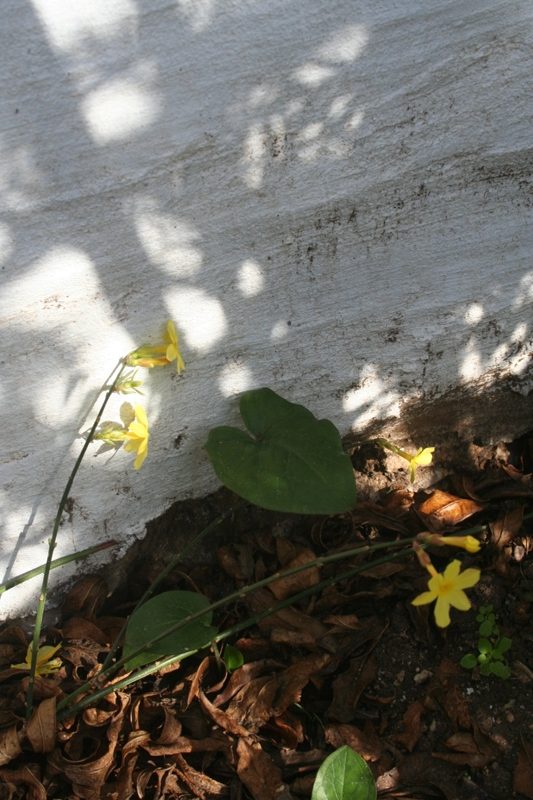
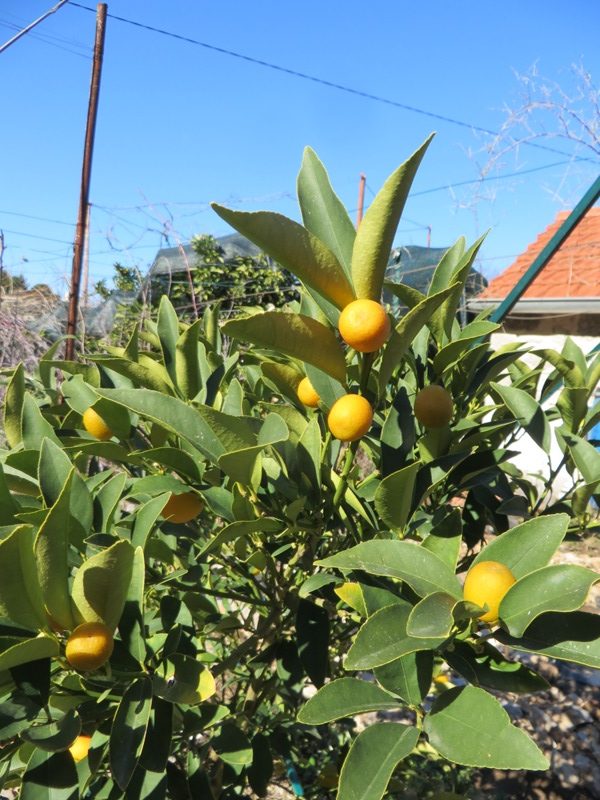
The Winter flowering Jasmin, Jasminium nudiflorum, which is a cutting I took last year has it’s first flowers and the fruits on the Kumquat, Citrus japonica, are ready to be harvested.
This week’s on line FutureLearn “from soil to sky” course has been quite interesting. They wanted participants to dig some holes and then report back what they found.
There have been videos and lectures on soil composition and soil horizons, canopy cover, land use and slope. But one video was about how to determine scientifically what sort of soil I have.
It’s the pits
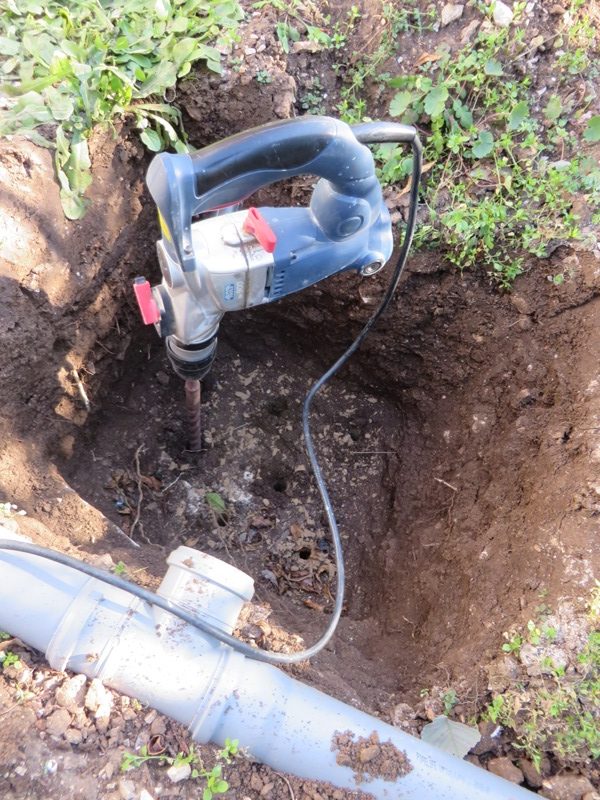
I have needed to dig some holes for a while. I have a columnar cherry tree to plant and also a soak-away to construct. The soak-away is to take the precipitation from the cottage roof and move it between an orange, lemon and lime tree.
Not that there is much rainfall in summer, when the trees really need it, but at least what we do get will be fed into the right place.
So it took a morning’s work to dig a half cubic meter pit – 50 x 50 x 50 centimeters. At the moment he soil is moist after the winter rains, and so is easily workable. Later in the year I would need the breaking hammer to dig through the dry and concrete hard soil.
But unlike the pictures from the course, there was only one soil horizon (layer) stretching to the bottom of the pit. No top layer of organically rich soil, no ‘A horizon’ of top soil, rich in life and organic matter. Just a sub soil strata that starts at the surface and goes down.
I did find a worm though. That is just one solitary and rather sad worm. It’s been relocated to the top orchard, where the soil is better and I know there are other worms…
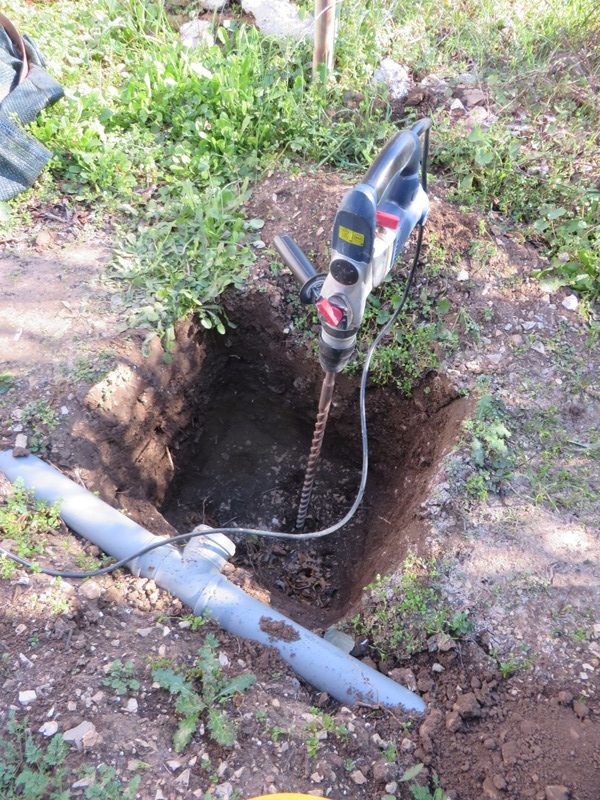
To ensure that rain water does drain, I used my large diameter wall drill, to go down 1 meter below the base of the pit. I then filled the holes with wood ash and pure sand, before filling the pit with some of the sandstone spoil from the courtyard. It will get topped off and finished next week.
From the surface to the bottom of the pit, the soil is brown, damp sandy clay, filled with small stones. I also learned that stones and pebbles are different.
Pebbles are generally rounded and small having been eroded by flowing water. We don’t have any of that on the island. Stones have rough edges, sharp pointed bits, where they have fractured off bigger stones or boulders, or caused by freeze /thaw weathering. I have a LOT of stones and no pebbles.
There is then a test where you get a handful of soil from around 15cm under the surface and try and manipulate in your hand. I could easily roll this into a long cylinder, then bend it to make a ring.
This is the standard field science way to determine the soil. I have a light sandy clay. I already knew most of my soils are clay, but I didn’t know about the “light sandy” bit. I do now.
In the Top Orchard where I am building the new steps, I had already dug down and there there is a very clear line between the ‘A’ (surface) horizon and the ‘C’ Sub stratum. The ‘B’ sub soil is missing, but at least I can see a line.
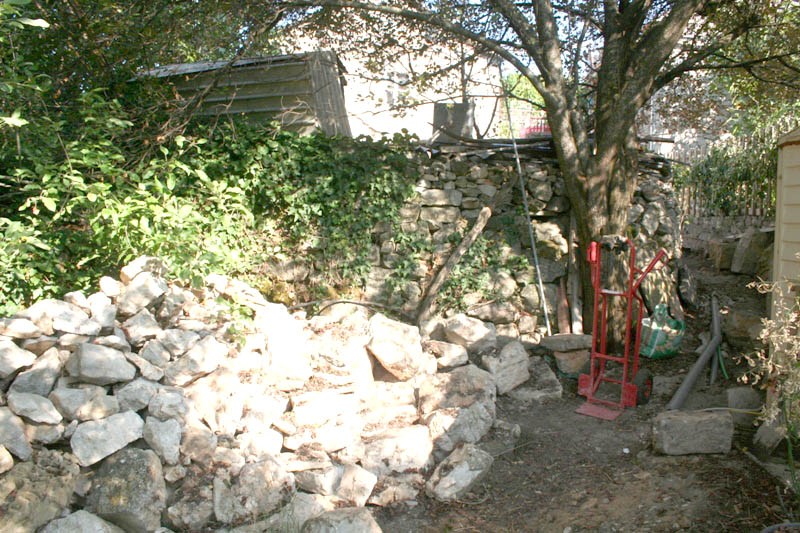
The soil that I excavated from the soak away pit, I relocated into the drupe orchard, where I completed a line of vertical stones to separate the path round the raspberries from the trees and shrubs.
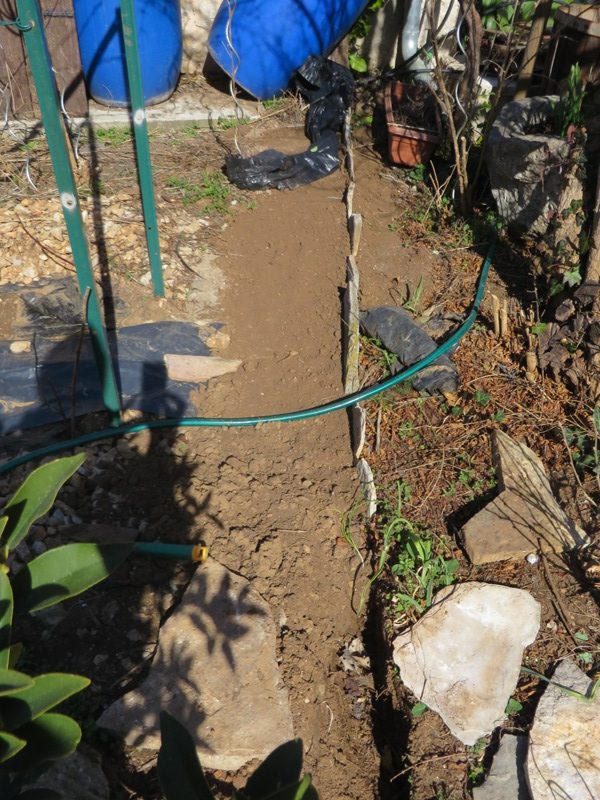
I will lay black plastic on this, and then use the small stones I’ve riddled out of the soil as an all weather and hopefully weed free path. This seems like a good use of the poor soil from the pit and a purpose for the stones.
When I tested the irrigation system, I found I had two leaks. One of the pipes had become separated while I was weeding and the other I think I put a fork tine through. So these were repaired while I was working in the area.
Getting stoned
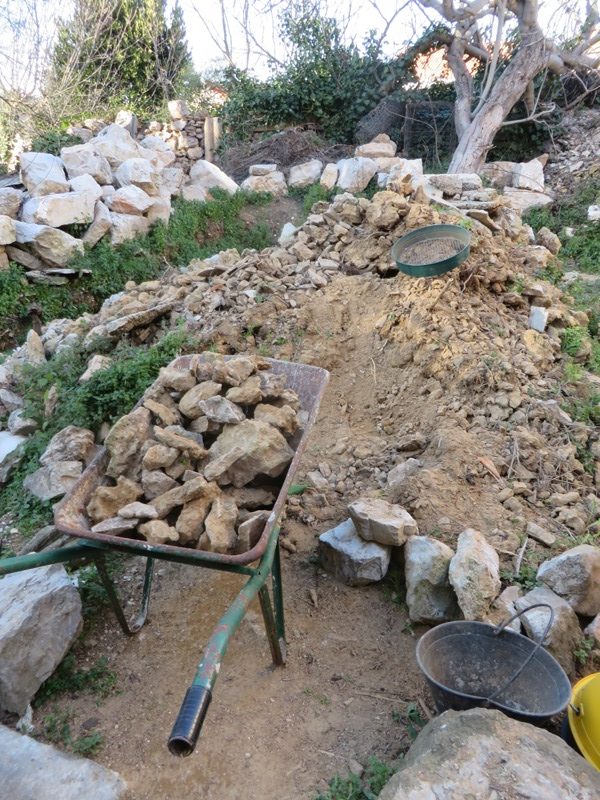
I’ve been moving barrows of spoil, the remains of the courtyard excavation, to where I am building the steps, at a rate of five barrows day.
I also needed to move some of the wall that was already there.
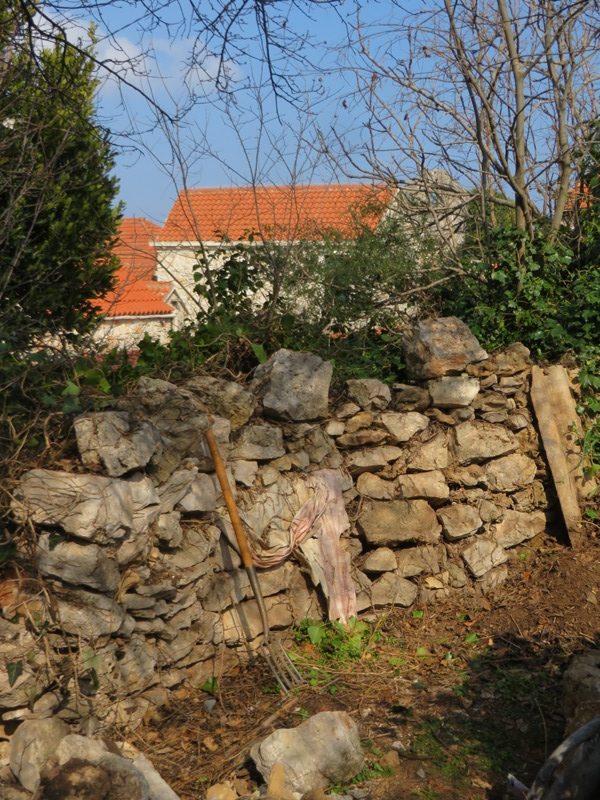
This wall might look old, but is not. I have found plastic in it and also bits of tiles off the roof. The tiles date from the late 1940’s and the plastic from the 1960’s, so in comparative terms, it is modern. Dry stone walls on the island are generally one or two thousand years old – at least the ones in the UNESCO World Heritage Site are.
I’ve managed to get the second row of stone steps in place and the base filled. It takes around 8 barrow loads of spoil per row of steps, although I’m having to think carefully about how I build the walls.
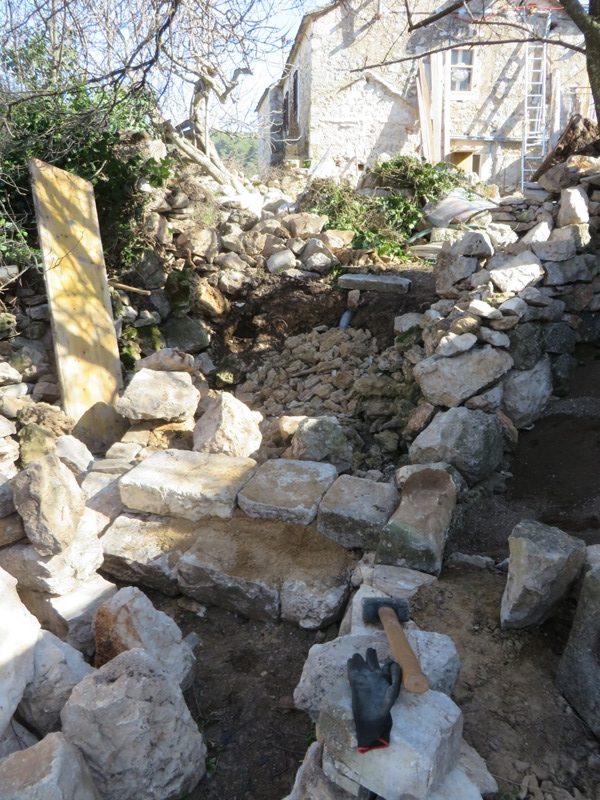
I’m not using any cement, just sand to bed between the stones, and the sandstone spoil, well tamped down under and behind the stones.
When I took a couple of stones out of the old wall, a whole section collapsed. I make sure that when removing stones, especially big ones, I have an escape route just in case a wall section cascades down and I get stoned!
Although the progress is slow, I can see the steps slowly taking shape.. This is when the access to the orchard was a path on the right of the photograph.

So now for the back of the cig packet calculation. If it takes me a week to complete one row of the steps, and I have four rows to complete, I should be finished by, err….. Easter, maybe.
Putting the dry stone side walls in place is not as easy. Partly because the walls curve away and up whilst at the same time becoming wider, it means the stones have to be selected very carefully.
I have piles in the salvage area, but there is a degree of skill needed to select the right one first time. I don’t pretend to have that level of skill so it is trial and error.
As well as choosing a stone that looks nice and will fit into what I have in mind for the walls to look like. Sometimes by later afternoon, when I have moved more barrows of spoil, my creativity just seems to have evaporated, so that is when I pack up for the day and find something else to do.
With no shortage of huge stones, mostly with one generally flat surface, I had an idea. When I was looking for the next risers on Friday afternoon, I had the thought to extend the second step back, like a small landing. It won’t affect the next riser but will mean that there will perhaps be somewhere for a planter with some nice bedding plants.
It’s alright being artistic, but it can be hard work too…
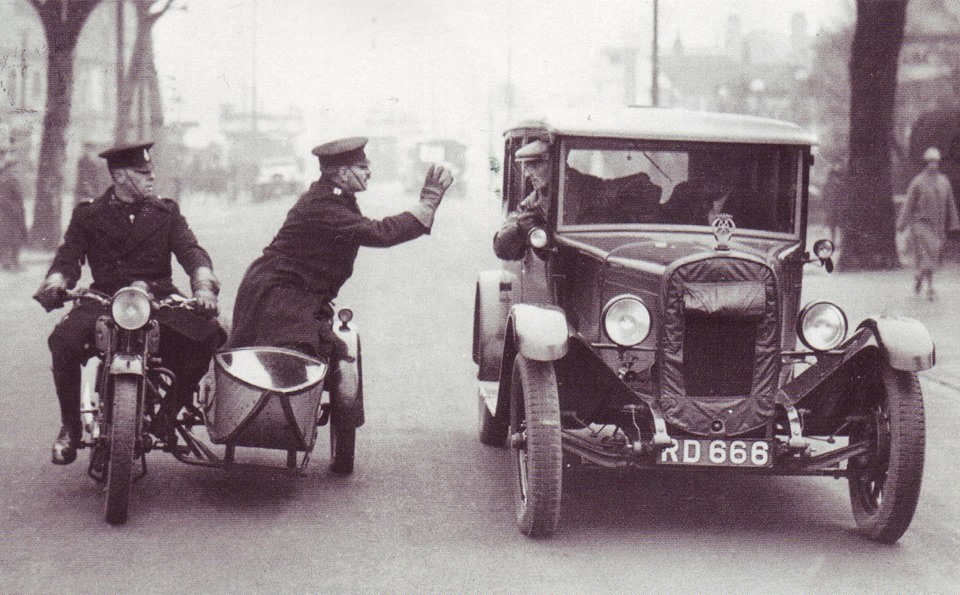
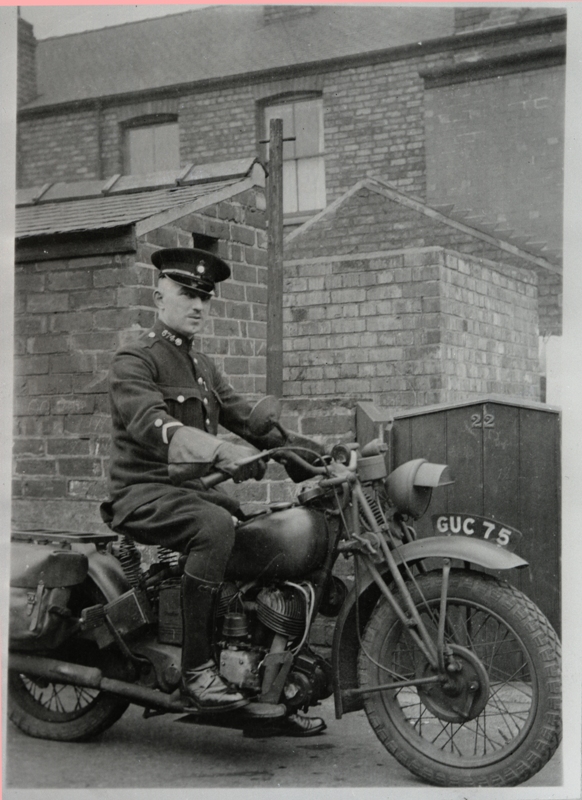
Some more history
I was asked at Christmastime if I could write a history of police motorcycles. This is a subject I know a bit about but when I went through my archive photographs, I have more than 100 that relate just to motorcycles between 1903 and the present day.
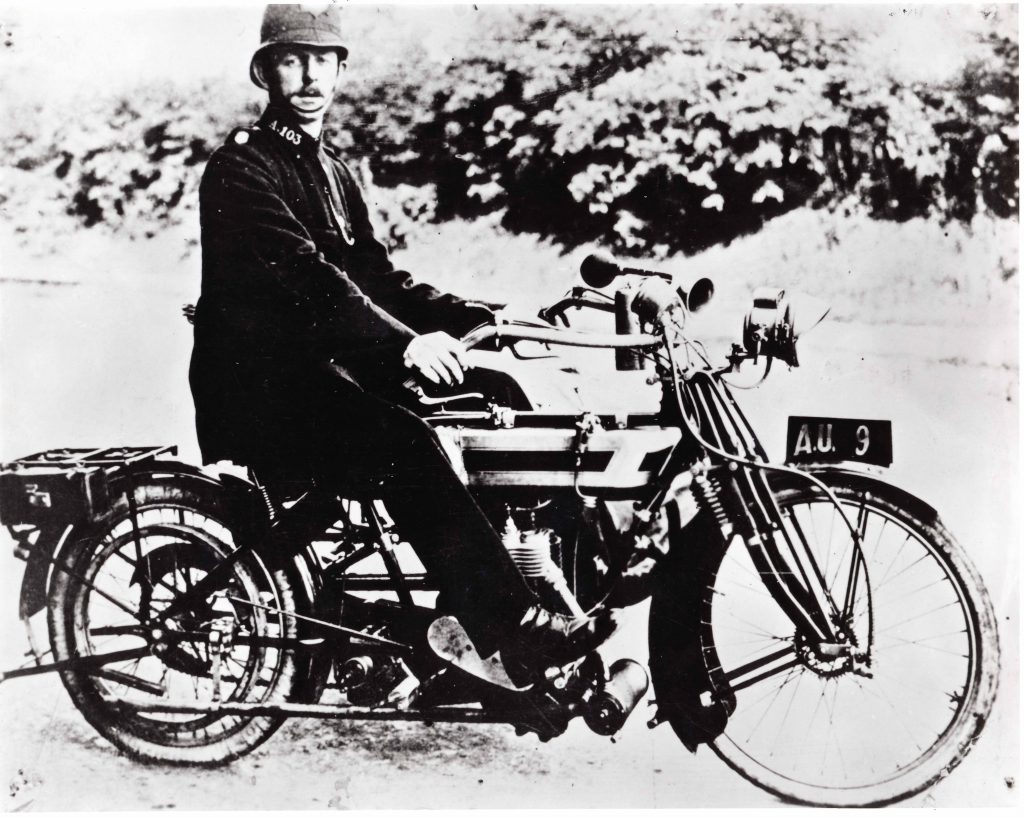
With the submission date approaching I realised that my history was way over the word limit for the magazine so I suggested to the editor that we do a story in two halves, which he agreed to.

So this week I’ve finished part one – 1903 to 1945.
With more than 40 photographs from this time frame, it has been hard choosing which ones to leave out. I also put together a spreadsheet of all the British motorcycle manufacturers, their years of operation and links to their websites.
All the famous names of British motorcycle manufacture have gone and there are just three current makers, who are using old marques – Triumph, Norton and Greeves. All the rest are gone.
With the article submitted, I can sit back and await publication on the 1st March.
Some photographs I have a lot of information about, others there is almost nothing known and the photographs vary from the clearly posed, to the informal.

I also wonder what those officers pictured from long ago would think, if they knew that 100 or more years on, their images would still be being looked at and enjoyed by enthusiasts around the world.
Today, when everyone is taking not one but lots of photographs with their mobile devices, how will they be viewed in 100 years time, when we too have become a part of history? NRC
4 Responses
Dorcey Wingo
Love the old motorcycle pics, spiffy looking officers, too!
Your garden steps will be well worth the effort when done, Norman.
Then you can really get stoned! Ha!
dorcey
Andrew Robinson
As usual Norman, informative and amazing, though I think you could find the time to do other things as well, you slacker!
Marcy
The area has increasingly become more beautiful through your amazing skills. Your flowers are gorgeous. I bet the birds there are wonderful as well.
Great old pics and history info. Your depth of knowledge on so many subjects is amazing and I’m so grateful you continue to share it. Marcy
Wil
It might be too late to suggest using the stone to build a paving ramp instead of steps, it would be the most efficient use of materials. Ramps are wheelbarrow friendly, steps really are not.