Finding my Krone tool
This week: Finding my Krone tool; Filling in the gaps;
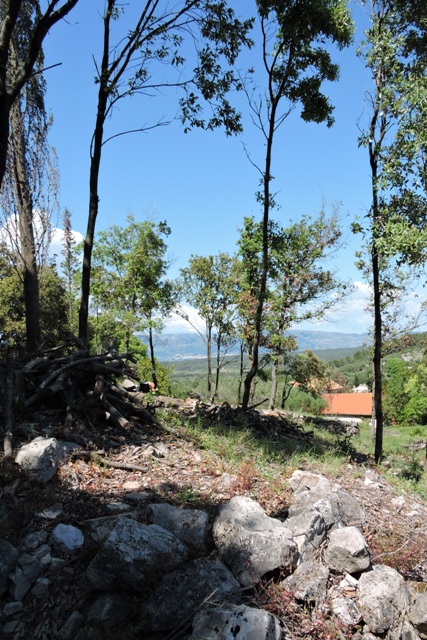
Our weather remains extremely changeable. On sunny days with clear skies, the temperature is around 25ºC.
When barometric pressure is low, it is cloudy, rainy and cold. This is not our usual May weather.
February, March and early April temperatures were well above the average. Then we had a cold spell (for here) in late April and the temperatures plummeted.
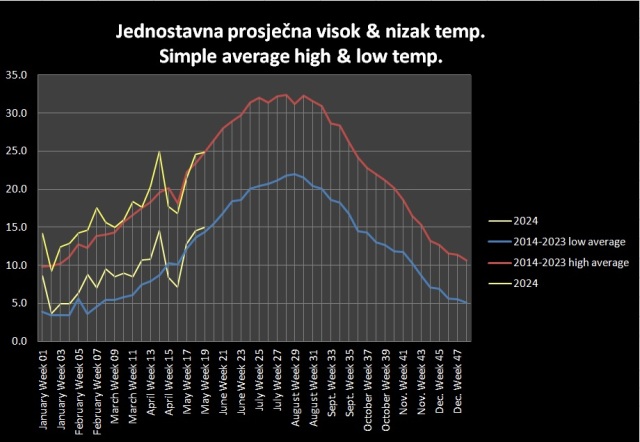
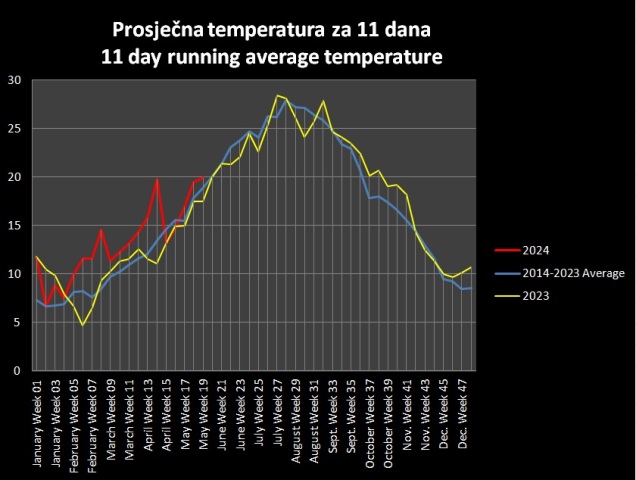
However it is the 11 day running average temperature which it critical for plants, but several days of low temperatures affects this average.
2024 has so far been very different to the 2023 11 day average.
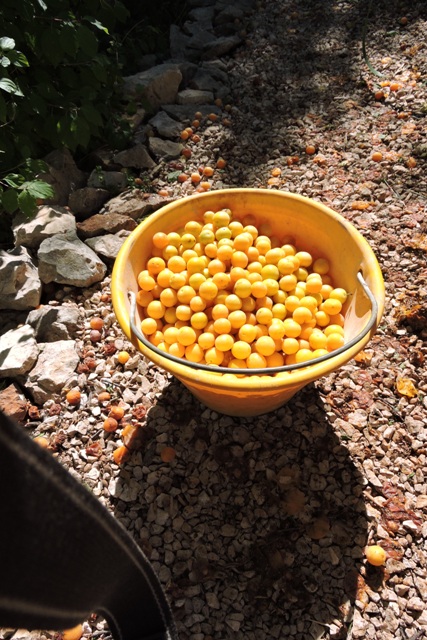
I have very few plums and cherries this year, despite the trees being covered in blossom in early March. I am really not sure why, but climate breakdown is most certainly the root cause.
Whether it is a lack of pollinating insects at blossom time, or other factors I don’t know.
However I will not have enough plums for even a single pie. Quite a change when I often measure the crop by the bucket load.
I’ve spent quite an amount of time this week in reorganising my storage areas. I needed some furniture for the Konoba, now it is finished and I took the opportunity to move machines into the new Konoba at the same time.
I still have a few unopened boxed which came from Abu Dhabi, but as I built some glass display cases up, my plan for the Konoba is slowly coming to fruition.
Trying to fix book shelving is proving to be a problem because the walls are concave.
One pack which had been marked “Glass shelves” by the shipping company, turned out to be full length mirrors! At least I know what they are now…
Finding my Krone tool
Radio signals do not travel through thick stone walls. It was for this reason that when I bought my home I decided on a wired ethernet system.
Because my walls are between 60 cm and 1 metre thick, I knew that WiFi would simply not work.
Computer networking is another of those “dark arts”, understood and practiced by just a few technicians. I know just enough about the subject to be dangerous!
I bought 350 metres of, at the time, the latest CAT6 high speed internet cable. Over time I have run links from my network cabinet to the farthest points of my buildings.
CAT8 cable is now available, but it is really only for the highest specification, server to server links, at speeds well in excess of anything available here from the ISP’s.
I think I have used about half the reel, with the majority of my room and outside connections made.
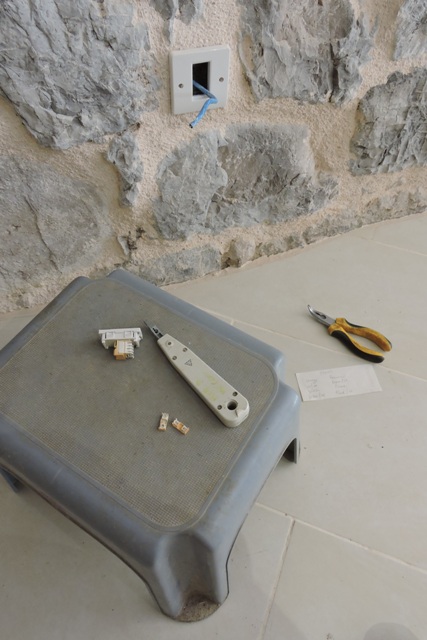
One of these cables exits the wall in the Konoba.
You are only able to read this because somewhere, in a lot of different places in fact, network engineers have made connections using four twisted pair cables.
There are international ISO standards for ethernet cabling, so unlike domestic wiring, where there are different colours and voltages in use in different countries, Ethernet cabling is the same, the world over.
I started by finding my Krone tool. This is one of those indespensible tools which you only use when doing internet wiring.
Next I split the ethernet cable tail to reveal the four twisted pair individual cables inside, untwisted and straightened them and then prepared the wall connector.

These days Ethernet cable delivers everything from the internet to TV signals, so you only need one outlet in a wall for all services.
Your modern, flat screen TV will probably have an RJ45 socket somewhere and will have been sold as “Internet Enabled”.
With the Krone tool I started to make the connections to the termination block. This follows the international standard of wiring colours, so no matter where you are, whatever you plug into the wall socket, it will work.
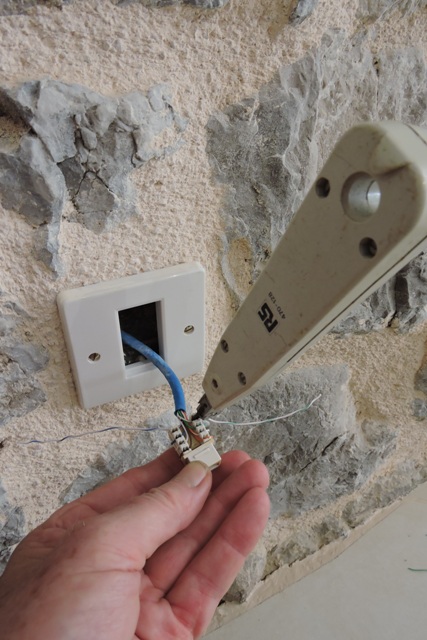
With the wires connected, I then used my circuit tester to confirm I had eight green lights (one for each wire). Once done, I then pushed the termination block into the face plate in the wall.
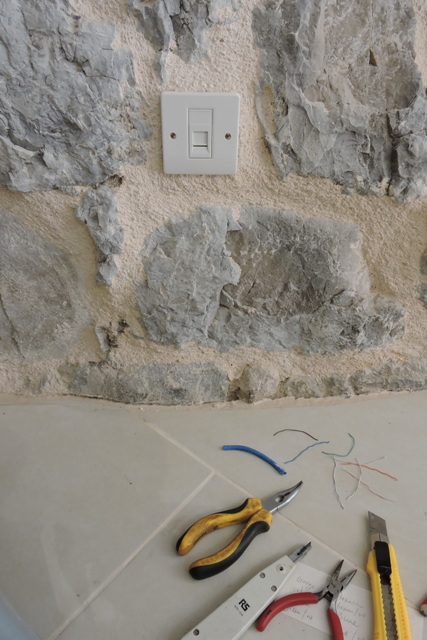
Another small job, but one more closer to the Konoba being completely finished.
Filling in the gaps
My local builders merchant Volat, telephoned me this week to say that my order of silicone had arrived.
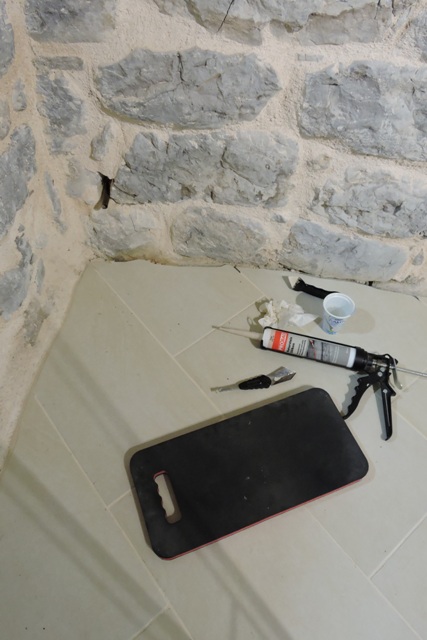
Because the walls in the Konoba are uneven and are stone, I needed a special silicone filler for the gap between the edge of the tiles and the walls.
If I had used the grout which I used between the tiles, it could have reacted with the limestone walls and also is likely to crack. So I needed a flexible barrier between the two.
The gap between the tiles and the walls varies because cutting curves in tiles means you cannot get precisely the same width gap everywhere.
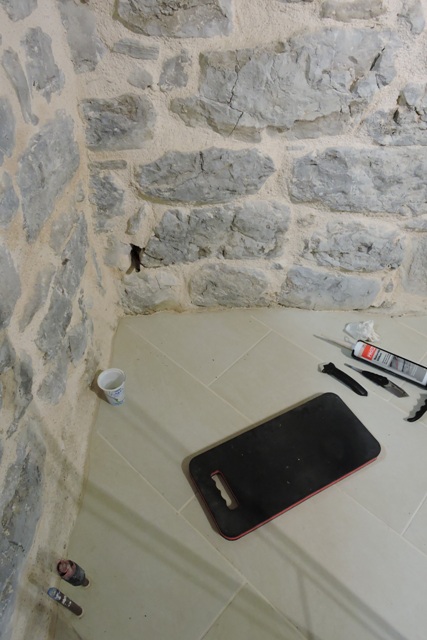
I opened the first tube and started to apply the silicone to the gap (on the left in the photograph), using a special tool to remove excess and smooth the silicone.
I was surprised because the working time was only around 30 minutes before the silicone had set
Beginning in one corner I worked outwards. This is so that I could put the settees in place and then do more gap filling, adding other furniture in the room as I went.
The result is a nice finish along the bottom of the wall.
Because the silicone remains flexible, even when fully set, it means that any movement of the walls, or tiles, will not cause unsightly cracks to appear.
As I slowly complete all the finishing touches in the Konoba, this next week I am going to have to solve my next problem.
This is how to mount perfectly square and symmetrical shelves to walls which are anything but! NCG