Flexibility is key
This week: Ceiling matters; Moving stones; Flexibility is key; The empty square puzzle; I’ve been bitten;

The days are flying past but there is lots of progress on the building front. All the insulation was finished this week.
Corner strengthener were cemented to the block, followed by a layer of render which had nylon mesh pressed into it.
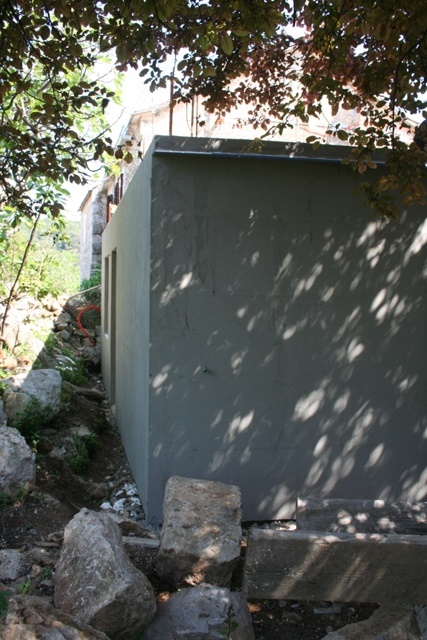
This is to provide a strong structure for the top coat to be added. I just have to decide what sort of top coat finish I want to have.
I like Jubsol Silicate, which just happens to be the most expensive. It is a very bright white coating which looks nice at all timers of the year
The clue is in the name. It has glass silica embedded in it, so it is an immensely strong and durable finish, which is maintenance free. On the north side I think I will leave the wall as a grey concrete finish. Durable but functional too.
The whole week has been taken up with work on or in the new workshop. So the most I have done outside is to have a walk around the orchards to see how the trees and weeds are growing.
They are all growing exceedingly well!
Ceiling matters
When the builder was here, I included a couple of photos and a description of how the ceiling is made.
Looking back, that was ten weeks ago! Just where does time go???
Flat boards are fixed together, supported by jacks underneath. Onto these boards a large amount of steel reinforcing is added, then the concrete is poured – in my case 8½ tonnes of the stuff.
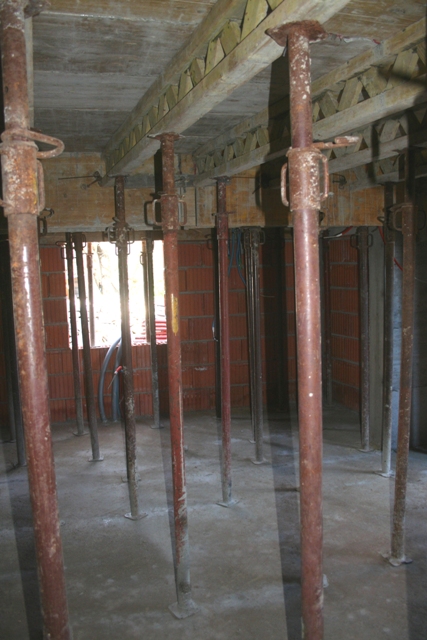
Everything is then left in place for three weeks to allow the reinforced concrete to completely set. Once the support jacks and boards have been removed, there are some mould lines visible, where the boards were slightly uneven.
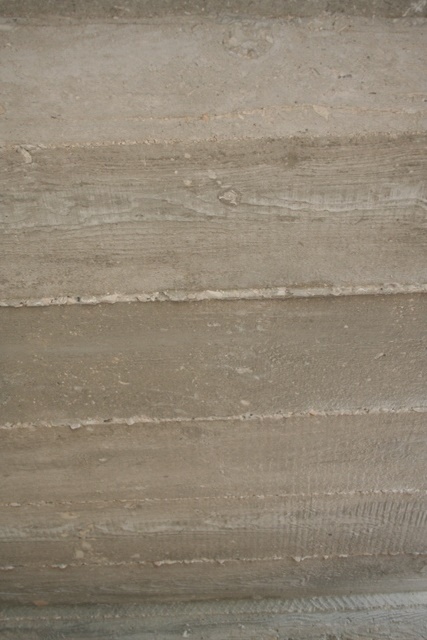
I spent the best part of Monday with a pair of angle grinders removing these lines. One grinder had a circular stone cutting disc fitted, the other had an aluminium diamond cutter.
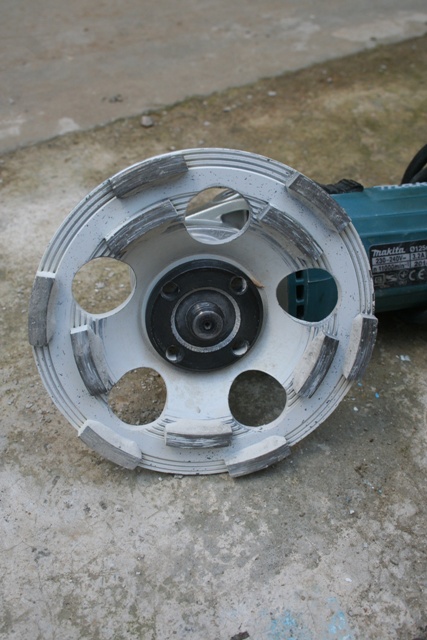
The diamond cutter was needed to remove and smooth a couple of rough patches where the concrete vibrator hadn’t reached.
It was a filthy, messy job. Concrete creates quite a bit of dust at the best of times and the diamond cutter sent fragments of concrete flying in all directions.
I was wearing full PPE. A pair of ear defenders for the noise, a mask for the dust, plastic goggles to protect my eyes, a hat and a zip top.
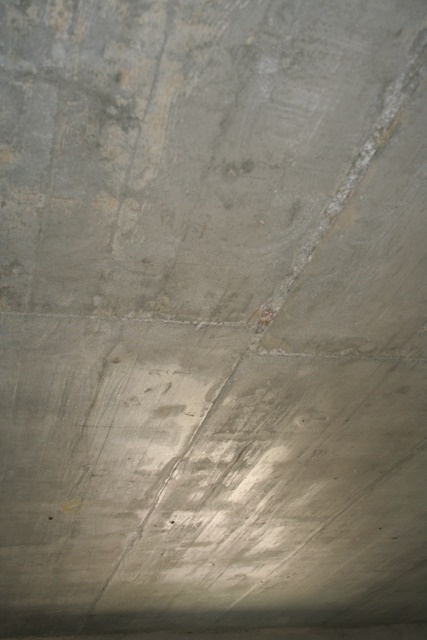
When I finished, I was covered in fine grey powder but the ceiling was reasonably smooth.
All my work clothes went straight in the washing machine.
Although I am putting extra effort into some aspects of the building, for example the insulation and utilities, I had had a discussion with Cvjetko about rendering the ceiling, but decided against it.
It is 25m² in area, so there would be a lot of work involved in rendering it. At the end of the day it is a workshop, so I decided to just paint it.
After opening all the doors and windows I gave the room a good sweep out on Tuesday and then painted the ceiling with a concrete sealing compound.
Moving stones
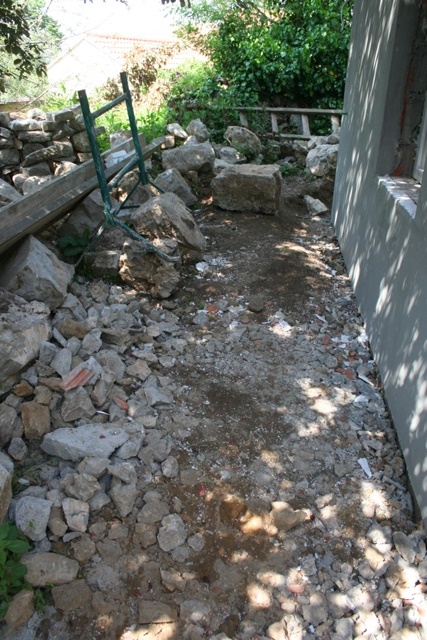
The gound outside the new building used to be the fold yard, so after years of having animals in it, the soil is quite good quality.
There are however just a few problems. The boulders which I removed from the old stables and the pig sty when I dismantled them have been piled up here.
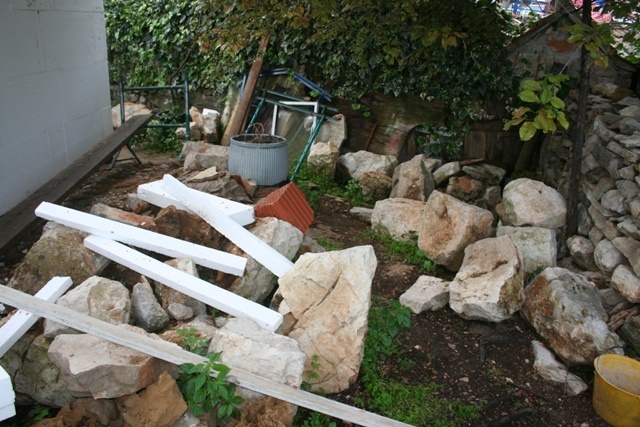
They are of varying sizes from big to huge. The largest weighing around 400 kilograms I suspect, so they are not the sort of thing you can just move on a whim.
Cvjetko wants to move the rubble that the builder left – I want to move it too – but I also want to recover the soil that is underneath.
My plan has been to level the old fold yard, to use the recovered stones as part of a dry stone wall that will run to my boundary and then to plant this area.
Cvjetko correctly pointed out that I should have a path around the building, to stop rain splashing mud up onto the new walls.
His idea was concrete, but I said I wanted white pebbles, so it matches the path I have laid down into the orchard.
When building work is in progress, nowhere looks particularly nice, and this area is no exception.
I moved most of the smaller stones out of the way and cleared a space where the excavated soil will go before being overtaken by events.
Flexibility is key
Every week I start with a plan. I check the weather forecast, just in case there might be some rain. While a wet day will curtail outside work, I can plan to do indoor jobs.
Then there is the building work. It’s brilliant having Cvjetko here and we have completed a huge amount of work, but there is always more to done than the time available.
There are then the changes in plans because we have ideas while we are working.
I finished digging a hole in the wall for the new electric meter box. The meter is currently inside, on the first floor. The regulations say that meter boxes should be on the street.
That is not so easy when you don’t have a wall facing onto the street, so the closest I can get it, is at ground floor level in the courtyard.
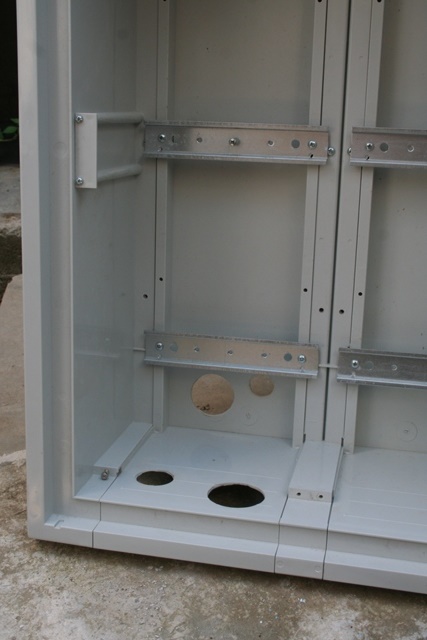
The meter box is of a size to take the two meters required for when you are generating renewable power and feeding it into the grid.
One meter records the electricity you use (and pay for) and the second is for the electricity you generate for the grid and get paid for.
That requires a number of different conduits for the various cables. These were all plumbed in while building work was taking place.
I carefully cut the various diameter holes ready for fitting the box into the wall. Everything lines up perfectly.
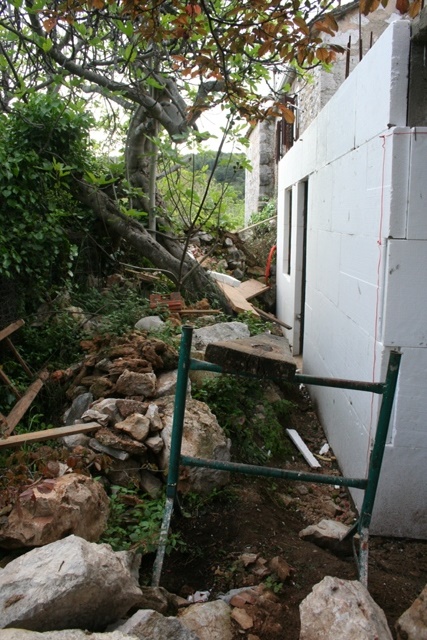
Another job I have wanted doing is to align the wall of the Konoba so it is almost vertical. Currently it sticks out into the courtyard for around 50 cm and makes opening the car door difficult.
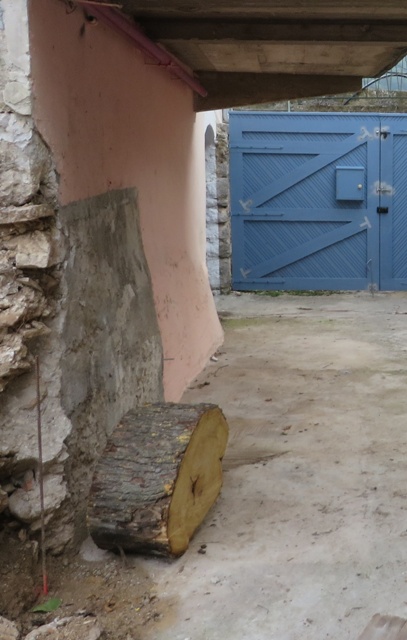
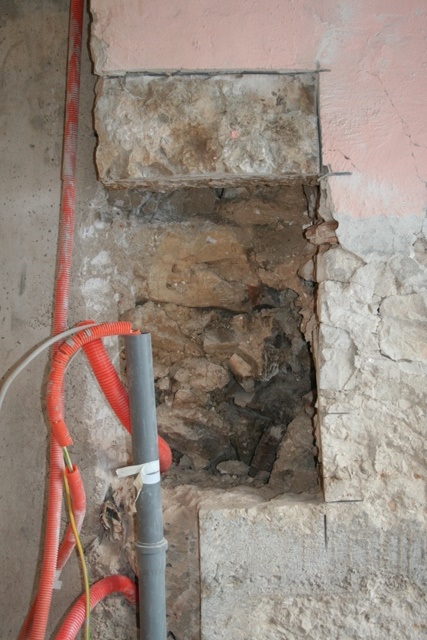
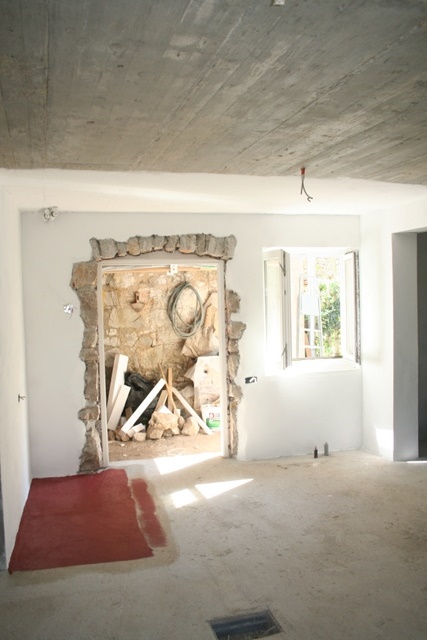
After completing the wall render, Cvjetko set too on Thursday afternoon, to break part of the wall apart to see what was behind.
A few minutes with a heavy breaking hammer and the construction of the old wall was laid bare.
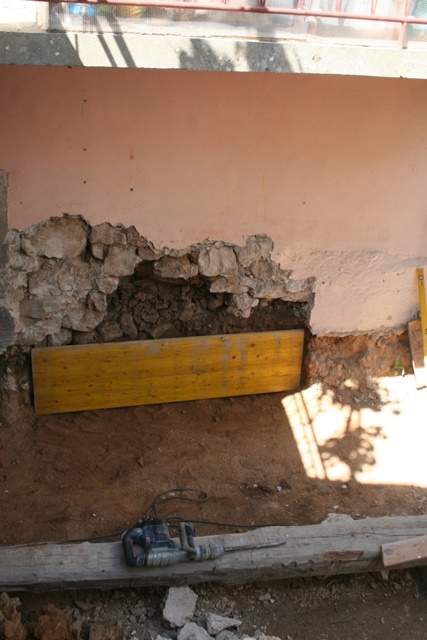
The wall was stone, built directly on top of the protruding sandstone bedrock. The bulge was concrete, added sometime in the past to stabilise the very old stone work.
I was surprised when Cvjetko said that from his experience, the way the old stone work had been constructed suggested it was 200 or 300 years old.
Because of the double wall on the other side of the building, I knew the current building was built on a previous and much older structure, but I hadn’t thought of it being so old.
With wooden formwork constructed, reinforced concrete was poured in behind to create a stable and vertical foundation. There are sections either side which will be treated in the same way next week.
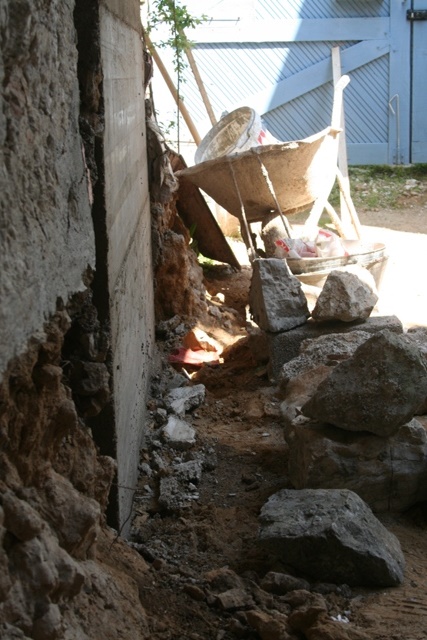
The remaining sandstone by the wheelbarrow will be removed and filled next week.
While we were watching the concrete dry, our thoughts turned to the wall on the south side of the courtyard, which needs a similar treatment. This requires some flexible thinking in how it this element of the work approached.
Back to the empty square puzzle

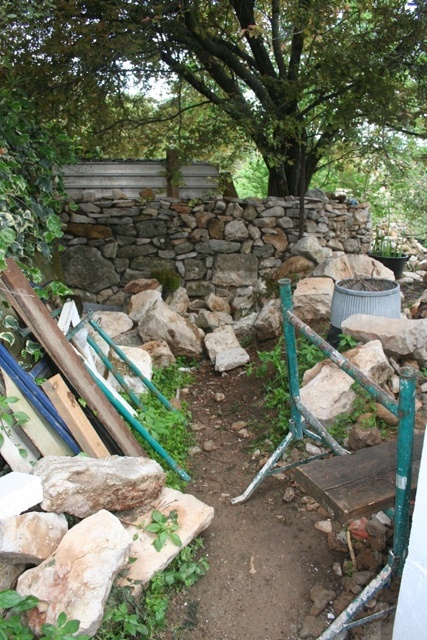
Last year I built a temporary store outside the old cottage, so I could move building materials out of the Konoba to create space.
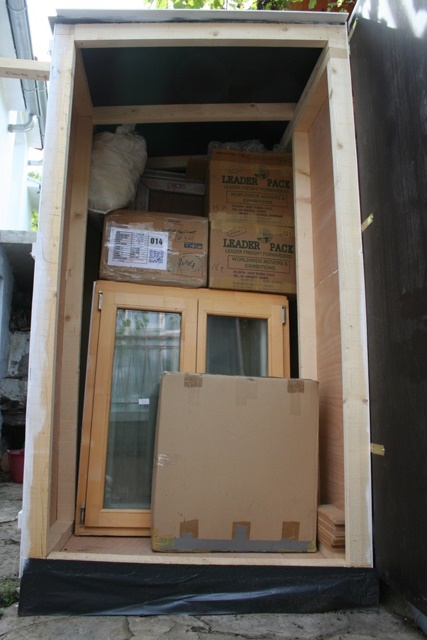
It was only ever designed to be temporary but I didn’t quantify how long “temporary” might be. Over the winter it has kept the rain and wind out and everything inside is snuff dry.
While looking at the problem of the south courtyard wall, Cvjetko suggested that we move the steps.
YES!!
That is exactly what I had in mind. But in my plan it was going to happen at the very end of the building process. No matter, I am more than happy to do it now.
But to move the alignment of the steps means the temporary store will have to go.
Everything in the store will have to be relocated into the old workshop. But that means I have to move the tools in the old workshop into the new workshop.
The new workshop isn’t ready yet. But at least it is an empty square! So very soon I will be able to move things round a little….
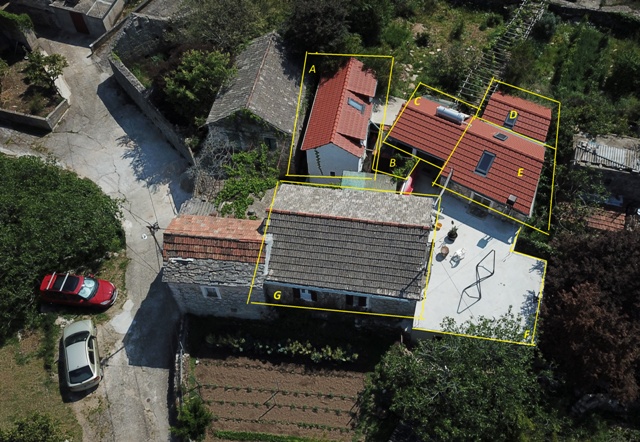
To give you an idea, these are the various buildings. Clockwise A is the old cottage, B the temporary store, C the covered patio, D the kitchen, E the dining room at first floor level and the old workshop on the ground floor, F the new workshop with first floor terrace and G the Konoba.
In the past I have struggled with finding storage. At least I now have somewhere. It just needs finishing.
As Friday was a day without builders, I started early on the task of painting. The ceiling and walls need two coats of paint before the floor can be sealed and painted. There is still some pointing to be done, but I worked round that.
I don’t like painting. It is a necessary chore, but I started early and finished one section of the ceiling.
With 25m² of ceiling, 25m² of concrete floor and 55m² of wall to paint, there is a lot of brushwork.
I started just after 07:00 on Friday morning and by lunch time I had completed one section of ceiling, started a second and finished the walls on wither side of the main door.
After mixing another batch of concrete sealant, I painted part of the floor near the door, before giving the walls and ceiling a coat of the emulsion top coat.
It was warm and everything was quickly dry, so I painted the floor in the area of the door just for good measure. I am very happy with the result.
I’ve been bitten!
As I wandered down into the orchard this week, I was surprised by how the weeds have grown in a week.
Along with the grasses there are a lot of wild flowers, but also a number of my deliberate plantings are in bloom.
One of my indicator species, the Allium have burst open this week.

The deep red Alstromeria have brightened a dull corner.

And while I was pottering, I thought I heard the high pitched whine of a mosquito. A short time later I felt and itch on my arm and I realised I had been bitten.
I didn’t see the insect, but as it was biting during the day, I suspect it to have been a Tiger mosquito. This is a full 30 days earlier than last year – they are another of my Springwatch indicator species.
I have some pond plants in tubs of water, but because of COVID-19 I have not been able to get across to Split to buy Goldfish. They feed voraciously on mosquito larvae.
I think I need to put a few drops of olive oil on the water surface. This breaks the surface tension and the mosquito larvae drown. It’s much better than insecticide.
My Triffid is growing well. It is over two meters tall and the stem is thicker than my arm. At the moment it is adding 30 cm a week to its height and the flower buds are all showing.
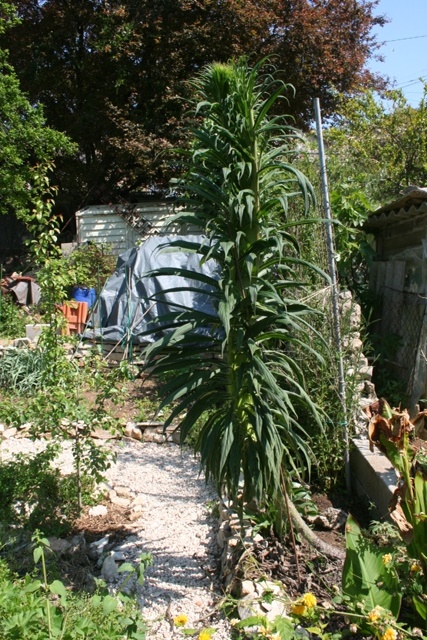
I added a support stake this week and tied it in place, in case it decides to move…
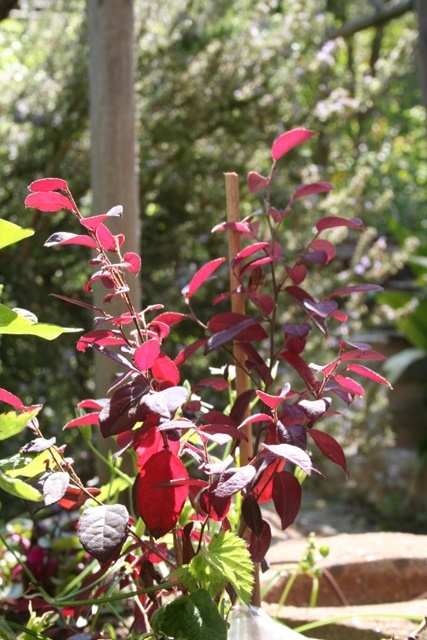
Not everything I have has been planted for its flowers. As I have planned the flower beds, I am using plants with interesting foliage, whether that is for spring, summer, autumn or winter colour.
With the sun behind the leaves of this Loropetaulm, it looks striking. The variety is “Ever Red” and it certainly lives up to its name.
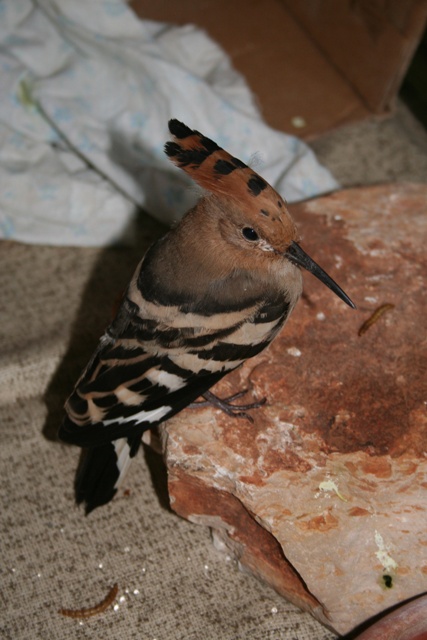
The Bee Eaters are back and on Saturday morning I heard the unmistakable call of the Hoopoe. It was calling from somewhere close to the citrus orchard.
Last year my ornithologist neighbour Steve looked after a rescued Hoopoe, later releasing it. I wonder if it is Henry who has returned? NRC